Today I'd like to share a fuzzy, embossed card using one of the Sparkle N Sprinkle November Reveal sets, the Cat's Meow #870 and another of the Craft Perfect Embossed Papers, Blush Heartbeat.

This little cat is just full of himself, and with the heart paper it called out fuzzy warm Valentine wishes! So I layered a piece of Super Adhesive Sheet to white cardstock and cut out the Spellbinders 3 different sized Scalloped Hearts.

The sentiment was stamped on to a little piece of embossable acetate in Nuvo Clear Mark, after swiping the acetate well with the anti-static bag, to keep off stray powder specks. This was then heat embossed with Bronze Rose. I used the Tonic Stamping Platform to do this for even stamping.

After taking off the protective layer of the Super Adhesive sheet, I applied Buff Flocking to the sticky surface. The acetate sentiment and two pieces of the Blush Heartbeat Specialty paper were placed behind the scalloped hearts.

A scrap of Super Adhesive Sheet was layered to white cardstock and then Snow White flocking was burnished onto the exposed sticky surface, after the protective backing was removed. This was then placed in the Tonic Stamping Platform and the cat was stamped in Acorn Brown directly on top of the white flocking. I stamped it twice to give a crisp impression on top of the uneven flocking.

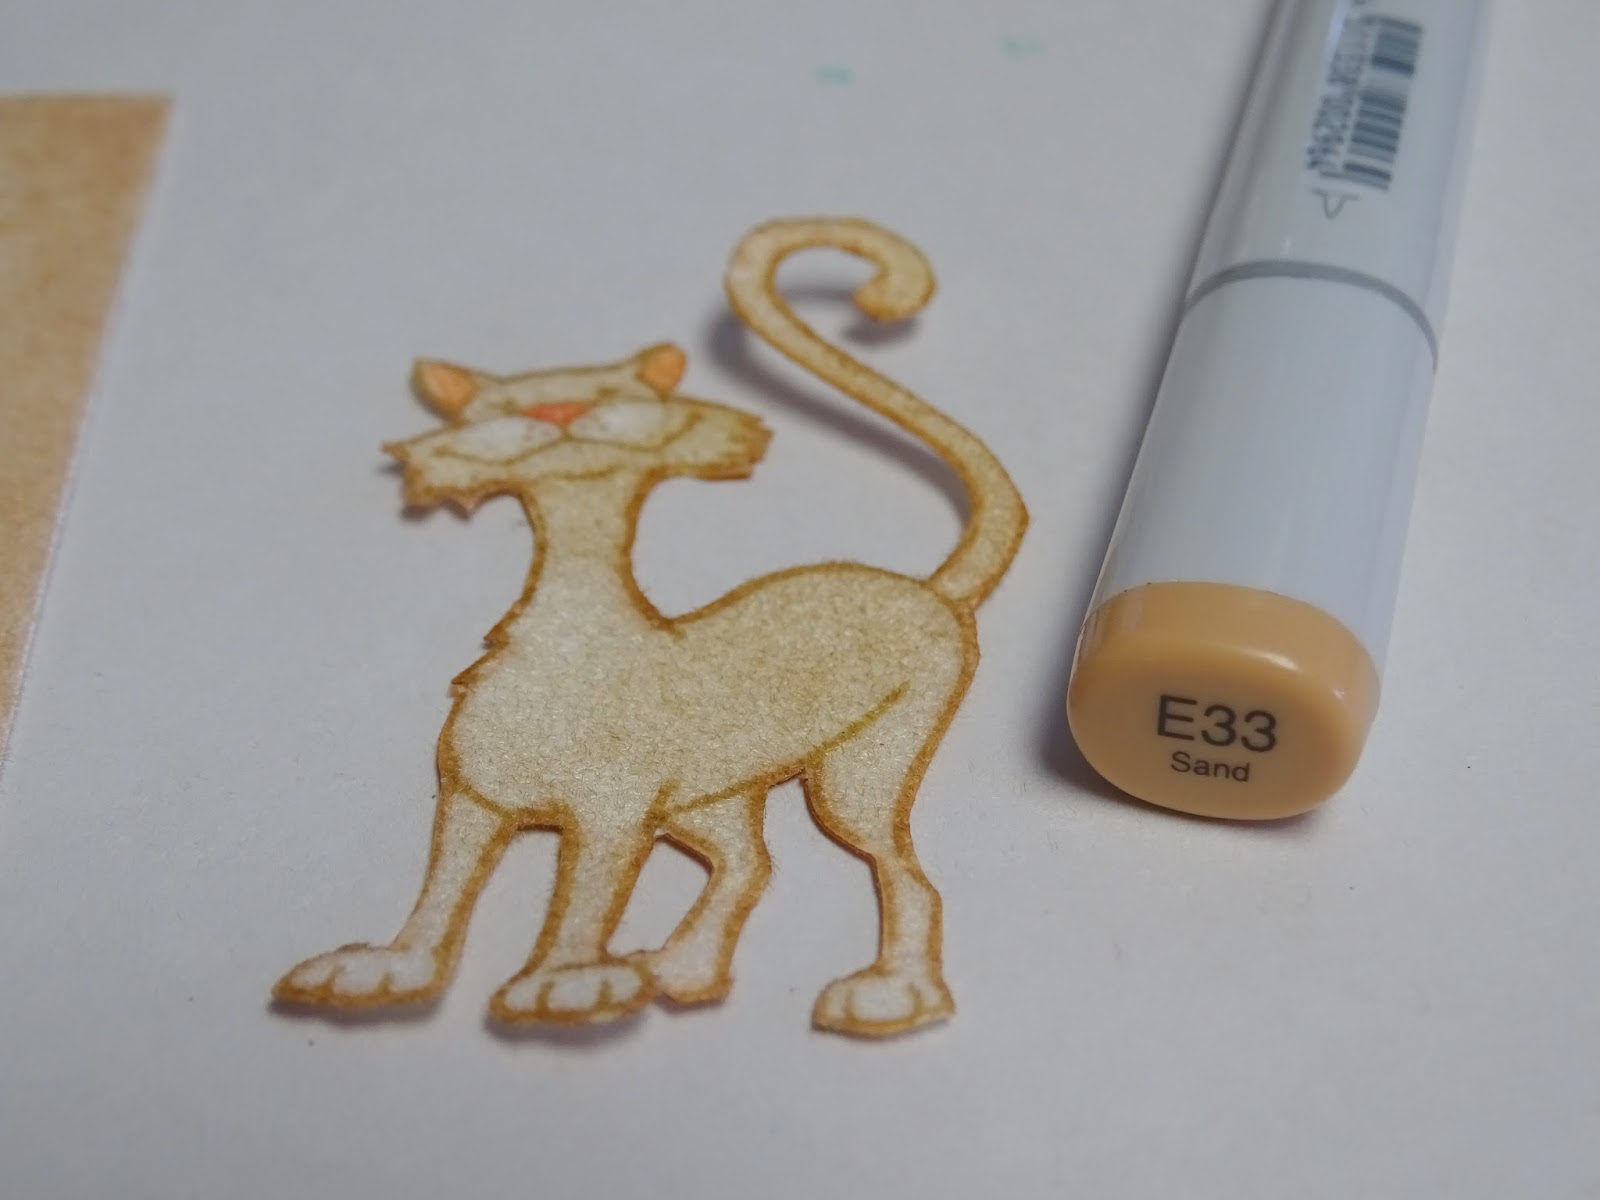
Acorn Brown was then sponged on top of the white flocking and Copic R02 and R22 marker were used to color the ears and nose. Just touch the flocking with the side of the Copic to color. The little cat was then fussy cut with Tonic Mini 5" scissors.

I then went around the outline with Copic E33 to reinstate the outline where it may have been cut into.
The white card base was edged with Nuvo Clear Mark ink and then heat embossed with Bronze Rose. Three heart shaped brads were dipped in Versamark and also heat embossed with the Bronze Rose.

The heart brads were placed on the card front and the panel was layered on to the edged card base. The little cat was popped up on the front with mounting tape and that finished off my project for the day. Here you can see the detail of the Bronze Rose embossing powder and the soft fuzziness of the Buff flocking.

Hope you've enjoyed my share. Below you will find links over at the store for most of the products that I used today:
Spellbinders Classic Scalloped Hearts
Copics
I'd like to join in the following challenges with my card:
Crafty Galz Corner - Challenge 153: Anything Goes
Color Crazy Craft Challenge #49: Anything Goes
2 Crafty Critters Crazies #9: Anything Goes with a Critter
Thanks for stopping by today. Hope you'll come back soon. Till then, warm, fuzzy hugs from a rather chilly New Jersey,
Shona


