Showing posts with label Glitter. Show all posts

Tuesday, March 19, 2024

HAI Let it Snow

 Hi there and welcome back to my blog! I'm back from Scotland after a quick week's visit and am now rather sick with some kind of virus, not anything they tested me for, but am on antibiotics and am left with a rather raspy chest cough. Getting better each day though, so that's good! Took a walk around the yard and so much has happened in a week and a half! The crocuses and daffodils are a welcoming sight!

My card today is for the Holly and Ivy Challenge, where as always it is Anything Goes!

 
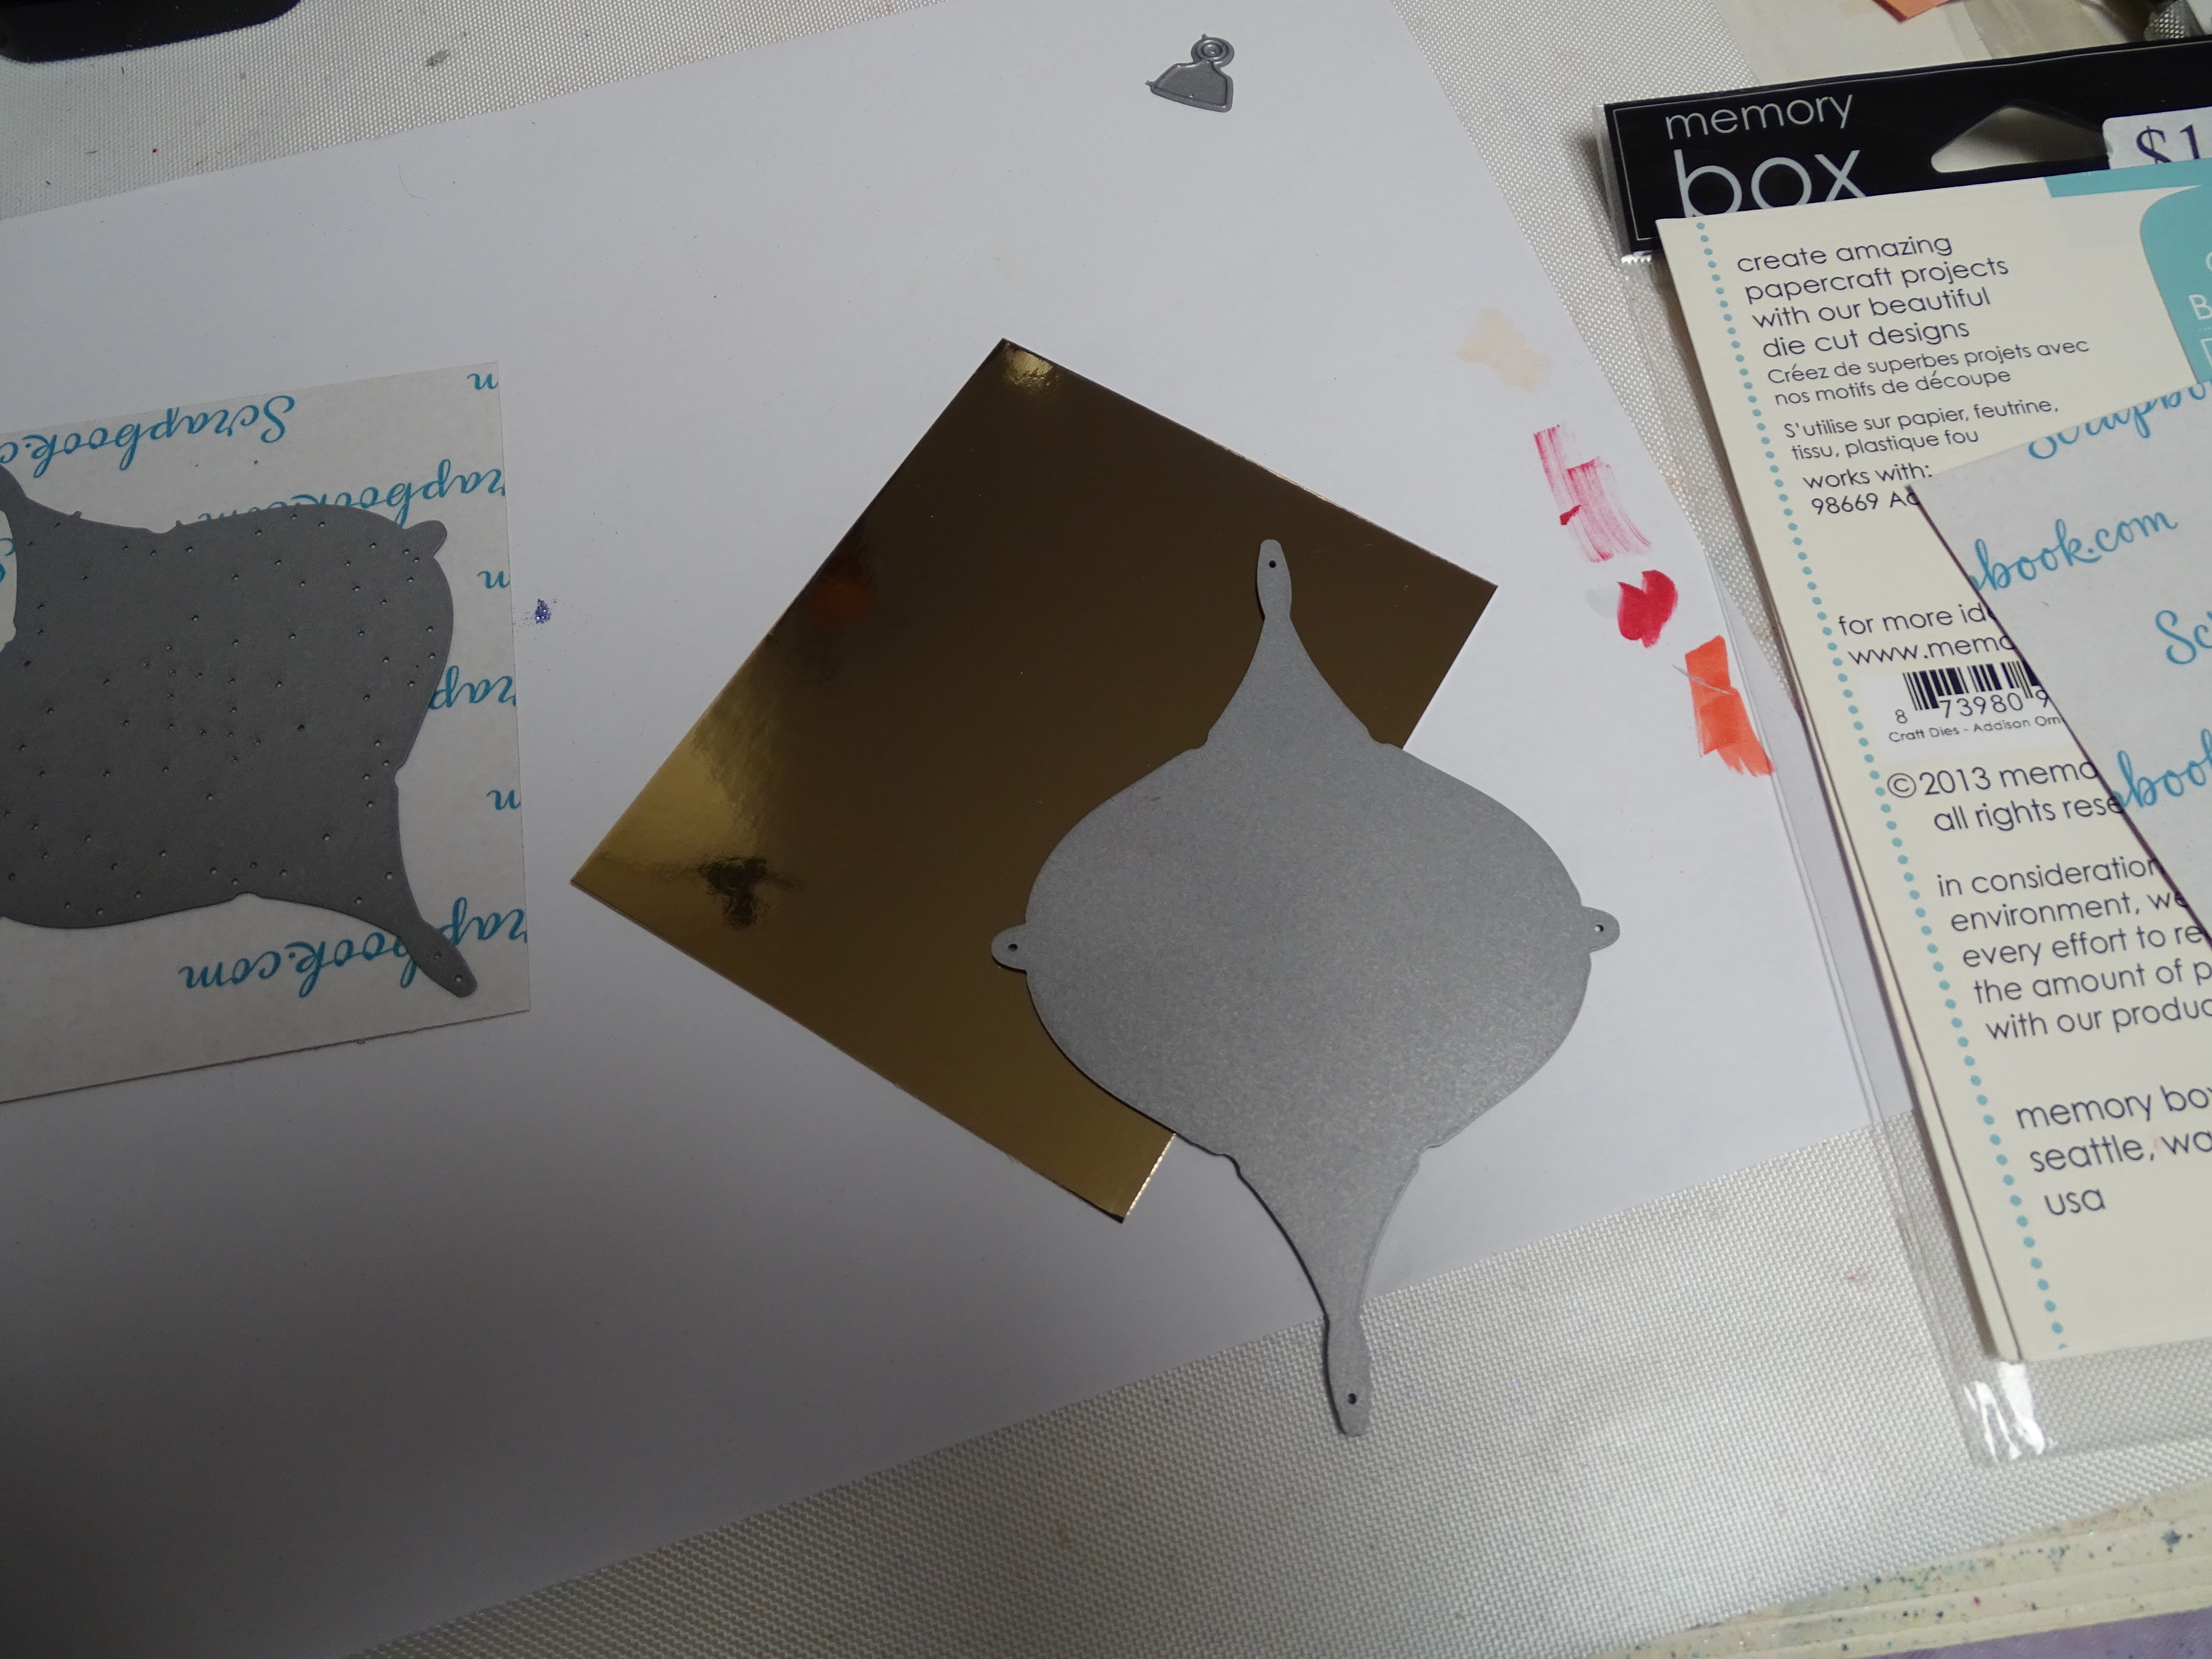
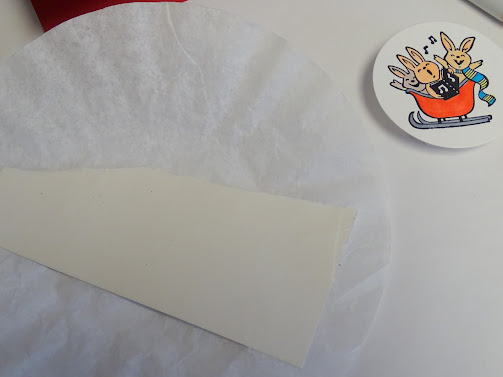
I had a negative die cut of a snowflake that I had used in a previous card lying on the desk and I started with that. I applied double stick tape to the back of it and layered it on to a piece of white cardstock.


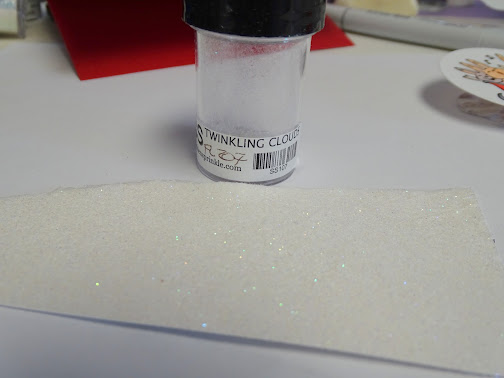
I applied Cloud Nine microfine glitter to the front of it.


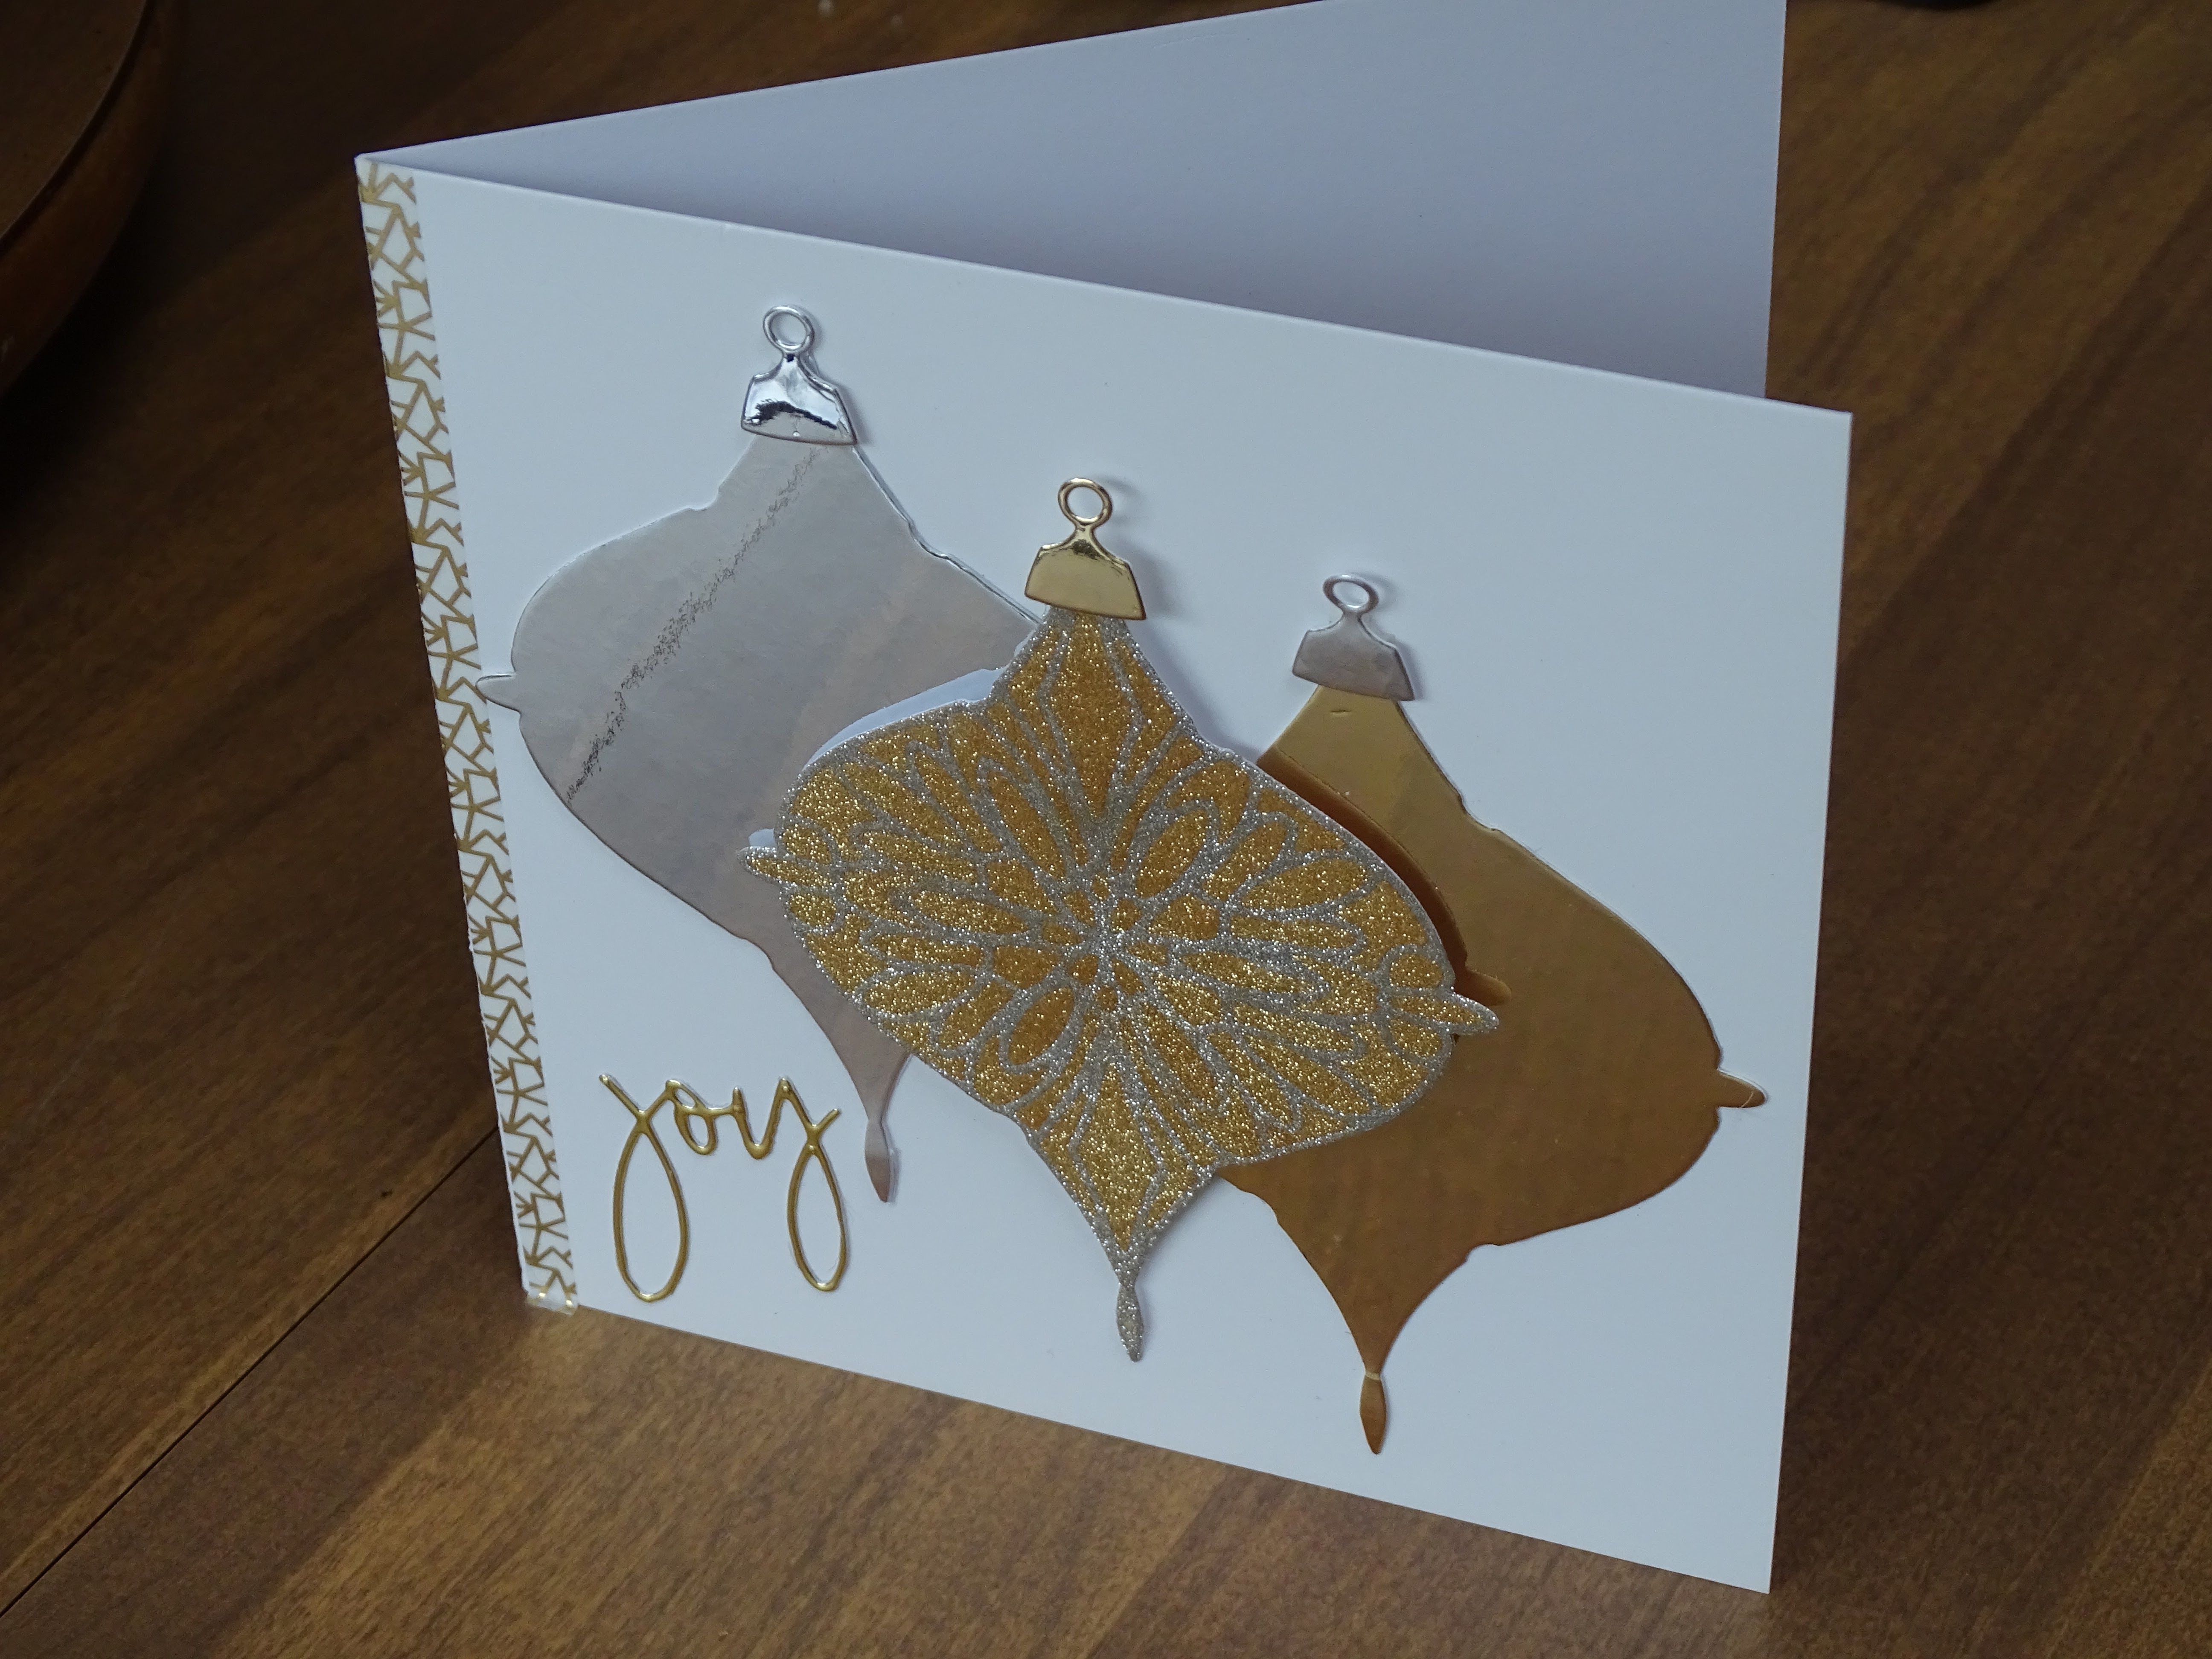
This panel was then layered on to a square piece of designer paper and this was layered to a white card base.

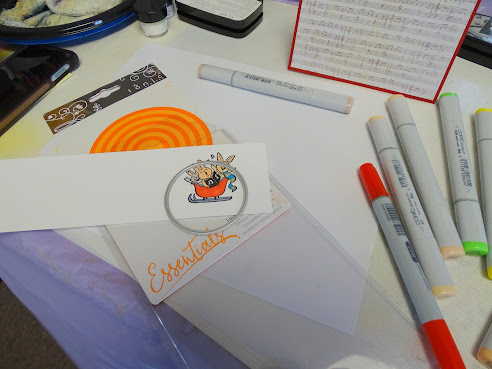
The Let it Snow sentiment was die cut after layering a piece of double sided tape over the top of a piece of white cardstock.


The sentiment was glue across the base of the card.


When the glue was dry, I peeled off the protective cover of the tape and added three microfine glitters, white, teal and navy to the sentiment. 


The three colors showed up nicely against the different backgrounds.


A navy ribbon and a thread bow was tied around the spine of the card to finish it up. 


I hope I've inspired you to join in on the Challenge this week! 

Till next time,

Shona 


Wednesday, May 10, 2023

Gold and Silver Joy

Thanks for stopping by my blog! Today I have a card for the Christmas Craft Creation Team.

 Our theme this month is no stamping. 

I had never used this ornament die before, so thought I'd give it a try.


I die cut the background die twice out of silver and once out of gold.


I layered a piece of double sided adhesive to one of the silver ornaments and ran the inside die through my machine.


I peeled off the protective backing from the outline part of the die.


Silver glitter was burnished in to the sticky surface.


I picked out the rest of the protective backing, using an exacto knife and then burnished in Golden Wheat microfine glitter.


I cut out the ornament top, two from silver and one from gold. The two silver ones were placed on top of the silver and gold plain ornaments that were stuck to a white card base. The decorated die cut was attached with foam tape for dimension.


I die cut "joy" out of a scrap of gold card, with double sided adhesive attached to the back and this was stuck to the base of the card. A strip of washi tape was stuck to the spine to complete my card for today.


Hope I've inspired you to play along in the Christmas Craft Creations challenge.

Till next time,

Shona


Tuesday, January 10, 2023

Snowflake Christmas

 Hi there and Happy New Year! My first card of 2023 is for the Holly and Ivy Challenge, where it is always an Anything Goes theme. I just got back from Scotland yesterday, so had an easy card ready for the challenge this week.


Before I left for Scotland I had a few last minute cards to make, so this was just that!

I used an old snowflake embossing folder for the background with light blue card stock. I made a few snowflakes using the Recollections snowflake die set. I used up some old scraps of light blue cardstock and covered it with a strip of double adhesive tape. This was then put through the embossing machine and several of the snowflakes were die cut. 


The protective layer of the tape was removed and then Princess Elsa Frost glitter (from Sparkle N Sprinkle) was burnished into each of the snowflakes.


A blue brad was put through the center of the snowflake and a little strip of glossy cardstock. The Merry Christmas is a silver sticker and was added to the "label". This was added to the blue embossed background and then layered on to a white card base.

That finished my card for today. I hope your New Year is off to a good start? I hope to get better control of everything this year! Let's see how that goes?

Till next time,

Shona

Tuesday, December 13, 2022

Cardinal Joy

 Hi again and welcome back! Here is my last card for the year for the Holly and Ivy Challenge, which as you know is always Anything Goes. My last header for the year is a Tufted Titmouse at one of my feeders. I found this never before used die from Distinctly Dees, and just loved putting this little card together!


I cut the die out of green cardstock and then the two cardinals were cut from red cardstock.


A little piece of black cardstock was taped to the back of the green cardinal, for the eye, then I colored their beaks in black, which is artistic license, as it should have really been the area around the beak!!! I took a slightly bigger square of double-sided tape and stuck in to the 6" x 6" square card base.


The die cut was centered on the sticky adhesive and then Crystal Ice glitter was burnished into the remaining adhesive.


The cardinals were then stuck on top with glue.


I then put a piece of double sided tap behind a scrap of red mirrored cardstock, and die cut the Memory Box word Joy. This was stuck down to the base of the card and a red organdy ribbon was tied to the spine of the card to finish it off.


Here you can see the sparkle in the glitter.


Well that's all from me this year for the Holly and Ivy Challenge. I've still got a lot of cards to make, so that is my project for the next two days! I hope you will join us for the challenge. 

For now I wish you all a very Merry Christmas!

Shona

Wednesday, June 8, 2022

Merry, Merry Merry!

 Hi there and welcome back to the Christmas Craft Creations Challenge for June! My header for June is my Fort Nair Horse Chestnut Tree! Loving all the beautiful blooms this year! So for the CCC Challenge we were asked to have trees the focus, so I chose a Christmas tree!

I had received this die cut from Lifestyle Crafts a while back, so used it for this month's challenge.


I die cut the Christmas tree with a darker green cardstock than I was using for the base. A piece of double-side tape was adhered to the card base and then the die cut was attached on top. 

Then Green Iris Glitter was adhered to the remainder of the adhesive.

The sentiment was stamped in the Stamping Platform in Versafine Claire Olive ink and was then heat embossed with Clear Detail.

The sentiment, after being cut to size, was then attached to the front panel with adhesive strips.

A piece of green and white rope was tied in a bow around the side of the card to finish it off!

I hope I have given you some incentive to come over and join in the Christmas Craft Creations Challenge, where there are prizes to be won!

Till next time!

Shona

Wednesday, March 9, 2022

Slimline Winter Wonderland

Hi there! Today I'm back with another Christmas card for the March Christmas Craft Creations Challenge, where the theme is slimline.


I die cut the deer scene from black cardstock and then also with the slimline die from Pinkfresh studios. The ends of the scene were cut out so that there were no side edges.


I then applied a piece of double sided tape to a piece of white cardstock and die cut the same slimline die. I removed the protective backing and placed the black scene on top of the framed piece.


Waterscape glitter was then burnished in to the remaining sticky surface. This piece was then taped down to a piece of white cardstock leaving enough space below for the sentiment (from an old Sparkle n' Sprinkle set). This was stamped in Versafine Clair Nocturne ink and heat embossed with clear detail.

I ran white organdy ribbon across the top and bottom of the frame and wrapped it around the back. This complete piece was then layered to a silver panel before being layered on to a white card base. Here you can see the shine from the glitter.


I hope you have enjoyed my share today and that I have inspired you to make a slimline card to join in the March Challenge of Christmas Craft Creations.  

Till next time,

Shona

Tuesday, March 8, 2022

Wishing you a Merry Christmas

 Hi there and welcome back and to another new month! Can you believe it is March already? I certainly can't!

My header for March is one of my bees down on the moss in the stream. These little ladies work tirelessly from morning till night as soon as it's warm enough for them. They got good two days lately and I got in to see how they were doing and even saw eggs, so feeling excited that they got through the winter!

My card today is for the Holly and Ivy Challenge, which is always an anything goes theme. I hope I will inspire you to play along!


These happy little "chappies", from the Stampin Up set Warm and Toasty are singing in the sled! They are on a wobble - so it's a more interactive card!


I started with a piece of music designer paper on top of the red cardstock base. A piece of double sided tape was applied to white cardstock and then after removing the protective backing, Twinkling Clouds flocking was then applied.


Our little friends were stamped in Versafine Clair Nocturne ink and were heat embossed with Clear Detail. They were colored with Copics and then die cut with the Tonic circle die. 


Our little group got tucked under the snowdrift with the wobble, to give the effect of them sledding! The 


The sentiment from an old Sparkle 'n Sprinkle set was added - I thought the music notes added the right tone!!! I stamped the sentiment directly on top of the flocking with the Versafine Clair Nocturne ink.


A red and white  bakers twine finished off my card today. I hope you will join in with the challenge this month and get ahead of your Christmas cards for this year!

Thanks again for stopping by!

Shona


Tuesday, February 22, 2022

Deer Winter Wonderland

 Hi there are welcome back to my blog. Today I have my second February card for the Holly and Ivy Challenge.


I cut out part of the die (not sure where it came from) from black cardstock. 

A strip of of double-sided tape was added to the back of the deer scene and added to the glossy card front, after the little extra adhesive was cut away.


Waterscape glitter was then added to the sticky surface, to make it look like a snow scene.


All that was then needed was a sentiment from an old Sparkle n' Sprinkle set which I stamped in Versamark and then heat embossed with White Detail powder.


Of course you can't see the sparkle! It really is there! And an added ribbon finishes off my card for today!


Hope you liked my share today and that you will join in with the Holly and Ivy Christmas Challenge. 

Till next time! 

Shona