Sunday, February 5, 2017

You Crack Me Up

Hi there,

Gosh, February already! This is insane, it will be Easter before we know it! .... and on that note - here is my card today, which, with a different sentiment, could work for Easter, Baby, Birthday or just a fun because! This was one of the January Sparkle N Sprinkle Reveal Sets: Easter Chicky Set 820.


Such a cute little image, this time though, I went the soft and fuzzy route, instead of the glittery one! To begin with I taped a strip of 2 1/2" Tear-ific Tape onto a piece of white cardstock. After I removed the protective backing, I applied Twinkling Clouds to the sticky adhesive. The Easter Chick was stamped directly onto the Sparkle N Soft with Memento Tuxedo Black ink.


The same image was then stamped on a Post-It Note and the body, shell and background were fussy cut, to be used as masks.


I removed the head part of the masking and colored directly on top of the Twinkling Clouds with a sponge dauber, inked with Memento Dandelion and Cantaloupe.  


The chick's body was then masked too and the shell was sponged with Summer Sky.


The little "hat" was stamped on to a scrap piece of Super Adhesive Sheet and then after being fussy cut, the protective backing was removed and Blissful Blue Sparkle N Soft was burnished onto the piece. After cutting out the chick with Memory Box Cross Stitched Frame Borders, the chick's hat was attached with Mounting Tape.


For the card background, I stamped the Crackle Background Set 609 (it seemed appropriate for the sentiment!) in Versamark which was heat embossed with White Detail and then I sponged both the Memento Inks, Summer Sky and Dandelion Yellow over the top of the crackle pattern. 


The yellow frame was cut with the Memory Box Cross Stitched Frame Border and stamped with the Crackle Background, also inked with Versamark and heat embossed with White Detail. It was then just sponged with Dandelion Yellow. The sentiment, from the same set was stamped with Versamark on white glossy cardstock and then heat embossed with Skylight (EP212). This was then die cut with the small die from the set.


The background layer was centered on white cardstock, edged with 1/4" Tear-ific Tape and the sticky edge was applied with Canary Flocking. The yellow frame, the chick image and the sentiment were all layered "wonkily" on top of one another.


Nuvo Jewel Drops: Limoncello and Sea Breeze were then added sporadically added to the card to finish off.

I'd like to enter this little card in the following challenges:

Animal Friends Challenge: #47 February - No Design Paper
Crazy 4 Challenges: (c4c371) Add an animal
Crafty Gals Corner: Challenge 108 Add some Sparkle
Scrapy Land Challenge #59: Use a die that Scrapy Land Sells

Hope you've enjoyed this little card today? Hope I've inspired you to get out your white flocking and get coloring!

Till next time,

Shona

Tuesday, January 31, 2017

SPARKLE N SPRINKLE'S FEBRUARY 1ST REVEAL

Welcome to Sparkle N Sprinkle's
 February 2017 New Reveal Blog Hop!

We have another HUGE reveal for you this month, plus something new!


 There are SEVEN new rubber stamp sets being released this month, plus a new Digi Papers set (with 12 amazing papers), and a Digi Only Bundle set full of lots of extras. 

Also, when you purchase the digi versions of any of the SNS rubber sets, you are getting lots of extras that aren't available otherwise.  These extras include additional images not available with the rubber version, digi papers (in some cases), and now a cut file to use with your electronic cutting machines will also be included with all digi images purchased!

You're definitely going to want both the rubber versions as well as the digi versions of all our new releases.


The new sets are:


* 815 Leafy Flower Spring Wreath
Leafy Flower Spring Wreath digi version DIGI815B

* 826 Pansies (set one)
Pansies mini digi set DIGI826833FS

* Pansies fabulous digi bundle, includes papers DIGI826-833FS

* 832 Girlfriend Support Set 1
Girlfriend Support Set 1 digi version DIGI832

* 833 Pansies in Teacup (set two)
Pansies mini digi set DIGI826833FS

* 835 Sitting Pretty Kitty
Sitting Pretty Kitty digi version DIGI835LS

* 836 Luck of the Irish Enchantress - St. Patrick's Day
Luck of the Irish Enchantress - St. Patrick's Day  digi version DIGI836LS

* 837 Rory's Lucky Clover - St. Patrick's Day
Rory's Lucky Clover - St. Patrick's Day digi version DIGI837LS

* Eleven Watercolor Papers - Purple Pink (to coordinate with the Pansies sets)  DIGI4003FS

This month the digi versions of the Pansies (826FS) and the Teacup Pansies (833FS) have been combined into one HUGE digi bundle set: 
DIGI826-833FS  
There are tons of bonuses in this set, including decoupage sheet sets, a total of 34 images, 11 gorgeous digi papers, and a cut file.

The new sets are 20% off until February 3, 2017.  So once you finish the blog hop, head on over to the New Store and start shopping.

On Feb 3rd, ONE GRAND PRIZE WINNER will be selected from the comments left on the Designers' blogs listed below. Please leave a comment with each Designer in order to be eligible for the Grand Prize.  You never know who the Mystery Designer will be that has the winning comment.

The Grand Prize Winner, which will be announced on the SNS Facebook page and on the SNS Blog, will receive ALL of the new rubber stamp sets released this month.


The Blog Hop order this month is:

(*Tip: if you have difficulty with a particular link, try clicking on the Designer's blog title to send you to their Home page.)

We hope you enjoy the New Reveal Blog Hop as much as we do.  Thanks for joining us and remember to comment on each of the Designers' blogs to be eligible for the Grand Prize.  
 Wonder who the Mystery Host will be this month????


Have you checked out the SNS YouTube Channel featuring Demo Donna?  If not, then you are in for a real treat.  Subscribe today to get all the latest Demo Donna tips and techniques!


Today I chose to work with the pretty Pansies Set 826. The sentiments in this set are so pretty - I decided to make my project for a bride to be. I was cleaning up my stamping room after the holidays and I found a few things that I forgotten I had, including this Clearly for Art Modeling Film. I played around with it. It is like Shrinky Dinks, but it doesn't shrink, and it is more pliable, can be reshaped over and over again, as long as you heat it. You can use it clear, as is, or color it with alcohol inks - as in this sneak peak of a project to come:


So for my project today I stamped with Archival Jet Black ink, and turned it over and colored it with Copics. The colors were muted, so I decided to add a strip of 2 1/2" Tear-ific Tape to the colored side and then I fussy cut around them.


I took off the protective backing and added Sparkling Snow: I liked that effect.


The flowers were then individually cut out and then given some heat and I played with the leaves to make them look more life-like.


They were set aside, while I worked on my card. I stamped the row of pansies in Memento Tuxedo Black on either side of a square piece of  watercolor paper and colored in using the same Copics that I had for the flowers.


Once the coloring was complete, I die cut an oval out of the middle with the Spellbinders Die D-Lites Frill Oval. I elongated the oval by running it through again (about half an inch higher).


The pansies were applied with glue with the Nuvo Fine Tip Glue Pen and sprinkled with Sparkling Snow and each flower center was given a drop of Pale Periwinkle (Nuvo Jewel Drops).


The first cut out oval was stamped in Versamark and the sentiment from the same set was heat set in Concord (EP419). This is a very nice detailed font and the detailed Tuscan embossing Powders are perfect for these fine sentiments. I then threaded a piece of white ribbon around the oval, leaving the ends to trail down. I thought it looked like a veil. One of the prepared flowers was attached to the base of the "veil" using a rhinestone brad. 


The card front was then layered to a black card base and the veiled oval was attached to the center of the opening with mounting tape to finish off my project for today.

I'd like to enter my card in the following challenges:
Classic Design Team Open Challenge Blog: #11
HeARTful Stamping Challenges: Jan 29 - Feb 5: Anything goes with a stamped image
Pile it On Challenge # 125: Quotable


Hope you've enjoyed my share with you today. Next on the hop is our talented Belinda. Remember to comment on each of the designers' blogs to be eligible for the entire set of our new Reveal.

Till next time,

Big hugs,

Shona

Saturday, January 28, 2017

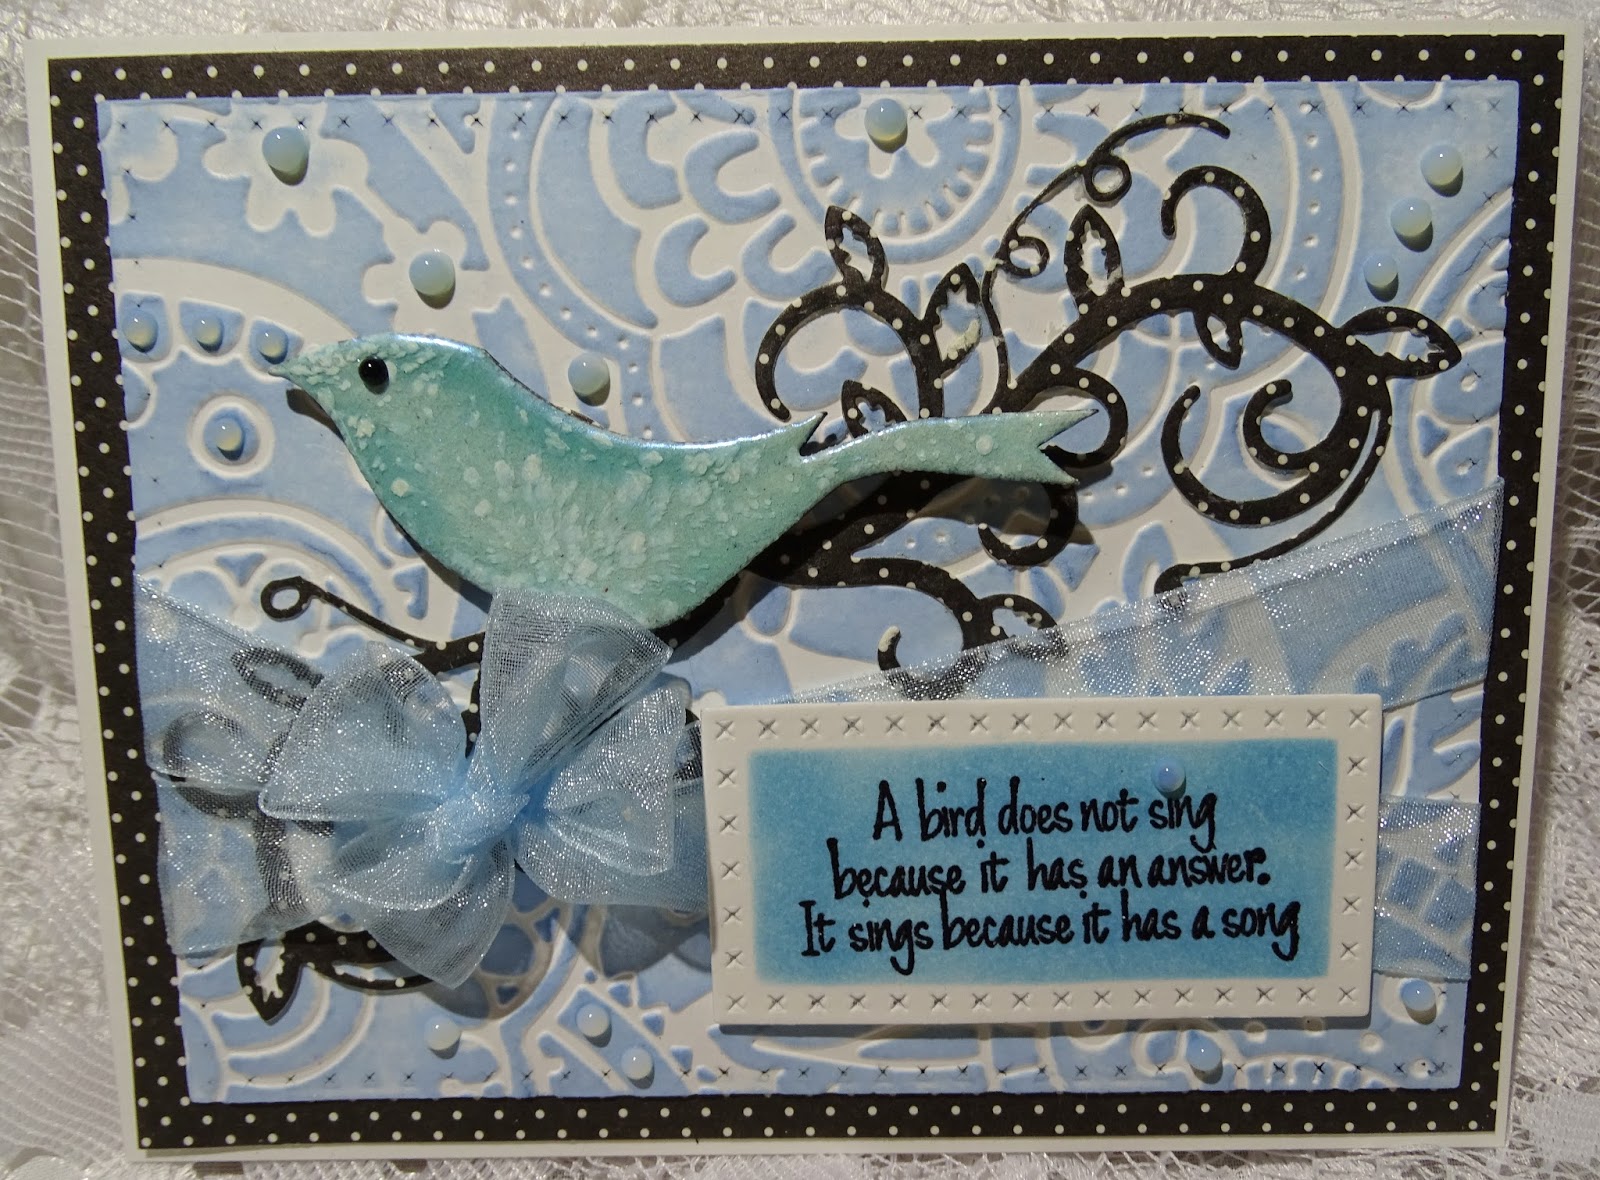
A BIRD SINGS BECAUSE IT HAS A SONG!

Hi there,

A quick extra post in here today, as I had a couple of hours just "doodling" in my stamp room. Felt like creating, but didn't have a deadline or required project - such a great feeling. I did want to open and use a new embossing powder from Sparkle N Sprinkle - Robin's Egg! 


There was a little chipboard bird from Want to Scrap, left-over from another upcoming project, sitting alone on my desk and so I started with those two things. First I covered the bird in Versamark (I use an old pad, specifically set aside for chipboard pieces), then I applied a couple of layers of Belgian Cream, before applying the Robin's Egg. I did this because the Robin's Egg is a light color and it is better to have it go down on white rather than the brown chipboard.


Next I pulled out a virgin embossing folder - Cuttlebug: Bit of Paisley. I ran a piece of cardstock, that had already been die cut with the Memory Box Cross Stitched Framed Border, through my machine and then inked the raised pattern with Memento Summer Sky.


Another newbie was used for the "branch". So I die cut Spellbinders: Foliage Flourish out of a piece of black and white dotted designer paper. I applied a coat of Brushable Glue to the underside and then glued it down to the embossed card front.


The sentiment is a favorite of mine from the Sparkle N Sprinkle Bird Song Set 496. This was stamped in Versamark and heat embossed with Black Detail. Before removing the Memory Box Cross Stitched Framed Borders, I sponged with Memento Summer Sky.


I tied two sheer blue bows together and wrapped them around the back of the card front and layered to the black and white dotted paper before layering to white card base. The bird and sentiment were attached with mounting foam.


The final touch was the Nuvo Jewel Drops Sea Breeze, which were added sporadically over the project and one Nuvo Crystal Drop of Ebony Black was added for the bird's eye! I have to say it was kind of fun, just getting to play!


I'd like to enter this card in the following challenges:
Moving Along with the Times: Challenge 37: Swirls and/or curls
Craft Rocket Challenges: #31 Add a Bow
Craft-Dee Bowz: January Challenge: Use a hand-made Bow
Perfectly Created Chaos: #9 Black, White + 1 Color

I'll be back in a couple more days, with my card for the new February 1st Sparkle N Sprinkle Reveal. Till then enjoy the weekend!

Big hugs,

Shona