I'm back today to share my last May Reveal card using the lovely Aster Garden Set 893 this time.

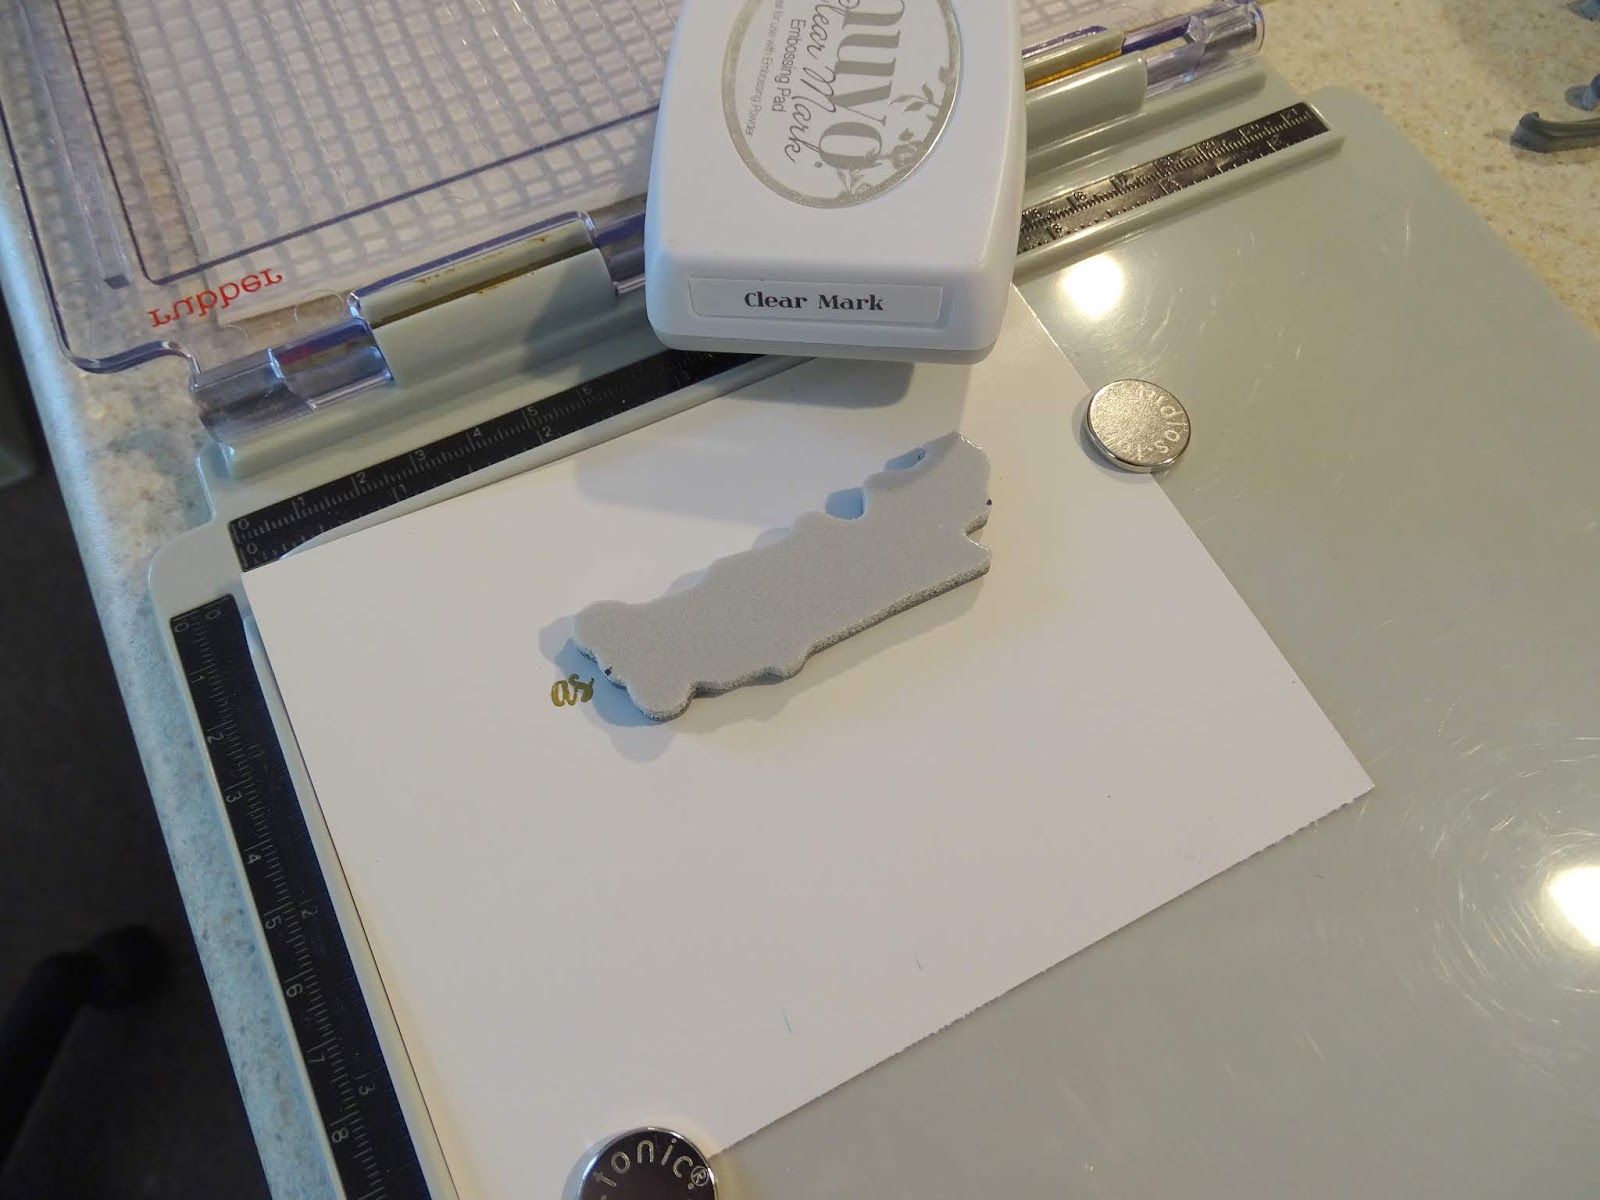
I began by stamping the main sentiment in the middle of white glossy cardstock in Nuvo Clear Mark using the Stamp Platform then I heat embossed with Gold Detail.

I then made two masks of the big flower from post-it notes, stamping in Memento black ink and fussy cutting with my 5" Mini Scissors.

I inked up the stamp using the Hybrid ink Diamonds Set Tropical Fruit and with the help of the masks I stamped around the sentiment, so that the images didn't overlap one another.

I stamped the smaller image with the butterfly on glossy card in Nuvo Clear Mark and heat embossed with Gold Detail. This was then colored in with Aquaflow Watercolor markers - making a pallette from an acrylic block and applying the colors with the Nuvo Water Brush. Once dry this was fussy cut again with the 5" Mini Scissors.

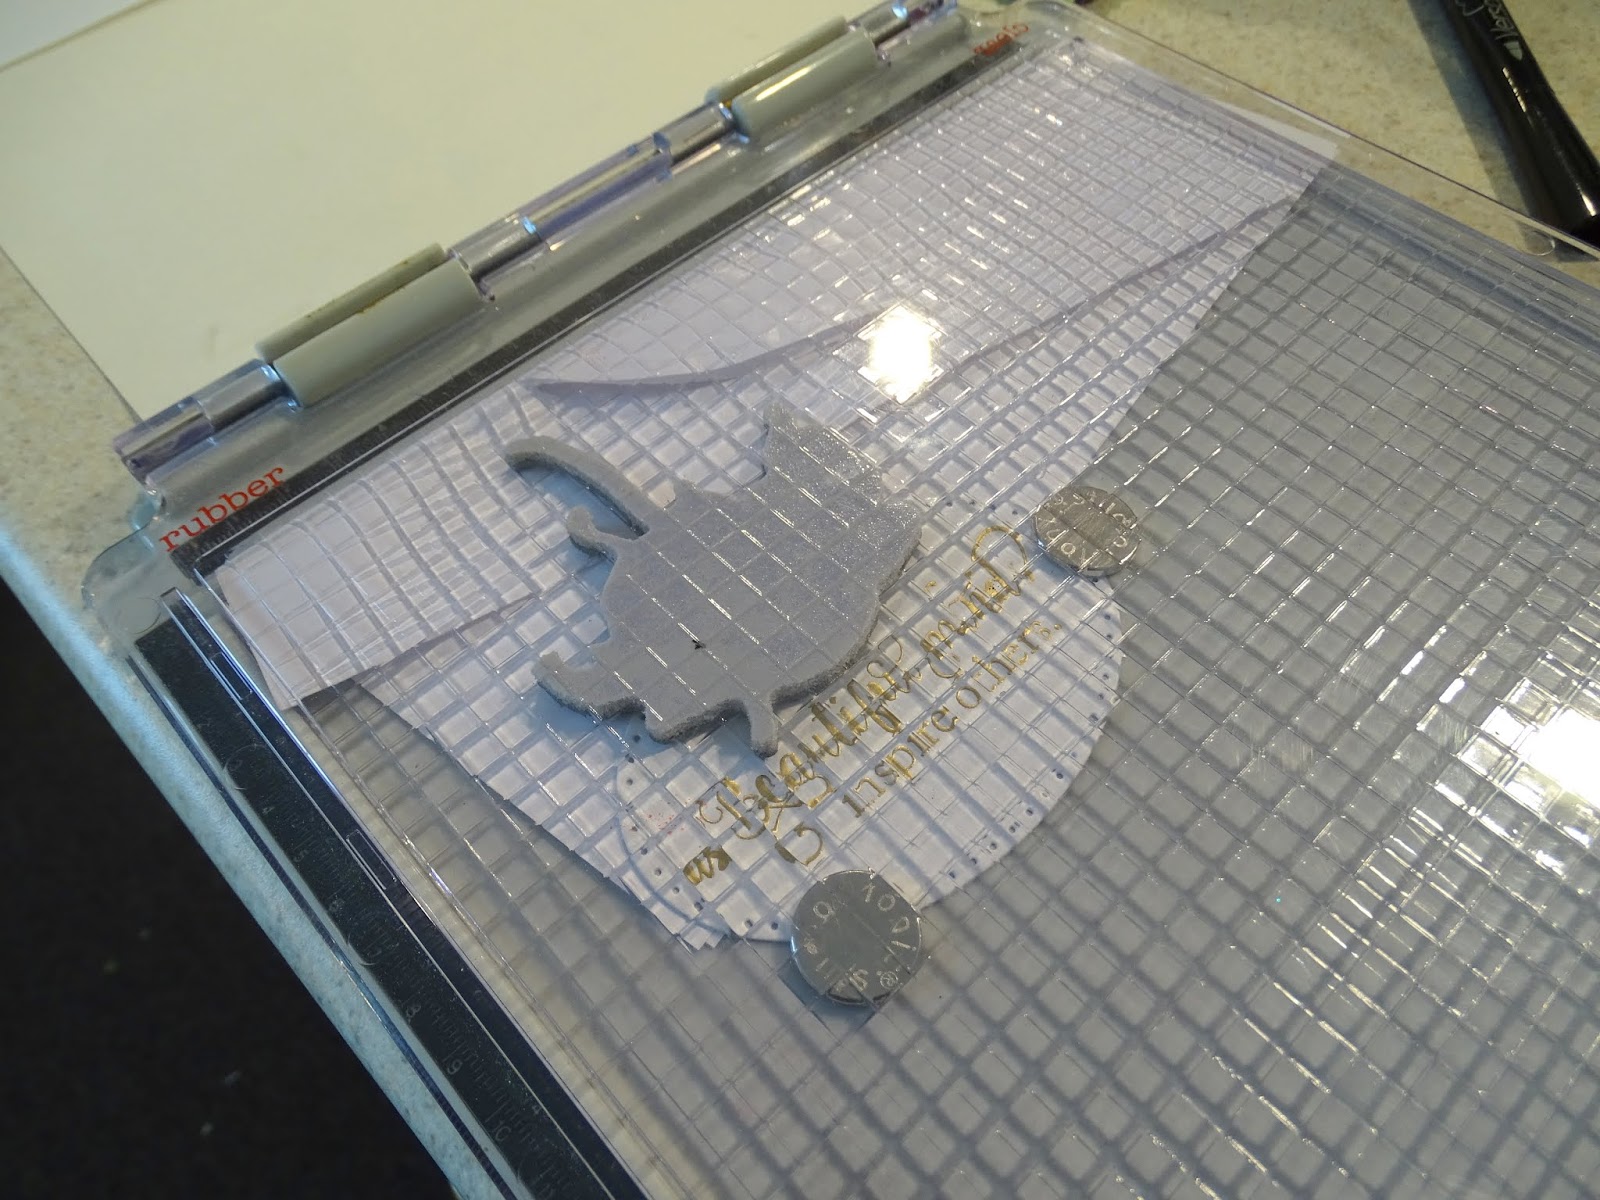
Next I stamped on top of the flower circle with Nuvo Clear Mark and heat embossed with Gold Detail the same butterfly image.

Nuvo Deluxe Adhesive was applied to the back of the fussy cut piece and placed on top of the stamped image.

The larger flower was stamped twice in Nuvo Clear Mark and heat embossed with Gold Detail and then after being colored with the colors from the same pallette, they were fussy cut with the 5" Mini Scissors.

An embossed frame was made from cutting out an oval from the Craft Perfect Ivory Bouquet paper, using the Tangerine Machine along with the Sizzix Dotted Ovals and a Spellbinders Grand Ovals die.

Next I made my card base. Using the next biggest size oval die, I cut out the front of the easel card and then the base was made, using a scrap piece of cardstock at the fold of the card base, to "stop" the machine from cutting past the fold - the card front would then be placed on top. I did the same on the base edge - this way the base is also rounded.

For the smaller sentiment I applied Versamarker pen to the word "as" from the first sentiment and stamped it on to white glossy card with the Nuvo Clear Ink and then heat embossed with Gold Detail again. Then using the Stamp Platform I lined up the second sentiment and embossed with Gold Detail. This was then die cut in the Tangerine using one of the smaller Dotted Oval Dies.
The large flower was stamped again above this sentiment with a piece of scrap paper under the oval, so ink would not hit the platform. Again stamped with Nuvo Clear Mark and heat embossed with Gold Detail.
This was again colored with the Aquaflow Watercolors.

I layered up the card front and then ran the Versamarker Pen around the outer edge of the large oval front and heat embossed a little Gold Detail to distress the edge.

The two colored flowers were then attached to the card front, placing on top of the existing stamped flowers with some 1/4" Tear-ific Tape.

The Sakura Glue Pen was used to apply a little Autumn Frost Glitter to the center of all the attached flowers and Butterscotch Glitter to the petals.

Two more images were stamped using the Hybrid Inks Tropical Fruits on the card base and then the smaller sentiment was positioned on the card base as my "stop" with mounting tape. A few Honey Gold Crystal Drops were added to the base of the easel. This finished off my card for today.

If you leave a comment here and then also go over and leave a comment on the Sparkle N Sprinkle Blog you will be eligible to win a $20 gift certificate for the Sparkle N Sprinkle store. Not many people are doing this, so your chances of winning are pretty high - just saying!
Below is a list of products that I used on my card, the majority of which can be found in the Sparkle N Sprinkle Store:
Gold Detail (EP168)
Sizzix Dotted Ovals
Spellbinders Grand Ovals
Mounting TapeI'd like to play along in the following challenges:
Crafty Creations Challenge #367: Anything Goes
Crafty Gals Corner Challenge #166: Anything Goes
City Crafter Challenge Blog Week 414: Watercolor Flowers
World Wide Open Design Team Challenge #5: Anything Goes
Thanks so much for stopping by,
Crafty Gals Corner Challenge #166: Anything Goes
City Crafter Challenge Blog Week 414: Watercolor Flowers
World Wide Open Design Team Challenge #5: Anything Goes
Thanks so much for stopping by,
I'll see you back here in June!
Shona
Your card is absolutely beautiful and the sentiment is one of my favorites. Thanks so much for joining us at City Crafter :)
ReplyDeleteIt's very beautiful ! I loved the shape a lot and all the flowers..
ReplyDeleteGorgeous!
ReplyDeleteGreat shape
and design.
Carla from Utah
Oh my, Shona - a stunner! This is just gorgeous - love your watercoloring and the beautiful detail. The speciality paper really gives this an extra WOW! So much beauty ♥
ReplyDeleteShona, WOW this is gorgeous.Love that stamp set and you really made a fabulous card!!! Love the oval shape. It really is a super card. Great coloring!! Thanks for sharing all the details.
ReplyDeleteBeautiful aster flowers and a wonderful card design I love the butterfly too. The sentiment is fantastic too. You always do gorgeous work.
ReplyDeleteGreat step by step! Such a pretty card!!
ReplyDeleteBeautiful card Shona xx
ReplyDeleteThank you for sharing with us here today at World Wide Open Design Team Challenge and best of luck with your entry.
Dianne DT for the World Wide Open Design Team Challenge
Hi, Shona! Your layers of color, texture and images is almost like a puzzle! I love the way you have "woven" the images with the masking technique. The layers of color is not only gorgeous, but so intriguing! It's a fabulous card in every way. Love it! hugs, de
ReplyDeleteWhat a glorious card with glorious colours, a wonderful design and shaped card, another STUNNING creation from you Shona, I LOVE it. I LOVE the texture and your tutorial makes me think that I could do it too, (far from the truth LOL)
ReplyDeleteFaith
x
A splendid creation to show off this beautiful new floral set. Love the way you've used the flowers to create the frame mirroring the oval shape. What a fine masking job too! That was a bit of tedious fussy cutting to get all those petals just so - to make the frame so perfectly aligned. I also liked the detail of the one gold embossed flower. The textured white dp is gorgeous too! The sentiments are lovely in thought, and this is one of your best yet (I know I always say that!) I'll echo Faith in saying your tutorials make it look easy (and I agree with the last part of her statement as well :-) ). TFS & Hugs
ReplyDeleteThis is so beautiful and thank you for the step by step photo tutorial too. Great work.
ReplyDeleteThank you for sharing with us here today at World Wide Open Design Team Challenge and best of luck with your entry.
Annette DT Registered Owners/Admin for World Wide Open Design Team Challenge
Wow, this is gorgeous! I love the colors and your design is so beautiful.
ReplyDeleteThis is gorgeous and so creative! Love all the elements!
ReplyDelete