Thursday, September 22, 2016

BE THE PERSON YOUR DOG THINKS YOU ARE!

Hi there,

Today I'd like to share a card with you using the new reveal set 793: Puppy Girl.

Be the Person

To begin with I stamped the image with Memento Tuxedo Black and then colored with Copics, YR00, RV42, RV95, R21, R22, E04, E13, E33, E35. For the background I took a piece of pink cardstock and covered it with a piece of Super Adhesive Sheet. I removed the protective backing and burnished Pink Spirit Sparkle N Soft onto the sticky surface.

Be the Person

I then took Rich Cocoa and inked the raised side of the Darice Paw Print Background embossing folder, The pink, flocked piece was inserted so that the ink would transfer on to the fuzzy surface.

Be the Person

This is the result - a sparkly, fuzzy background.

Be the person

I didn't want to cover up the majority of my background so I decided to make a frame around the image instead. I cut the background in half, then used the Spellbinders Mega Ovals Large to make an "opening" for my image. Place the die on the cutting plate, then position the background halves, so that the top and bottom corners are where the die will start cutting. I taped them to the plate, so they wouldn't move, then I ran it through the Big Shot.

Be the Person

The pieces were then taped down on top of the image.

Be the Person

I decided to curve the sentiment along the edge of the image. Place it on the acrylic block and bend it slightly before you ink up. I used Memento Rich Cocoa to stamp with.

Be the Person

Next step was to "give a dog a bone!" In fact he got three! I had little white bone brads, so I dipped them on my Versamark pad and then with tweezers dipped them into Vintage embossing powder and heat set them. They were then added to the image.

Be the Person

Be the Person

I attached the card front to a piece of 6" x 6" cardstock edged with 1/4" Tear-ific Tape. Sparkling Sands was then applied to the remaining sticky edge to finish off my card today. Not sure what that little speck is on the leash. Didn't notice it until now, but it's not on the card!

Be the Person

I'd like to join in the following challenges:

Hope you've enjoyed my share today,

Hugs,

Shona

Thursday, September 15, 2016

LOVE IS LIKE A BUTTERFLY!

Hi there,

September 15th already? Where did the summer go? I do really enjoy the Fall weather, especially since we had such a hot summer this year, but I really don't enjoy having to get up at 5.45am to get the youngest up for the High School bus which comes at  6.28am!!

Before summer is officially over, I would like to share this butterfly tag that I made, which was inspired by my garden where the Coneflowers and Joe Pye Weed, in particular, have had many visits from the beautiful Swallowtail butterflies. I've taken many photos of them again this year and have often wondered "what happened to that little guy's tail?" .... and it always amazes me how different each one of the markings are, although they are the same species. Another Mother Nature miracle!


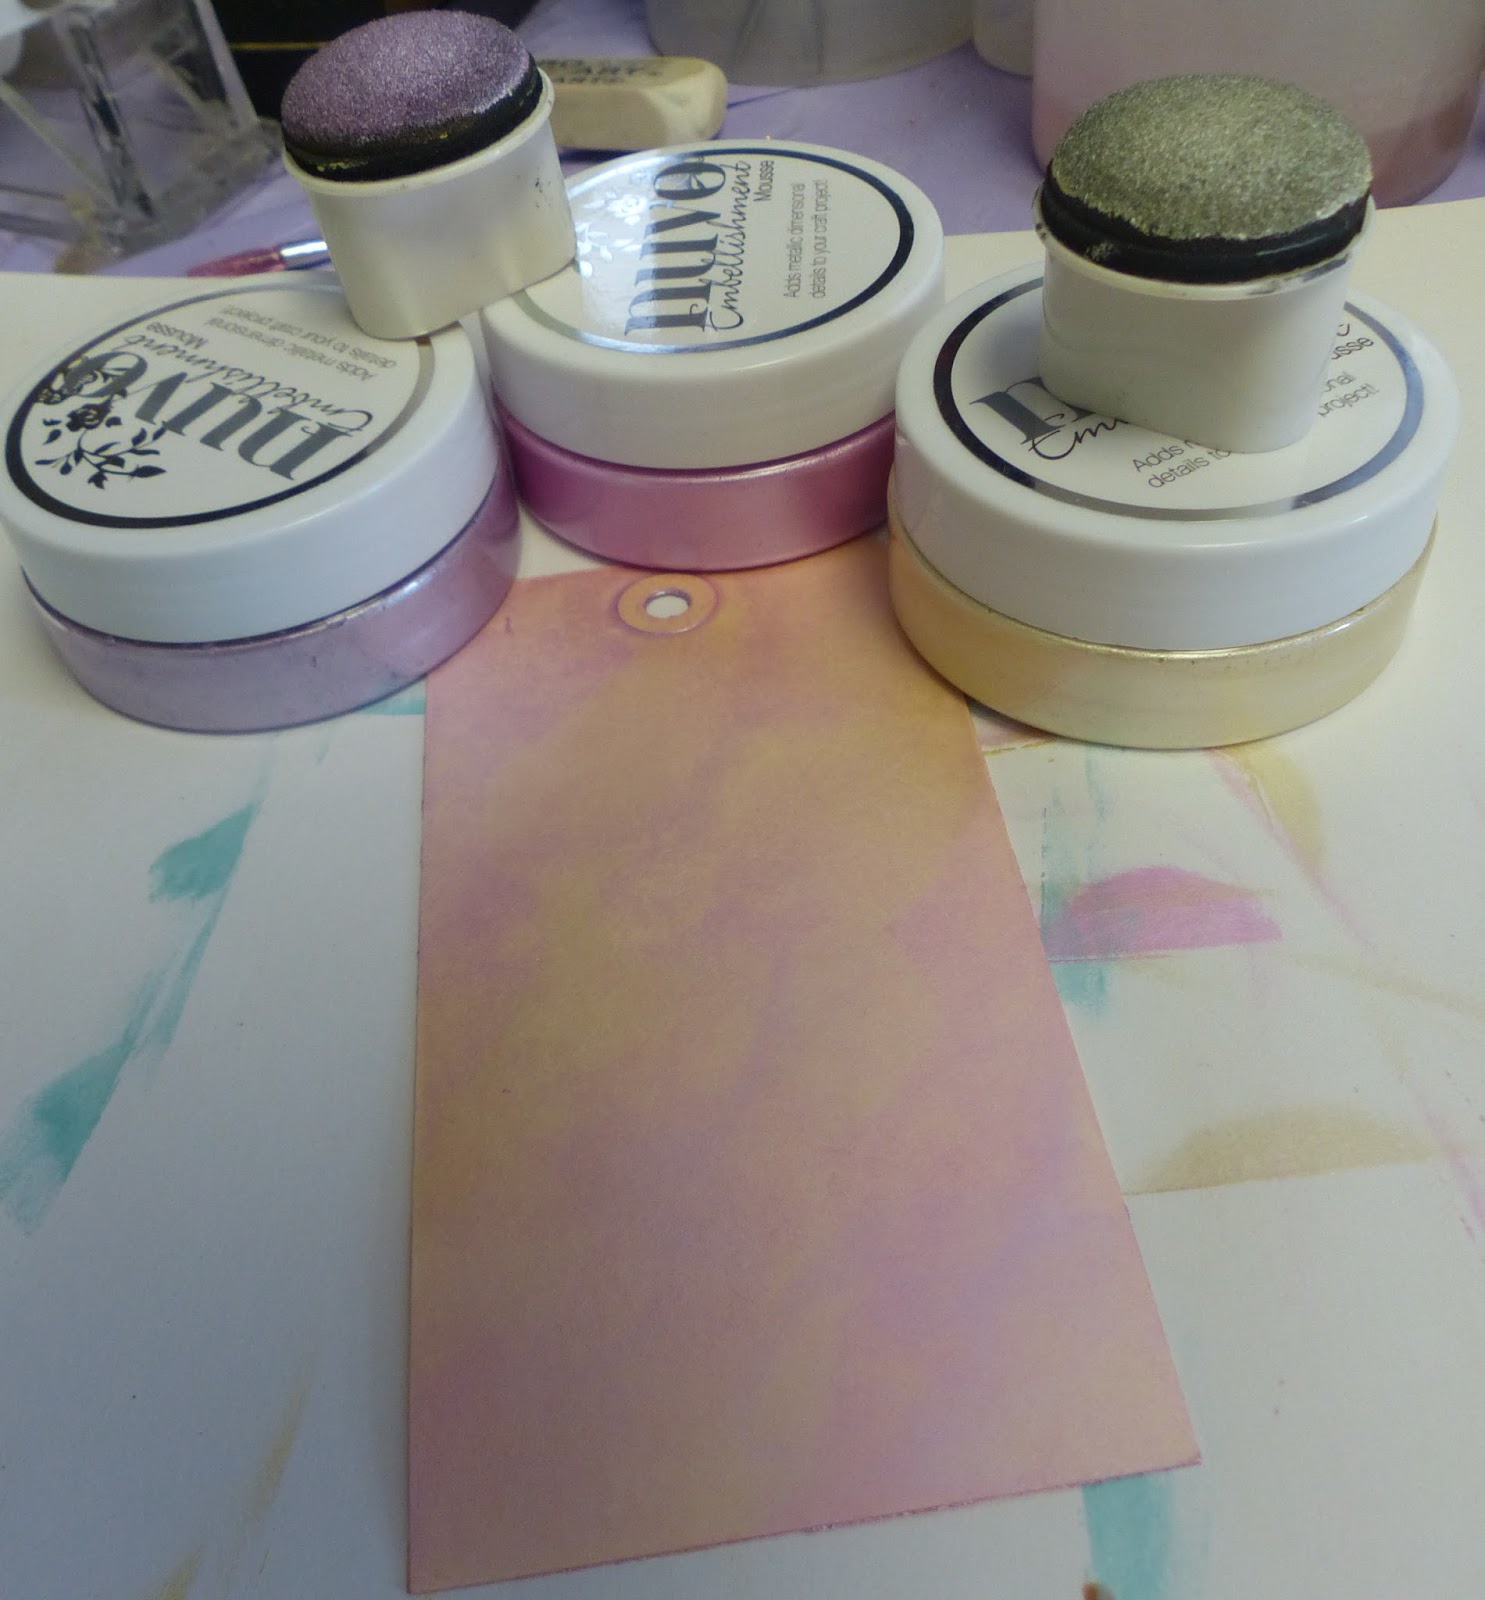
I decided to have a little play this time! What fun. I still used many SNS products, but this time the stamps I used were from quite a while back set 437: Fancy Butterflies. I started with a Kraft tag and daubed on Nuvo Embellishment Mousse: Mother of Pearl, Peony Pink and Lilac Lavender.


Then I took the smaller butterflies from the set and stamped them sporadically all over the tag with Memento Lulu Lavender.


I then stamped the bigger butterflies in Versamark and heat embossed them with White Detail.


The "Want to Scrap" Butterfly chipboard piece was daubered with Stampendous embossing ink. This saves marking your Versamark pad with the chipboard.


I heat embossed Dragon Fruit to the bottom and Mulberry to the top half of the butterfly. Then I started to play around!


Magic Speckle was sprinkled around and heated from the bottom (otherwise the powder would have gone everywhere!)  Love the mosaic look that this EP gives. Then a little more Dragon Fruit, then a little more Magic Speckle! You get the idea!


I took Crafter's Workshop: Mini Butterfly Meadow stencil and stenciled a few little insects on the tag. I positioned the stencil at different spots around the tag and put the Nuvo Embellishment Mouse in the little areas. Clean the stencil immediately - this stuff is really quick drying!


After I added the Mousse insects, I quickly gave them a little "bath" with Crystal Ice, which gave them a lovely sparkle.


After the sentiment was stamped in Versamark and heat embossed with Concord, I took some of the Peony Pink Mouse and used my finger to edge the tag. The tag was then layered to a slightly bigger piece of black cardstock.


I did the same method with the Love "Want to Scrap" piece, as I did with the butterfly, except I heat embossed with Concord and then added a  little Magic Speckle again.


The Butterfly was added with Foam Squares and "Love" was attached with Dimensional Glue. Black and Pink Ribbons were threaded through the hole. Then Nuvo Drops Ebony Black, Raspberry Pink and Glitter Drops Purple Rain were then just dotted around the piece as I saw fit, to finish my project for today.


I'd like to enter my tag in the following challenges
Fab 'n' Funky Challenge : Inspired by Nature
Stampotique Designs Challenge no. 257: Put a bug on it
Ike's World Challenge 72: Things that Fly

Here are a couple of photos of the butterflies in my yard. See what I mean about the tail?


Hope you've enjoyed your visit today.

Hope to see you back again soon,

Hugs,

Shona


Thursday, September 8, 2016

GRANNY WITCH

Hi there, 

I'm here today to share another Halloween card with you from the new reveal set 799: Call me Witch.

Granny Witch

Isn't this little Granny a hoot? I began with stamping her on white cardstock with Memento Tuxedo Black and she was colored with Copics.

Granny Witch

After she was colored, I sparkled up her buckles on her shoes and hat with a Sakura Glue pen and Reflection Velvet Glitter. She got Dimensional Glue applied to the her glasses and I used the Nuvo Medium Tip Pen to add Blissfull Blue Sparkle N Soft to her hair. Orange Crush was also applied to her blouse. She was cut out with the Spellbinders Mega Ovals Large, but before I removed the die I sponged some Dandelion Memento ink around her. Then some Indian Gold and Lilac Lavender Embellishment Mousse was rubbed on to the edges of the piece with a dauber. OK, now she needs a background.

Granny Witch

I took a piece of 5 1/4" by 4" piece of Super Adhesive tape and stuck it down to a piece of white cardstock, then removed the protective backing and started to line up various strips of Tear-ific Tape diagonally on top. When the whole piece was covered with the strips, I straightened the edges then lined up the Velvet Glitters. Purple Rain, Tiger Orange, Celebration, Daisy, Hyacinth, Margarita and Golden Wheat were burnished in one at a time as each strips' backing was removed.

Granny Witch

This piece was layered on to black cardstock. The sentiment was stamped in Versamark and heat embossed with Concord, one of  my favorite detailed Tuscany colors. It was cut out with a QuickKutz Speech bubble die and was sponged with Cantaloupe ink.

Granny Witch

I made my broom from a skewer and some raffia. Coloring the handle with brown Copic Marker and then taking several pieces of raffia and bending them over to make the head of the broom. Some more raffia was wrapped around the base of the head, attaching it to the skewer. I punched a hole in the witch image and used invisible thread to attach the broom head to the image. I made a "long glue dot" by taking a piece of 1/8" Tear-ific tape and attached it to the bottom of the broom to keep it in place on the card. The witch and the sentiment were attached to the card with Foam Squares and then the Nuvo Crystal Drops: Crushed Grape, Wisteria Purple and Purple Rain Glitter Drops were randomly applied to spots on the card front to finish it off.

Granny Witch

Hope you liked my project today?

I'd like to play along in the following challenges:
My Time to Craft Challenge 328: Something that flies!

Till next time,

Shona