Well, still no power, but we do have internet, so I'm typing with cut-off gloves! The bedroom was 47 degrees this morning!
I'm going to quickly try to put up a tutorial that I did this weekend using Staz-On with Sparkle N Sprinkle's new Velvet Glitters.
So let's get started:
Take a piece of 2 1/2" Tear-ific Tape and apply it to white cardstock.

Remove the protective backing and apply Cloud Nine Velvet Glitter, burnishing it in well with your finger.

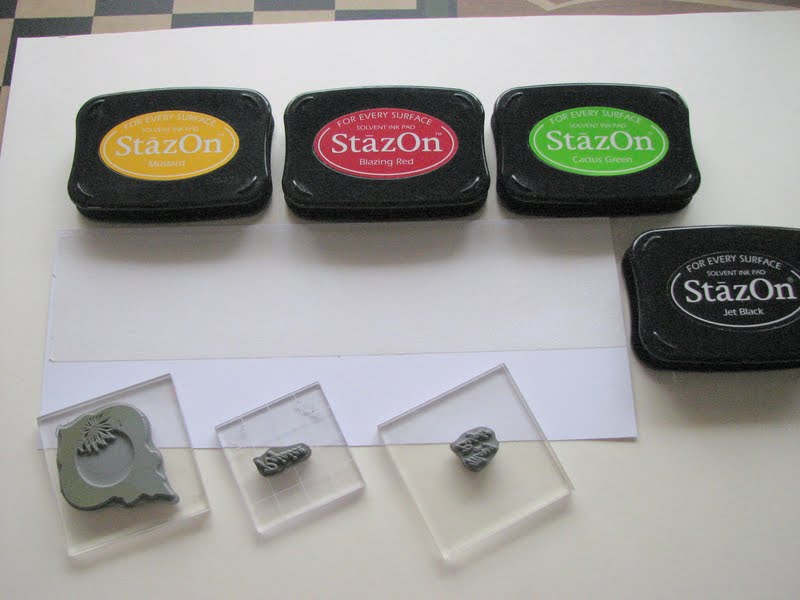
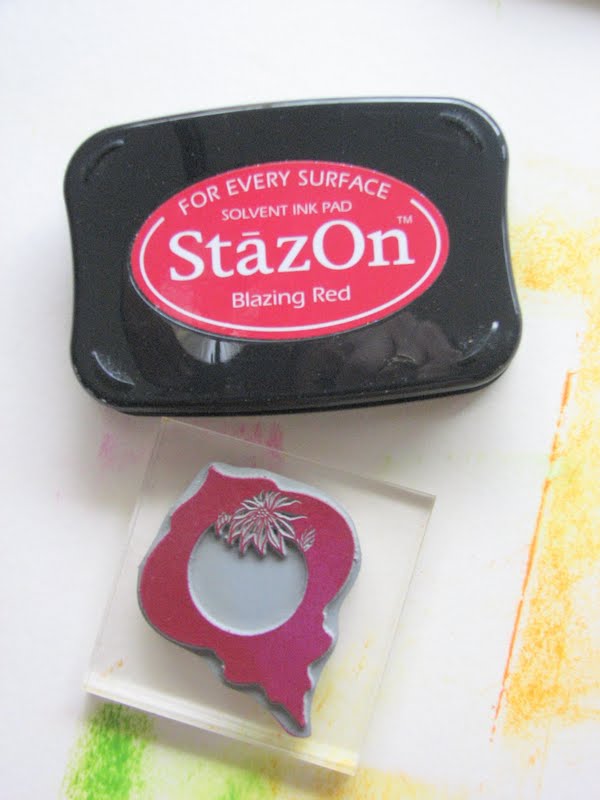
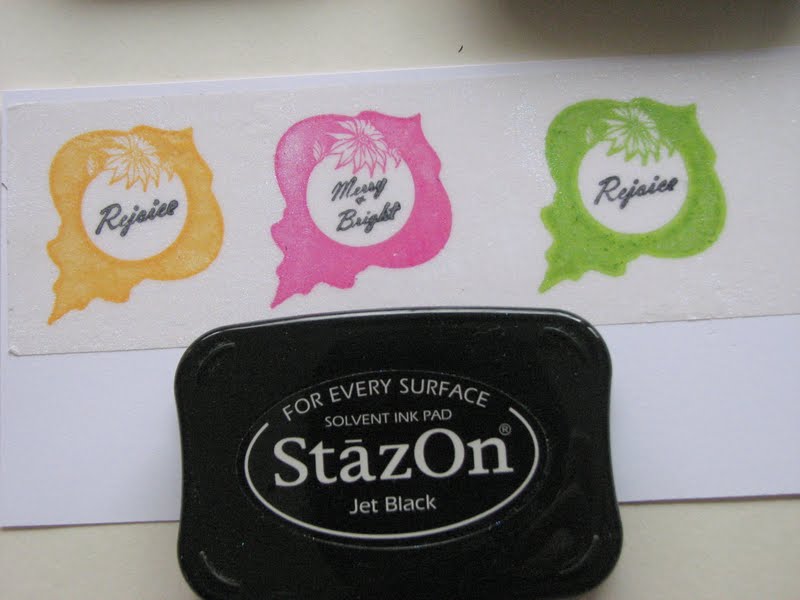
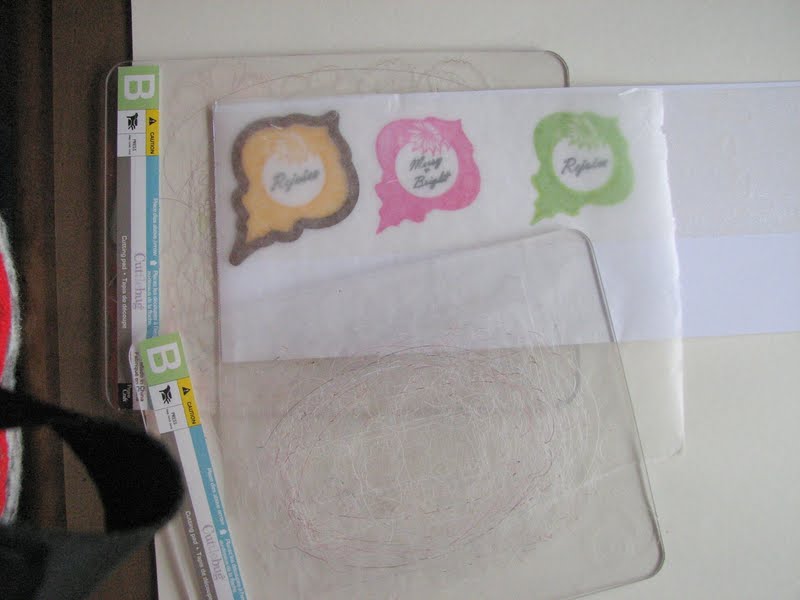
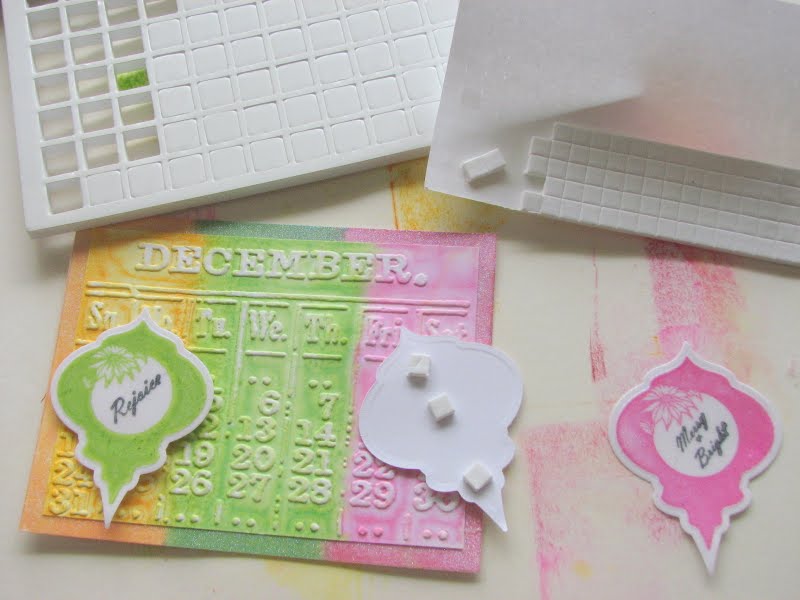
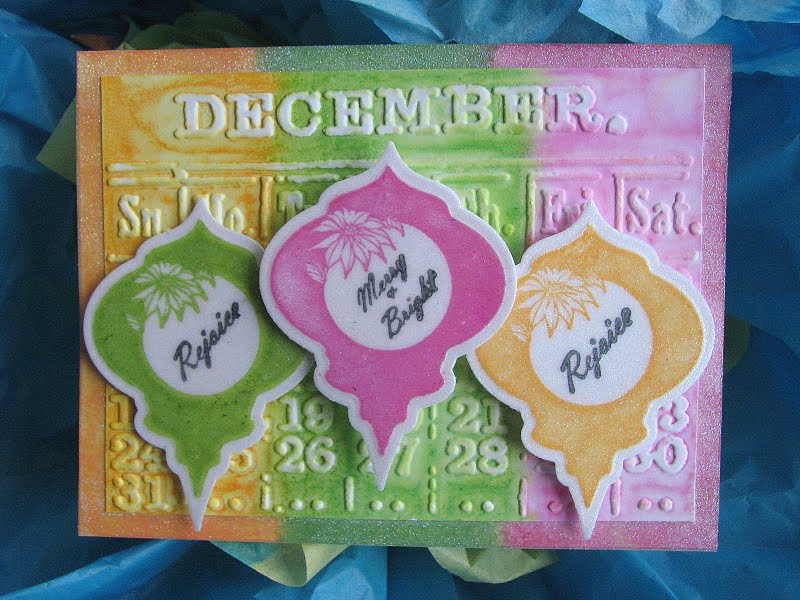
Ink up your image (I found that bold images work best with this technique) with the Staz-On color of your choice and stamp on top of the glittered piece. On this card I am using the Poinsettia Ornament image and some of the sayings from Set 418: Nesties Ornaments.
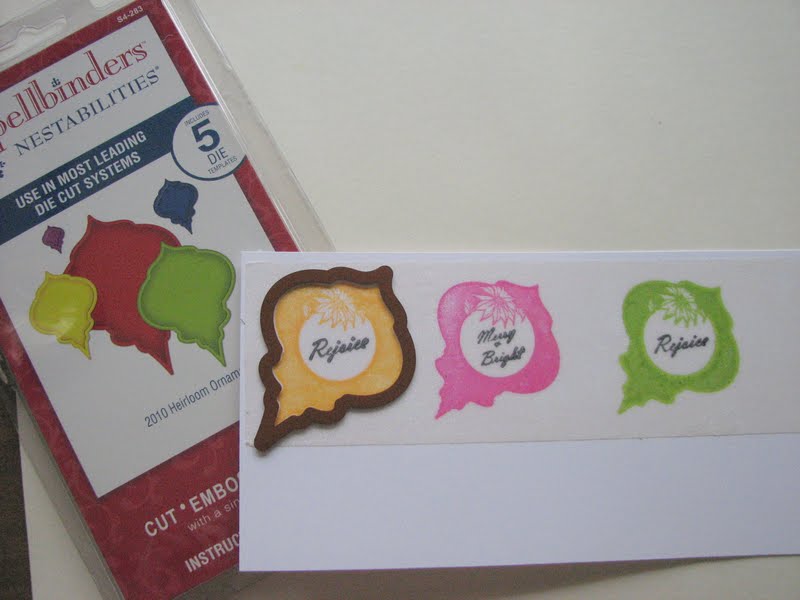
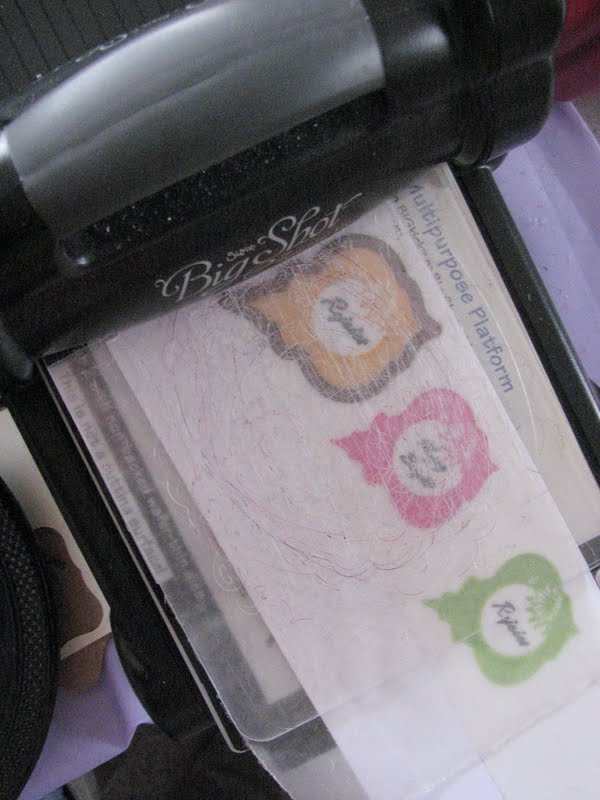
Sparkle N Sprinkle also carries the Spellbinders 2010 Heirloom Ornaments dies. They can also be bought together as a combo. This is what I used to cut and emboss my ornaments with. One thing I did find - if your plates are cut up like mine, it helps to put a piece of wax paper between the stamped image and the top plate, it keeps the image nice and clean.
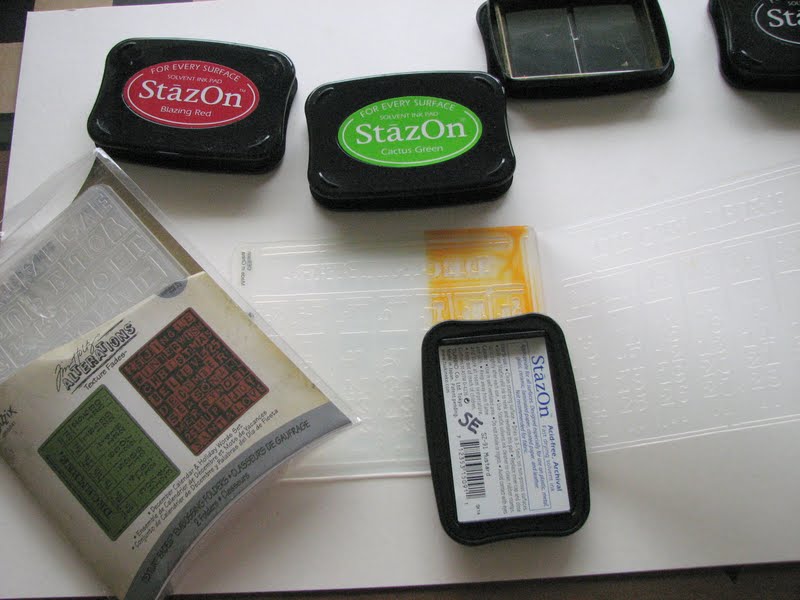
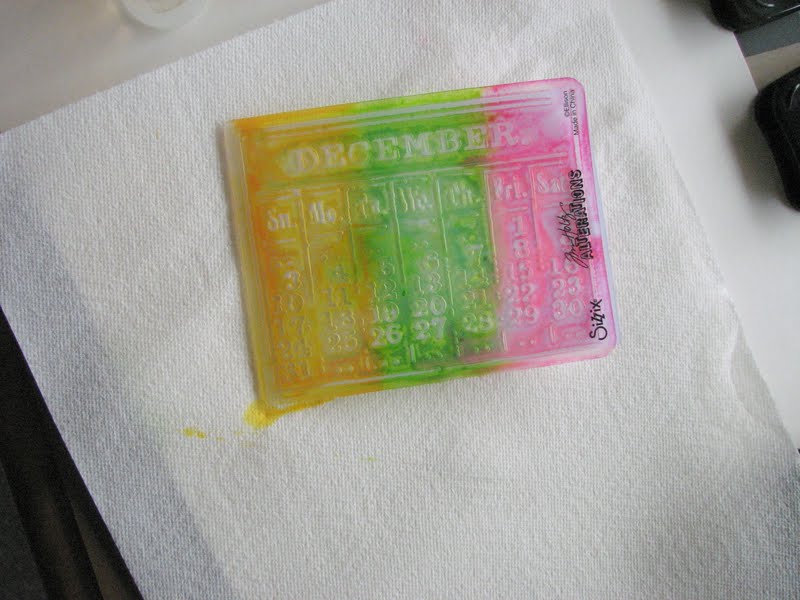
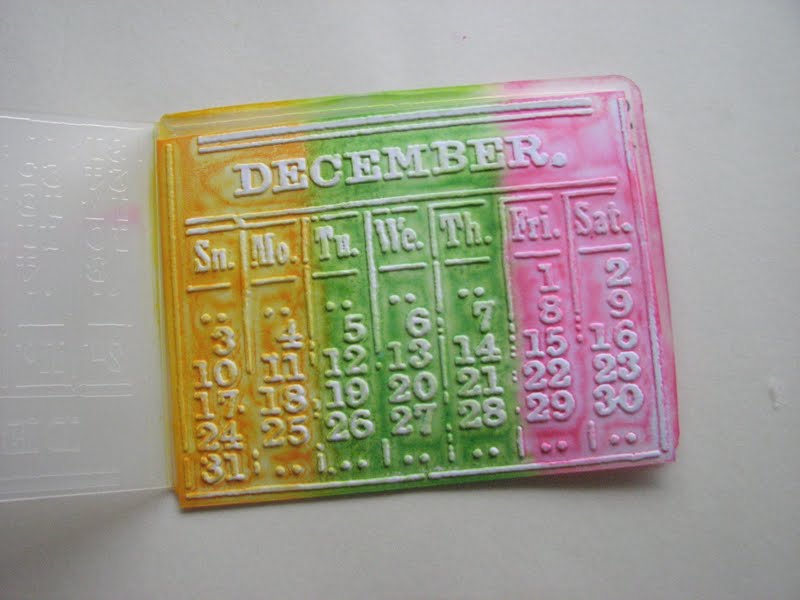
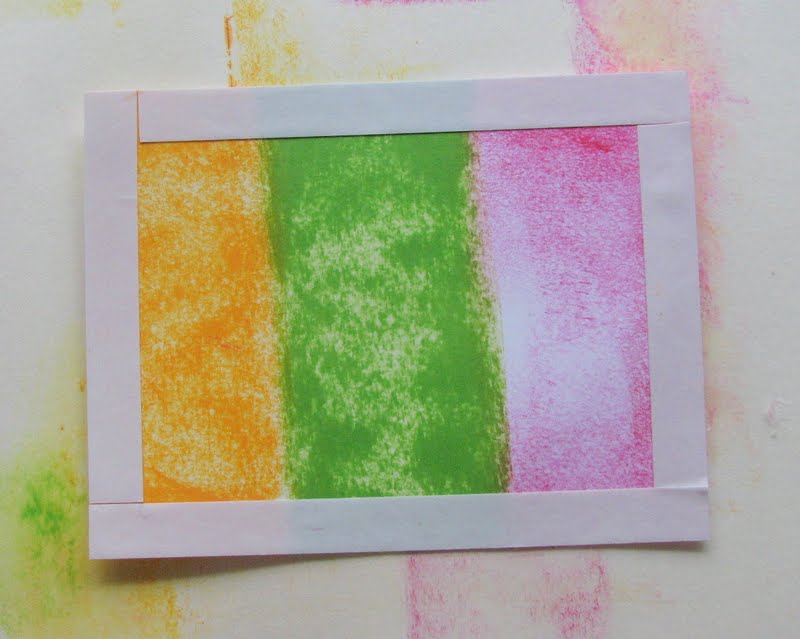
So I was thinking of how my ornaments were going to be staged? I figured I needed to do some kind of background using the same three colors, but I couldn't emboss anything - as I'm without electricity? I tried inking up the embossing folder with the three colors and running a piece of white cardstock through:


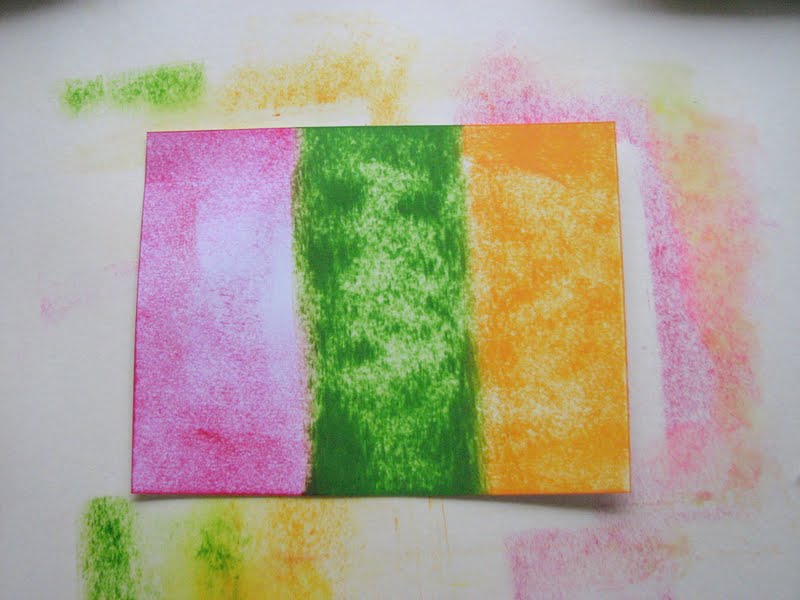
Well that looked pretty uninteresting!! So, I went to clean the folder with Staz-On Cleaner and the colors got all wet and blended a little, so I thought rather than wiping all this color away, I'll try putting another piece of card through, I didn't have anything to lose (well - just a piece of cardstock!) I wrapped everything up in paper towel first, as I was scared that the wet ink might ooze out on to my plates, machine etc!
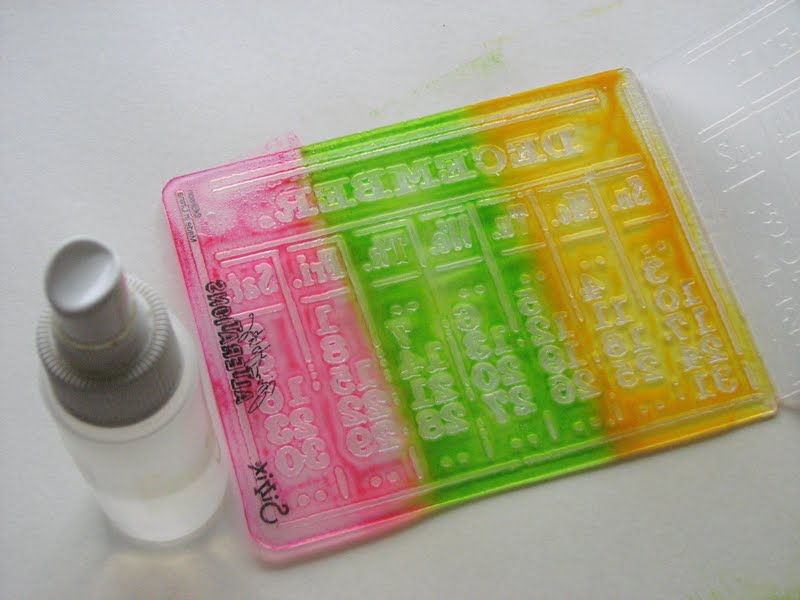
Oooooh! So pretty! That was a stage for my baubles!
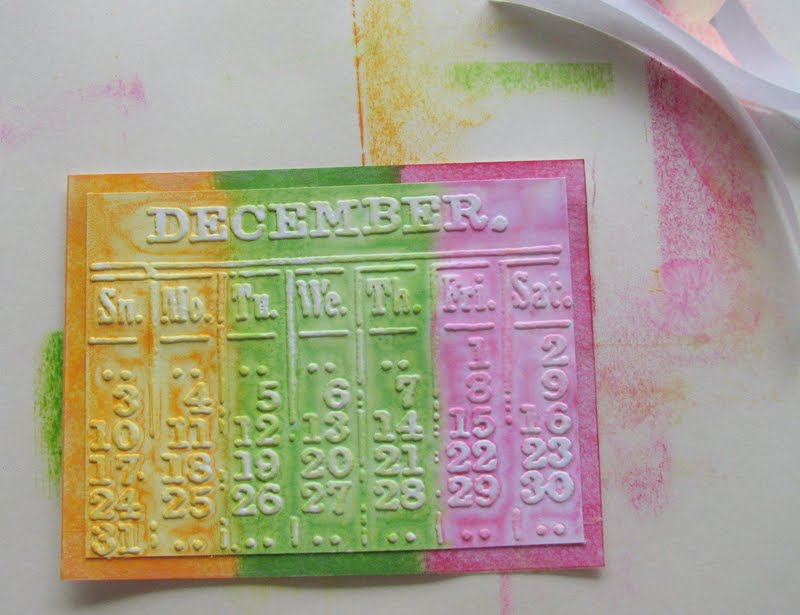
So after I got the piece of card dry (normally I would have used my heat gun - but I had to dry it by the fire place for a half hour!), I cut the lines off. I inked up the edges of the card front with the same colors of ink and edged the piece with 1/2" Tear-ific Tape.
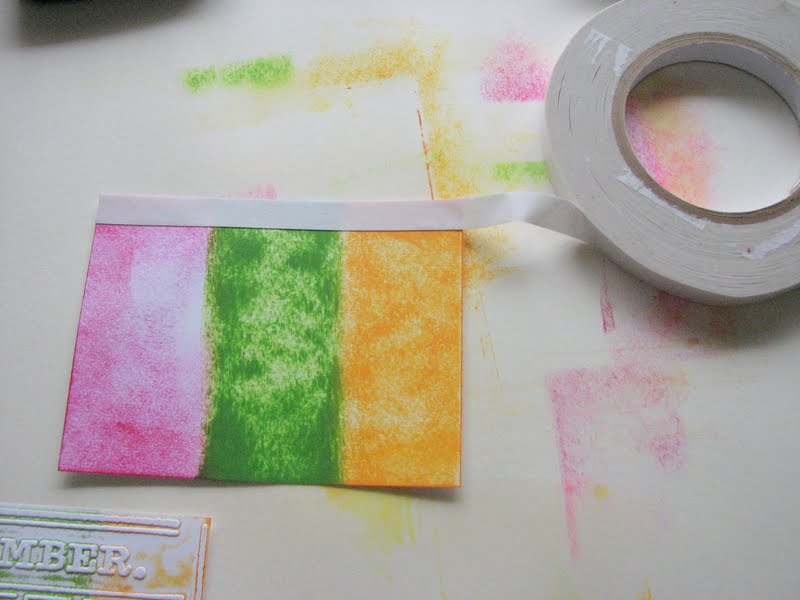
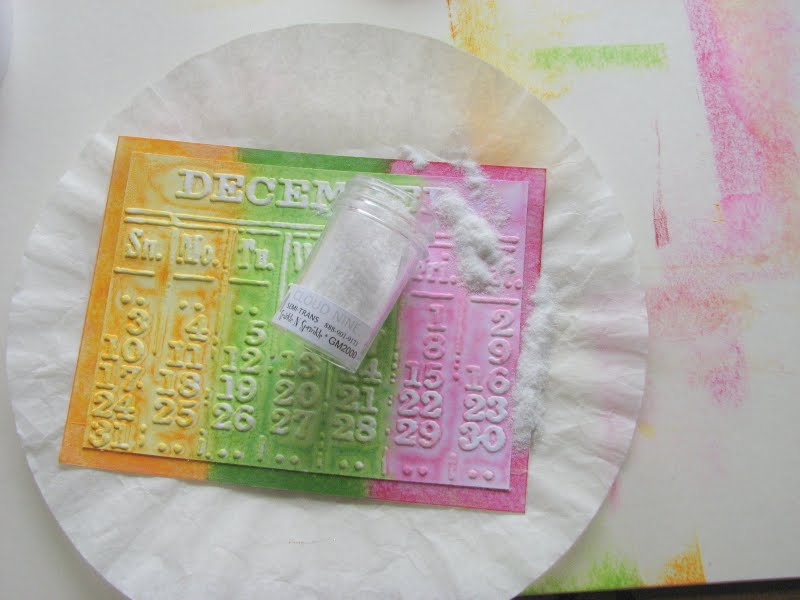
Once edged, remove the protective backing and center the calendar and apply Cloud Nine Velvet Glitter to the exposed edges.
I then attached my baubles with dimensionals:
Here is my finished project! You can find complete details in the Sparkle N Sprinkle Art Gallery.
Hope you've enjoyed what I've shared with you today, 'till next time - keep warm!
Great job on the tutorial!!! They're just so pretty :) Still laughing over the drying by the fireplace.... Hope you get your electric back soon....
ReplyDeleteFabulous tutorial! Love the results. I hope you get power and heat soon!
ReplyDeleteA fabulous tut, Shona! I will try to get it up tomorrow - had doctors today. The colors look amazing! Thank you for sharing this.
ReplyDeleteWOW Shona wonderful tutorial. I love your baubles and the colors you choose. Amazing that you put this together with no electricity.
ReplyDeleteThis comment has been removed by a blog administrator.
ReplyDeleteOMG! Shona -- what a great technique and tute! Never thought of this. maybe because I only own Black and red StaZ-On. Way to go!
ReplyDeleteWow, what a great tutorial Shona - so well documented in your photos! Great bold colors on your card too!
ReplyDeleteI did enjoy your glittered card. It just amazes me what creative ideas just happen while messing around. Didn't think of Stazon as something to blend.
ReplyDeleteOk...I've gotta try those techniques. I just love glitter, glitz, and glam!!
ReplyDelete
ReplyDeleteshona, I love your tutorial. I am a visual person, so it was great! Keep warm and keep stamping.
WOW what a wonderful tutorial and the picutres were a big help. I have tried inking an embossing folder but it did not come out like yours, will have to try again. Stay warm and I hope you get your power back soon.
ReplyDelete