Saturday, February 28, 2015

SPARKLE N SPRINKLE'S MARCH 1ST REVEAL

Hi there and welcome to a new month! Let's hope by the end of this one we have got some daffodils! I'm sure everyone is ready. Before we know it we'll be complaining of the heat. Well for now pour a nice cup of hot coffee and join our Sparkle N Sprinkle mainly "Coffee Shoppe" themed blog hop. I decided to incorporate two of the new sets for my reveal card, Set 694: Coffee Time and Set 696: Best Friends Forever.


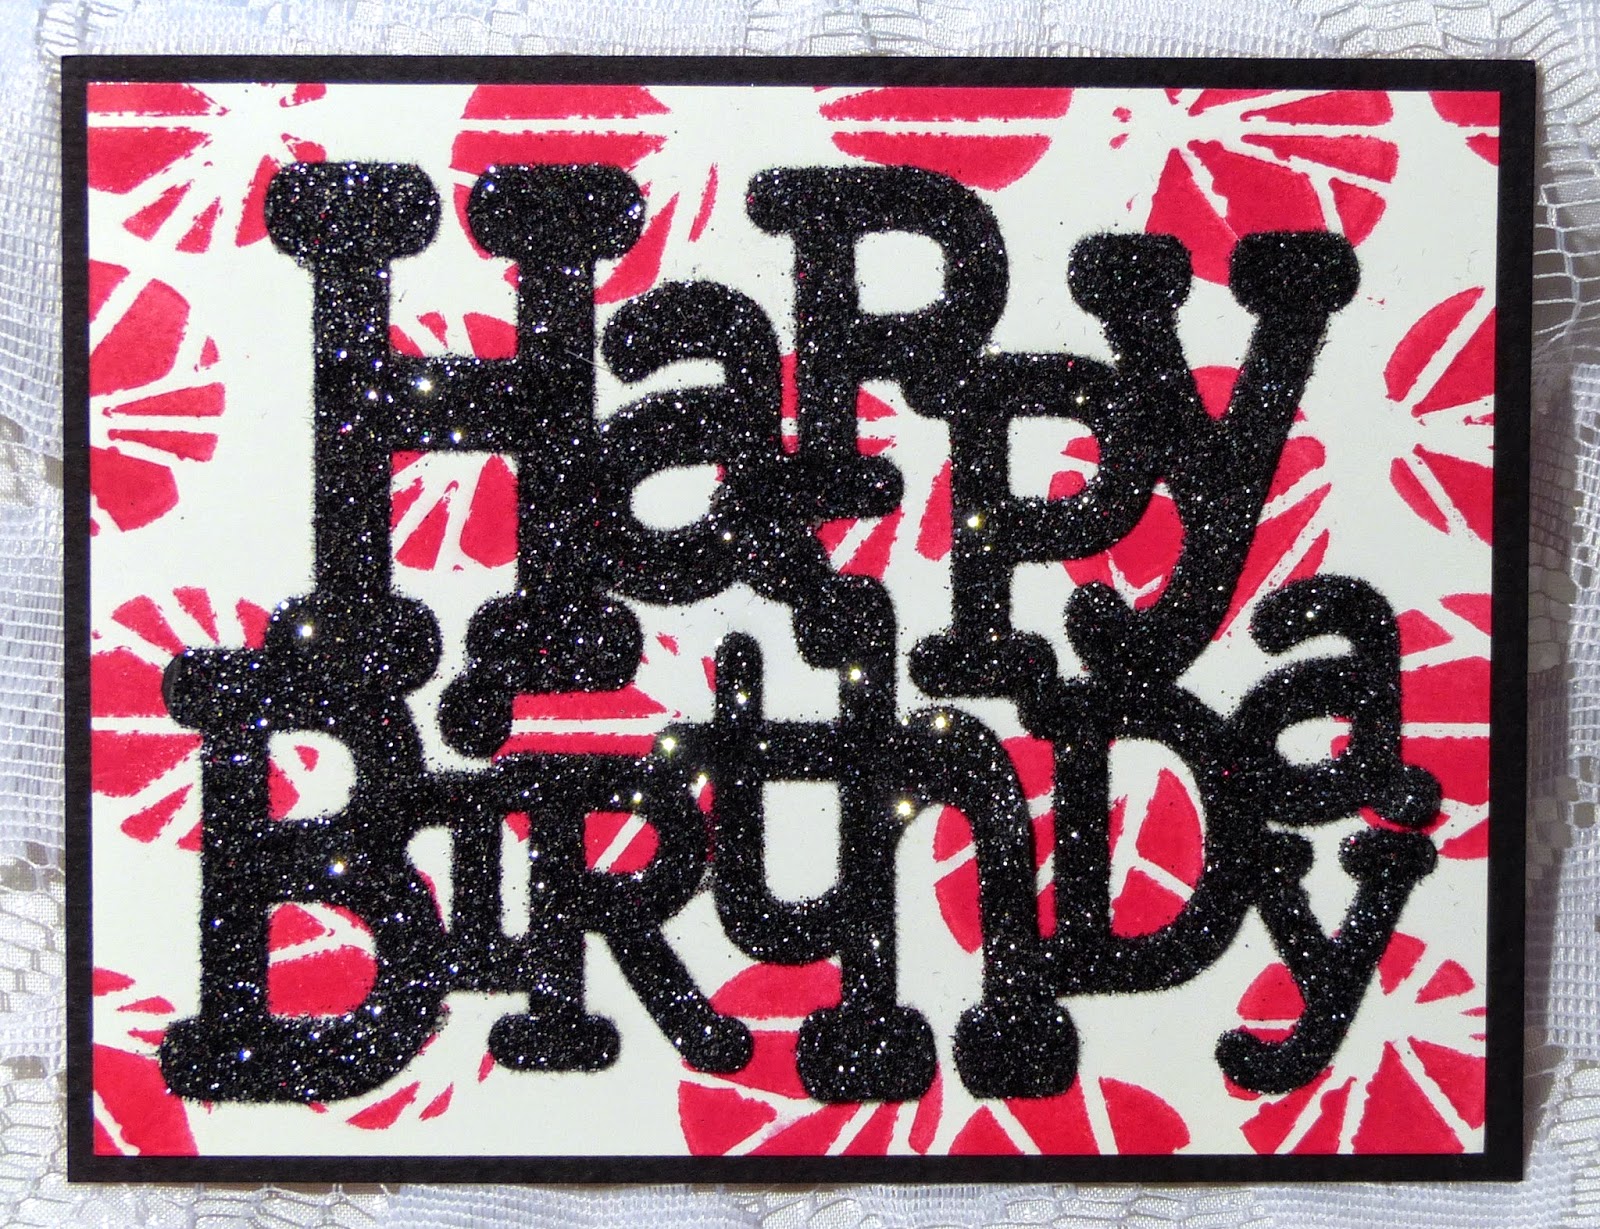
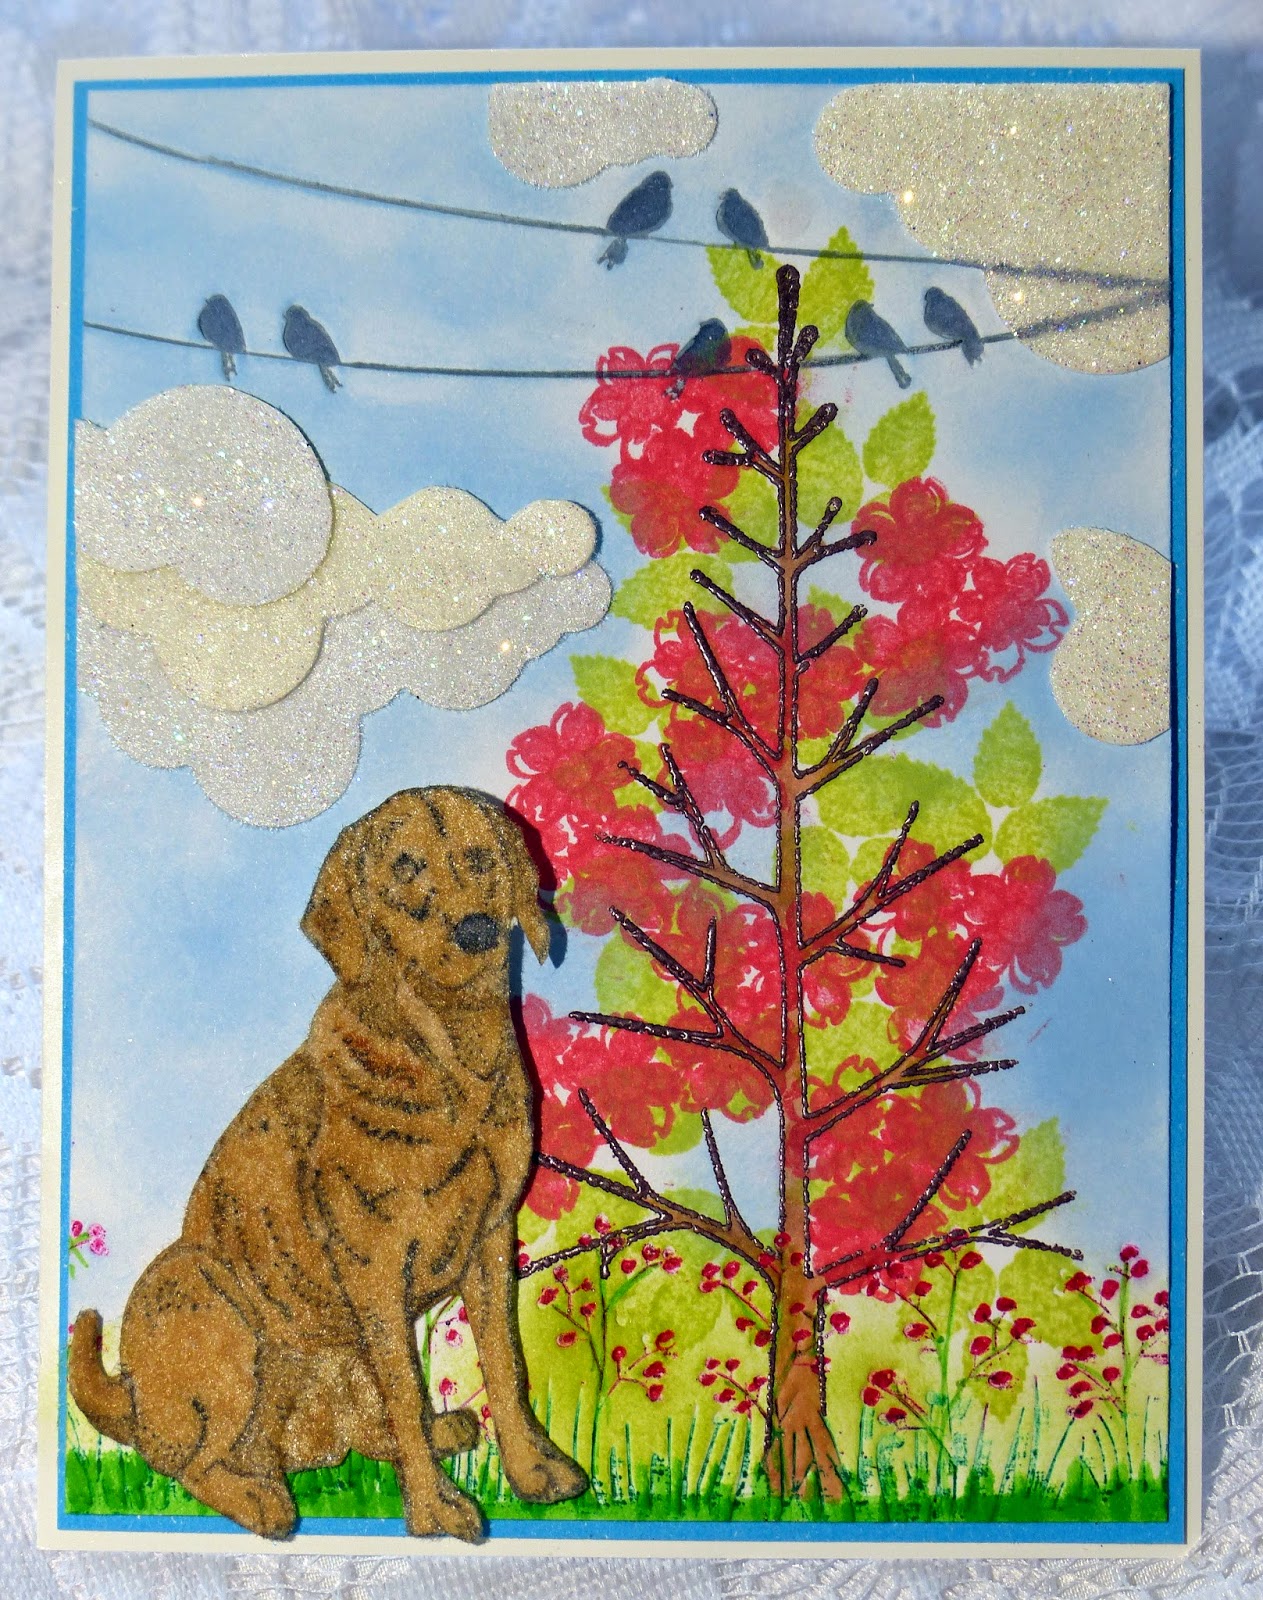
This month SEVEN new rubber stamp sets are being introduced. These sets are 20% off their regular price until March 3rd. All the new sets are available on Cling Mounted Rubber and as a digital image. Glasses #698 is the stamp set featured in This Month's Technique Video.

Here are the seven new sets:


Coffee Time #694   (digi version DIGI694)
Coffee Shoppe #695   (digi version DIGI695)
Best Friends Forever #696  (digi version DIGI696)
Mustache #697   (digi version DIGI697)
Glasses #698  (digi version DIGI698)
Expresso Yourself #699  (digi version DIGI699)
Coffee Talks #700  (digi version DIGI700)


On March 3rd,  one Grand Prize Winner will be selected from the comments left on the designers' blogs listed below.  The Grand Prize Winner will receive
all SEVEN of the new rubber stamp sets (or digi sets, if you prefer)


The winner of the blog hop will be announced on March 3 on Facebook, the SNS blog, and on our blogs.  This month's Blog Hop order is:

(Tip: if you have a problem with a particular link, try clicking on the person's blog title to send you to their Home page.)

Don't forget to leave a comment with each Designer to be eligible for the Grand Prize.  We love reading your comments and hope we have inspired you as well.  If you absolutely can not leave a comment for some reason, please email icinganne@yahoo.com with your comment and the name of the blog or Designer you are commenting about.

~~~~~~~~~

The new SNS Creative Challenges also begins today, with lots of prizes and recognition badges.  The theme is always Anything Goes using Loose Glitter, Embossing Powder, and or Flock.
~~~~~~~~~
We hope you enjoy the New Reveals as much as we do!  Last month the winner came from Anita's blog.  Wonder which Designer contains the Grand Prize winner this month?
So now you've got all the information, here is my card share today:


I decided to create a scene with the two sets and have the friends having a coffee at their favorite coffee shoppe after their shopping spree.

After I stamped the two images with Memento Tuxedo Black, they were cut out using my newly acquired Brother Scan N Cut (thanks to my MIL). They were colored with Copic markers. The table cloth and chair seats were paper pieced with some designer paper snippet.

I used a Versamarker pen with Clear Detail embossing powder to go over the metal of the chairs. Some Dimensional Glue was added to the coffee cups.


I ran dark brown cardstock through a Sizzix Bricks embossing folder and took my Brilliance Moonlight White ink and swiped it over the raised pattern. I applied Belgian Cream embossing powder over the ink and heat embossed to achieve the stucco look of the wall.


The sentiment (from another of the sets, Coffee Talks) was stamped in Versamark ink and heat embossed with Moss. This is one of the Tuscany embossing powders, which are my favorites for sentiments when you don't want to use black. They always give a clean detailed impression. I cut and embossed with the Spellbinders Fancy Tags, sponging on some Memento Pear Tart before removing the die.

The bricked background was layered to a white card base which had been edged with Versamark and heat embossed with another of the Tuscany embossing powders, Cayenne.

The images and sentiment were then attached to the card front with Dimensional Dots to complete the card.


So that's it from me for today. Here are a couple of sneak peaks, using some of the other coffee themed sets. Stop by my blog to get details on these soon. AND if you are local - you need to pop over to the brick and mortar SNS store for the "Main Street Shop Hop. Details below:


Main Street Shop Hop

If you live anywhere in the Tampa Bay area of Florida, Sparkle N Sprinkle is participating in the Main Street Shop Hop, along with other local crafting stores.  The Shop Hop begins March 21st. 

You can purchase a tote for $10 to participate.  Included in the tote are lots of goodies, plus your shopping passport.  Spend $5 at each participating store to get your passport stamped.  Once you have all of your stamps, turn in your passport for a chance to win HUGE prizes!  In addition to receiving 10% off your purchases, each store will be offering Make N Takes so you can fill your scrapbook with treasured memories. 
For more information about this event, please visit the SNS Events Calendar.  When you hover your mouse over the event, detailed information about that specific event pops up.
~~~~~~~~~

Hope you've enjoyed your stay today? Remember to leave me a comment before heading over to see what the talented Eret has brewed up for you today!

Hugs,

Shona

Thursday, February 26, 2015

TIE A YELLOW RIBBON!

Hi there, I have another card today to share  using embossing pastes, a stencil and an embossing powder.


I've been working a bit with different embossing pastes, stencils and embossing powders this month. This card came about after trying three different backgrounds:

It's using the Plaid Folk Art stencil: Ditsy floral. I've decided to call this a "negative" stencil, The reason being is that the embossing paste is actually the background, the card you use becomes the "image". To show what I mean - I did it three different ways:


The first is white cardstock, white paste with three different embossing powders. Then I changed it for the yellow cardstock, translucent paste with the same EP's. Then I changed out the EP to just Ebony Spark. The flowers appeared all of a sudden!

I looked at it for quite sometime wondering how I would incorporate it into a card. I had a piece of black cardstock with the Die-Versions Birthday Cut Out sitting in my "pile". I attached the background to the base and stuck a piece of 3/4" Tearific Tape behind the cut out, applying Mimosa Sparkle N Soft to the front. It has some yellow and orange tones to it, so I decided to color the Prima flowers with Dylusions Ink Sprays: Lemon Zest and Pure Sunshine.


I edged the tips of the petals with Versamark and then heat embossed with Tequila Sunrise, to match the two tones of the Mimosa Sparkle N Soft.


Three of the brads were heat embossed with Ebony Spark for the centers of the flowers and then another was heat embossed with Tequila Sunrise for the center of the bow.

I stamped the Wishes (from Set 402: My Rose Garden) in Versamark on white cardstock, hand cut it into a banner and sponged it with Memento inks: Cantaloupe and Dandelion. It was popped up on Dimensional Foam.


The yellow ribbon worked well, since it also had two tones. It was tied in a loose bow and then the card front was layered to a yellow card base.

I'd like to enter this card in the following challenges:
Crafty Boots Challenge: Use a sentiment
Craft-Dee BowZ: Make a handmade bow
Craftin Desert Diva's: Use Ribbon

Hope you've enjoyed my share today.

Hugs,

Shona

Sunday, February 22, 2015

OOPS! ALMOST FORGOT!

Hi there,

Well, there I was just playing away with a bunch of stencils and stamps when I realized that I needed a birthday card for tomorrow, and had an hour to make it!  Downton Abbey was calling!

Yikes! Well still in stencil mode, but without the pastes and multiple steps, I managed to make a very CAS card. I really had a hard time leaving it so simple, but actually am now thinking that I'll make a bunch more (in various other colors) for kid's birthdays. You know the "Hey Mom, do you have a card I could give to Jimmy!" 


One layer card, using Sparkle N Soft Night Sky from Sparkle N Sprinkle, a Die-Versions die and a Sweet Stamps Art Stencil: Geo Triangles background. 


Placing the stencil over a piece of white glossy cardstock, I stamped randomly using a foam circle and Memento Love Letter ink to create the background.

Moving on to the sentiment: Die-Versions Happy Birthday Solo Sentiments, which was cut from Super Adhesive Sheet attached to a piece of black cardstock. I ran it through the Zyron machine and stuck it down to the background. 


Night sky was applied after removing the protective backing. I layered the card front to a black card base and my card was complete! Rather simple, but because the Sparkle and Soft is glittered flocking there is at least some texture.

Liking that (totally by accident) minty background! Don't you just love happy stamping "incidents"?


Hope you have enjoyed this quick share.

I'd like to enter it in the Sweet Stamps 209 challenge: Happy Birthday.

Have a great week everyone!

Hugs,

Shona


Friday, February 20, 2015

TIME FOR COFFEE!

Thanks for stopping by! If you haven't already got one, maybe you should pour yourself a cup of coffee to get you in the mood for the card I'm sharing today.

Every month, my Mum sends me the Craft Stamper Magazine, which is the UK's big stamping magazine. It's always full of great ideas and I usually find a technique to try that I would have never have thought of.

The January issue had an article about using coffee and tea as a coloring agent. I'm on the Design Team for Sparkle N Sprinkle, and on the first of March they will be revealing four new coffee-related sets. I decided to use the Coffee Shoppe scene for my card today. Think of this post as a "sneak preview". I am blogging this earlier than the reveal as I also want to enter this card in the Craft Stamper February Challenge - use a stencil.


So to begin with, I took a piece of watercolor paper and poured some coffee in the center of it and spread the coffee around with a brush, letting it pool in different areas. I then took my heat gun and chased the drips around the paper. Fun and it smells so good!


After it was completely dry, I flattened it out and swiped it with my anti-static bag. Always try to remember to do that before using a stencil - particularly when you are going to use embossing powders or glitters on top of the paste.

Copper Embossing paste was spread over the Tim Holtz Clockwork Stencil:


The stencil wasn't wide enough for the 4 3/4" x 6 3/4" piece of cardstock, so I just turned the stencil over (after cleaning it) and did the bottom half. It didn't matter that there was a line as it would be broken up by the scene and the clock. After removing the stencil I applied Bronze Splendor Glitter to the piece and left it overnight to dry.


The Coffee Shoppe was stamped in Versamark on watercolor paper and then heat embossed with Teddy Brown and was fussy cut. I dipped an aqua brush in my little jar of coffee and started to paint. To get the various degrees of tones of color on the scene I went over specific areas varying amounts of times, letting the coffee dry between applications.


The clock is the BigZ Dies Weathered Clock, I cut it out of watercolor paper and covered the face in Pebbled Copper embossing powder. The hands were heat embossed with Abracadabra embossing powder. I dipped the brad in Versamark and then it was also heat embossed with Pebbled Copper.


The sentiment, from the same Set 695, was stamped in Versamark and then heat embossed with Teddy Brown. I cut and embossed with Spellbinders Fancy Tags and then distressed the edges a little with Memento Potter's Clay ink.

Then all that was left was to assemble the card, which I did with tape and Dimensional Dots. The card front was layered to a rust colored card base, keeping the monochromatic look. 


Hope you've enjoyed my share with you today and that I've inspired you to get more from your morning coffee other than caffeine!

As I mentioned I would like to enter this card in the Craft Stamper February Challenge - Stencilling.

Till next time,

Shona

Sunday, February 15, 2015

PANDA ANNIVERSARY

Thanks for visiting my little part of the world.  Hope things are well wherever you are.  We've just survived another "blizzard", which really wasn't a blizzard, I'm glad to say, but I'm typing this softly so as to not tempt fate! Feeling so bad for those in the New England area.

So, now with Valentine's Day behind us, what's next? Spring? Well, my share today has a little bit of both - some love and some fresh greens!


I've been having a lot of fun with various stencils and Sparkle N Sprinkle embossing powders this month. I love the effect of the TWC Mini Bamboo Stencil along with the cute Sparkle N Sprinkle Panda's Birthday Set 465. I sponged white cardstock with Memento inks, New Sprout and Bamboo Leaves and left it to dry. I found it best to treat the inked surface with the anti-static bag before putting the paste through the stencil - less stray embossing powder that way! 


After the embossing paste was spread over the stencil, I applied some Moss Star and then some Bullfrog embossing powders.


After being left overnight to dry, it was then heat embossed - so pretty:


The pandas were stamped in Versamark and heat embossed with Black Detail. They were then colored with Copics: N0, N2, 0, G07, YG09 and R02. I sponged some Pear Tart ink around the image before fussy cutting.


The leaves of the bamboo in the image were highlighted with Green Iris Glitter.

The banner (Sizzix Banners Framelits) was cut from a scrap of Super Adhesive Sheet, after being applied to piece of white cardstock. The protective backing was removed and the Spellbinder's Inspire Dies was cut out from black cardstock and then placed on top of the sticky surface:


Luau Green Velvet Glitter was then applied to the remainder of the banner - great way to use up strips of left-over Super Adhesive Sheets!


I heat embossed the little heart brads with Moss Star, Pear Star and Bullfrog which were then added to the card front along with the image and sentiment which were attached with Dimensional Dots before being layered to black and then to the white card base.

I hope you've enjoyed my share for today.

I'd like to enter this card in the Craft Stamper Challenge: Take a Technique - Stencilling

Thanks for stopping by,

Hugs,

Shona

Thursday, February 12, 2015

WINTER, SPRING, SUMMER, FALL!

Hi there,

Thanks for stopping by!  For the February Reveal I left you with a sneak peak of my four seasons. Today I'm going to share with you a set of cards made with the new Seasonal Trees Set 680. I used some little furry animals to bring my seasons to life!


So let's begin with winter:


For this card, I stamped the tree with Versamark then heat embossed with Silver Lightning. The little snowflakes were done in the same way. The deer was a die cut, which was cut from a piece of white cardstock covered with 2 1/2" Tear-ific Tape. After removing the protective backing I then applied Amber Wheat flocking to the entire piece. Copic Marker E47 was used to add color to the hooves, eyes and antlers. Here is the tutorial on how to add highlights to flocking, using Copic markers.

The snow banks were made by adding a strip of 2 1/2" Tearific Tape to a 4" wide strip of white card. I tore the tape in half lengthwise at an angle. After removing the protective backing, Twinkling Clouds was applied. The sky was sponged with Memento Summer Sky.

The sentiment (Penguin Trio Set 616) was stamped in Versamark and heat embossed again with Silver Lightning. The eyelet was also heat embossed with the same embossing powder.

The card front was centered on an A2 card base which had been edged with 1/4"Tear-ific Tape and then Reflection Glitter was applied to the sticky edges.

On to Spring:


This time the tree was stamped with Versamark and heat embossed with Pear. The sentiment (from Spring Swirl Set 425) tag was done in the same fashion. The little yellow brads were added to the tag and another was applied with Versamark and heat embossed with Pear Star to hang on the tree.

The bottom of the card front was dry embossed with a Darice (Nature 3-pack) embossing folder. I then applied Memento inks: Pear Tart, Cantaloupe and Summer Sky to color the background.

The little kitty (from Kitty Trio Set 231) was stamped in Memento Tuxedo black on top of a piece of white cardstock covered with Tear-ific Tape and then Buff Flocking. Copics YR02 and E25 were used to add highlights to the fuzzy cat.

The card front was layered to a piece of yellow cardstock and then to the card base which had been edged with Versamark and heat embossed with Pear Star.

Summer is up next!


This time the tree was stamped in Versamark and heat embossed with Teddy Brown. The leaves and flowers were stamped with Memento inks, Pear Tart and Lady Bug. Two of the Darice borders were used - the flowers on the bottom and the birds on the top. Flowers were inked with Lady Bug and the birds were inked in Gray Flannel. Summer Sky and Bamboo Leaves were also sponged on the background.

The doggy was stamped in Memento Tuxedo Black on top of Buff Flocking. He was highlighted with Copics E33 and C5.

The clouds were done with white cardstock covered in Tear-ific Tape and then die cut with Spellbinders Rainy Day Dies. The protective backing was removed and they were applied with Twinkling Clouds Sparkle N Soft.

.... and to finish the year - Fall:


The tree was stamped in Memento Espresso Truffle ink. The fall leaves were stamped in the background with Memento inks: Peanut Brittle, Angel Pink, Potters Clay and Pistachio. The cattails was the third of the Nature 3-pack. and I went over them with some Toffee Crunch ink before adding Celestial Glitter to the plumes with a Sakura Glue Pen.

The sentiment (Harvest Pumpkins Set 228) was stamped in Versamark and heat embossed with Sienna. It was sponged with Cantaloupe and then cut up before being attached to cardfront with dimensional dots.

The critters (The Collector Set 682) were again stamped on top of a Buff flocked cardstock and then highlighted. This time Copics E00, E31, E33, R21, BV00, YG25 and W5 were used.

The card front was layered to purple cardstock, then on to a card base that had been edged with Versamark and heat embossed with Abracadabra.

.... and that concludes my four seasons! 

Hope you've enjoyed my take on the seasons and also that you'll give the little fuzzy animals a try. So much fun - with one flocking and a few Copics - the possibilities are endless.

Hugs,

Shona

Wednesday, February 4, 2015

VALENTINE BIRTHDAY LOVE!

Hi there,

I spent most of the morning playing in my stamping room with a couple of goodies that I had received on Monday as part of blog candy that I won from Carolina Cards. One was a Darice embossing folder Valentine Hearts and the other was the Spellbinder's 5 x 7 Enchanted Labels 28. Thank you so much Mary! Here is what I ended up with:


I started with the embossing folder. I inked up a piece of Kraft cardstock with Memento Angel Pink and then added some Rosebud. I then ran it through the embossing machine and sanded the raised pattern to remove the ink (sounds counterproductive - but the colors stay in the recessed areas). After fussy cutting the heart, I dabbed some Moonlight White Brilliance ink over the piece and heat embossed with Clear Detail 


Next, I cut and embossed the largest frame from the Enchanted Labels 28 and inked it up with the same two pink as before. I applied Versamark to the entire piece and heat embossed with Clear Detail again.

I lay two strips of 2 1/2" Tear-ific Tape side by side on a piece of 5" x 7" Kraft cardstock. After removing the protective backing the frame was centered on top. Peruvian Lily Velvet Glitter was then applied to the remaining sticky areas.


I then die cut the Cheery Lynn DL 178 Heart Within my Heart from Kraft cardstock and after putting the little heart inserts aside (to reuse later) I applied Versamark and heat embossed with Bronze Rose.


Three of the little hearts were used. One was inked with Rosebud, then applied with Versamark and Magic Speckle. Another was inked with Versamark and heat embossed with Clear Detail, the third was heat embossed with Vintage.  

The big heart insert from the Cheery Lynn die was inked with the two pink inks first and then applied with Versamark. Vintage was then added and then Magic Speckle to achieve the lovely mottled look.


The Die-Versions Birthday die cut was inked heavily with Rosebud before I covered it in Versamark and then heat embossed with Vintage (Vintage is "near transparent" so that is why you see some of the pink showing through). I love using this embossing powder on any vintage/shabby chic project.


The "Love" chipboard was applied with Rosebud ink before being heat embossed with Vintage. 

A new technique for me today was to emboss a piece of tulle! But first I die cut it! So after cutting it with the Spellbinders Classic Scalloped Hearts (which it cut through very well, I may add!) I covered it in Versamark and then holding it with tweezers from the bottom of the heart I heat embossed with Vintage again. Loved the subtle look it gave. You can see it peeking out from behind the Darice heart.


So then to put it all together. The dilemna was to get everything to stick and stay put.

I figured if I stuck the words to Super Adhesive Tape then they weren't going anywhere - so that is what I did! I ran the Cheery Lynn die cut through the machine with a piece of Tear-ific Tape that was attached to a piece of Kraft that was big enough to hold the bigger heart from inside the die cut. I then removed the protective backing and attached both the "birthday" die cut and the "Love" chipboard to the surface, before applying Peruvian Lily glitter to the remaining sticky surface.


Tear-ific tape was used to adhere the hearts down, with some Dimensional Dots for dimension! Then the little hearts were adhered with Dimensional Glue

A look at the finished project once more:


I'd like to enter this card in the following challenges:

Sweet Stamps: Love is in the Air
Crafty Sentiment Designs: Include a Heart
Scrapy Land Challenge 11: Use a Die that Scrapy Land Carries
 (Spellbinders, Die-Versions, Cherry Lynn)

Thanks for stopping by today! 

Hugs,

Shona