Welcome to December, I hope that everyone is staying safe and able to enjoy the days leading up to the big day! My header for December is the American Christmas bird, the Cardinal! I made a pumpkin bird feeder after Thanksgiving and have had many different "visitors" stop by for a taste!
The Christmas Craft Creations Challenge theme for December is Winter Blues. I chose several blue glitters to "color" my background. It was hard to capture the actual sparkle of this card, but I can assure you in real life it really is sparkly!

I began with layering a 4" x 5 1/4" piece of Super Adhesive Sheet to white cardstock. After removing the protective backing, I placed a die cut snowflake border to the top of the exposed adhesive.


I used the Lawn Fawn (Just for You labels) die to cut out the sentiment, I cut it half way and then moved the die cut along, as the die cut was too long for the sentiment.

I had an extra snowflake lying on my desk. Versamark was applied and was heat embossed with Bracing Blue. The snowflake and sentiment were attached with mounting tape as was the glittered deer to finish off my card for today.

Prickly Pear Christmas Tree Set
Versafine Clair Twilight
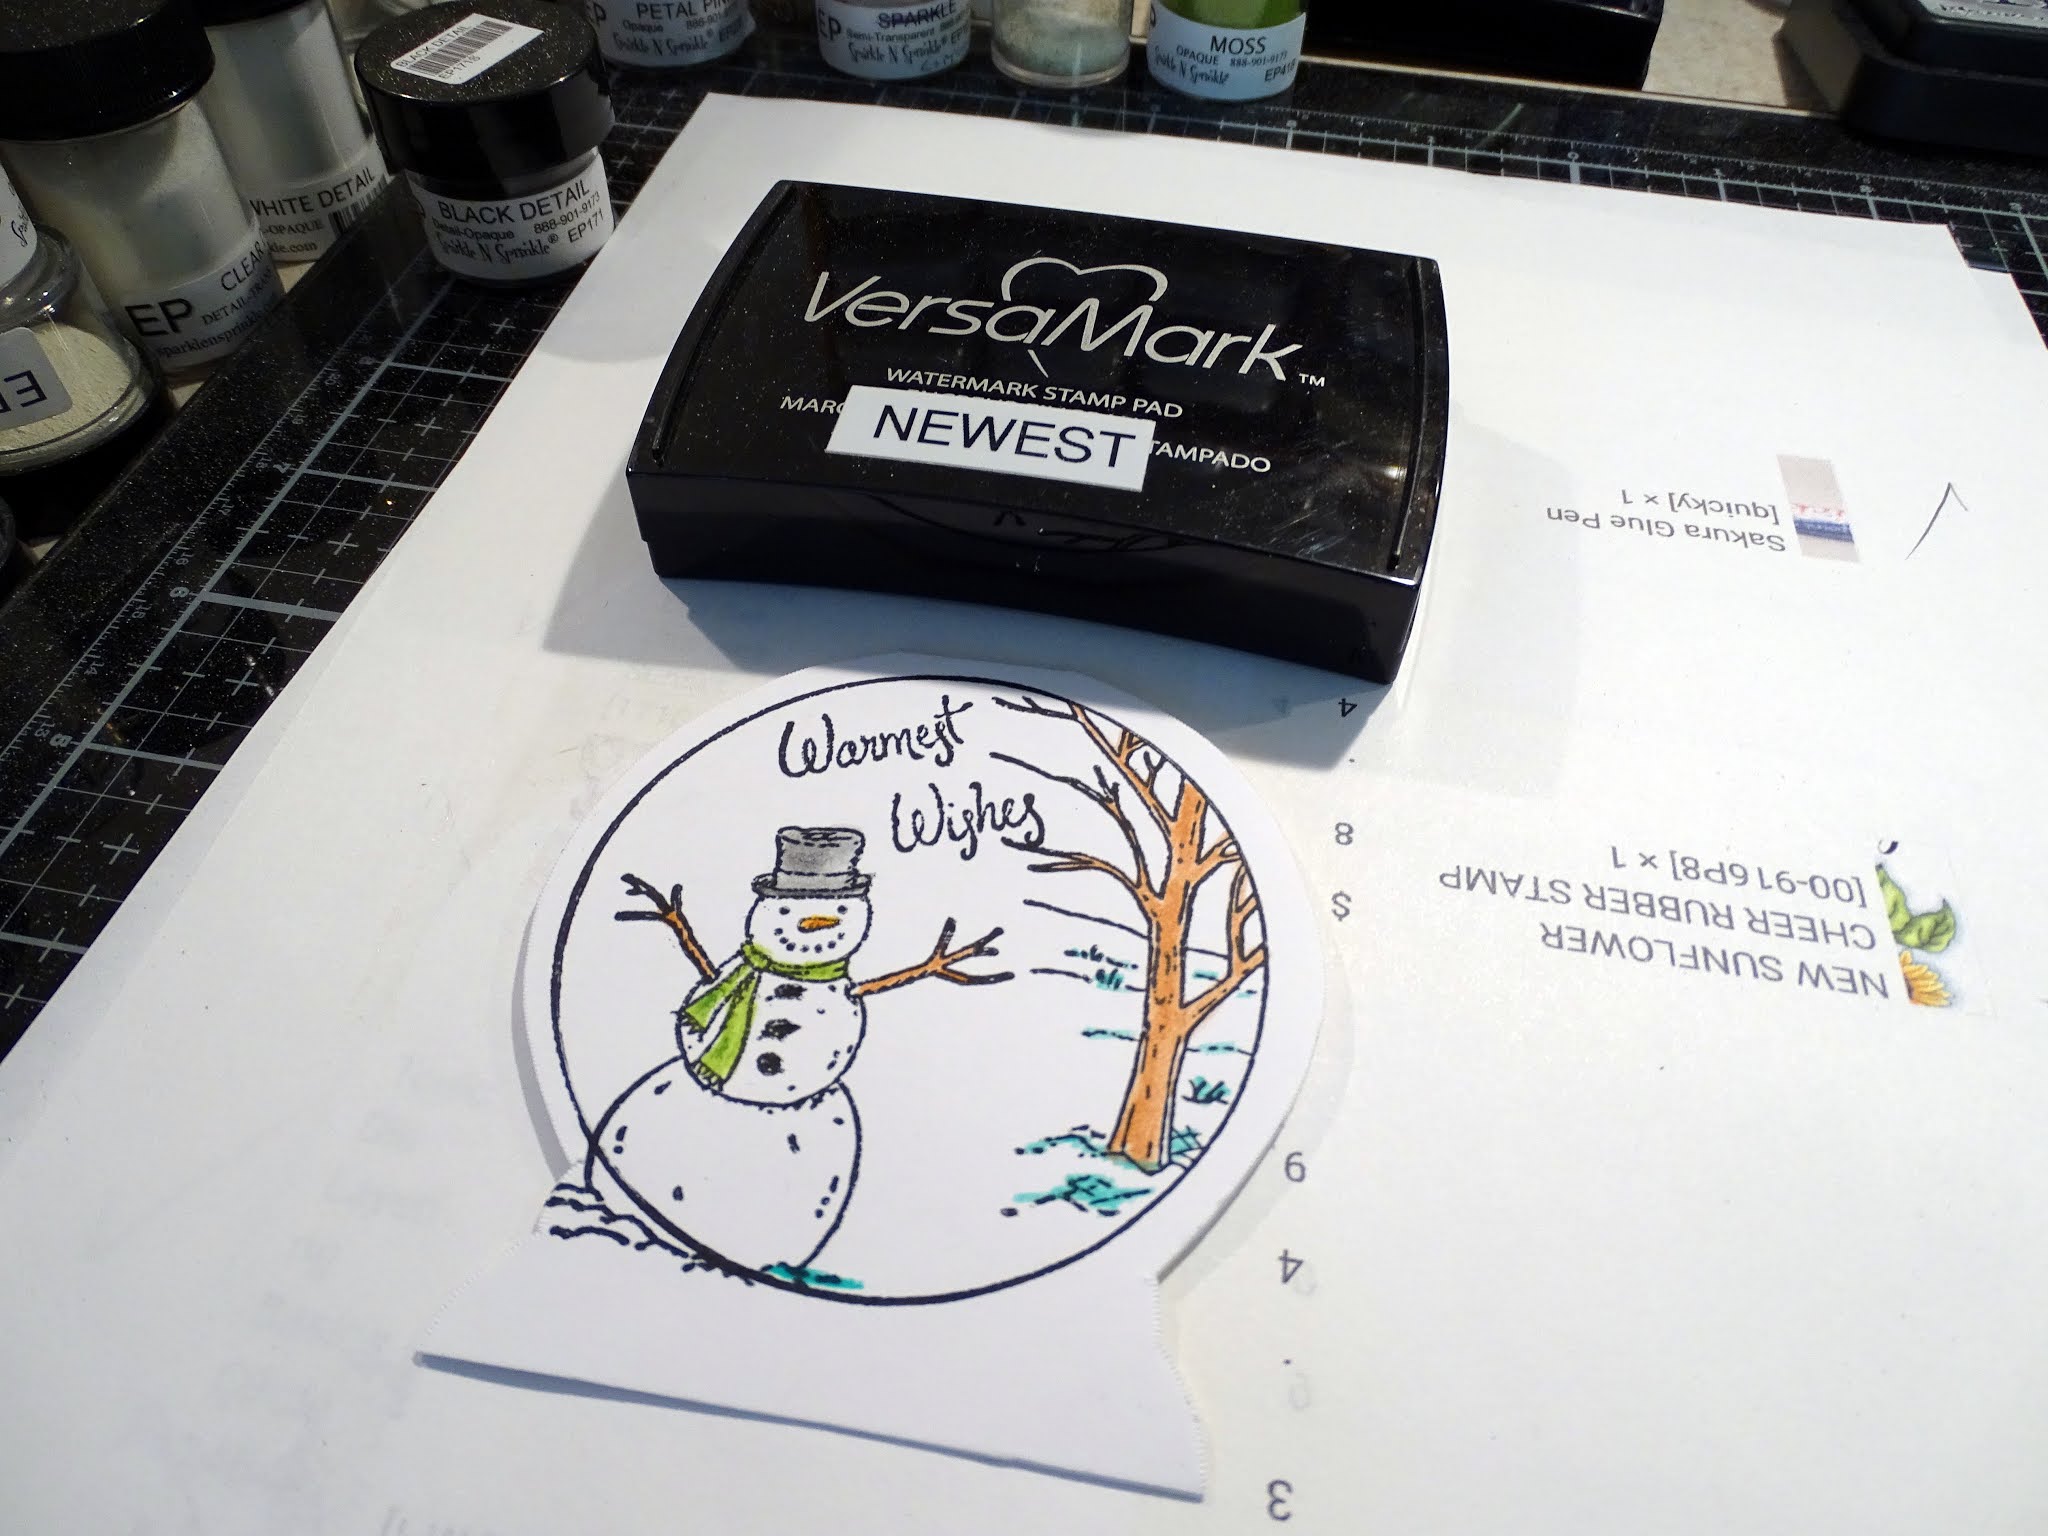
Versamark
Bracing Blue
Sparkle Embossing Powder
Lawn Fawn (Just for You labels) die
Memory Box Lindeman Snowflake die
Sweet Cuts Classy Deer die
Snowflake border die
Super Adhesive Sheet
Glitters: Marine Blue (deer)
Background glitters: Blue Lightning, Rapture Blue, Ocean,
Waterfall, Princess Elsa Frost, Waterscape, Olaf White