Thursday, September 28, 2017

Delight in the Beauty!

Hi there,

Today I'd like to share a card which uses the new Lovely Magnolia Set 853 from the September Reveal. Such a pretty and versatile set.


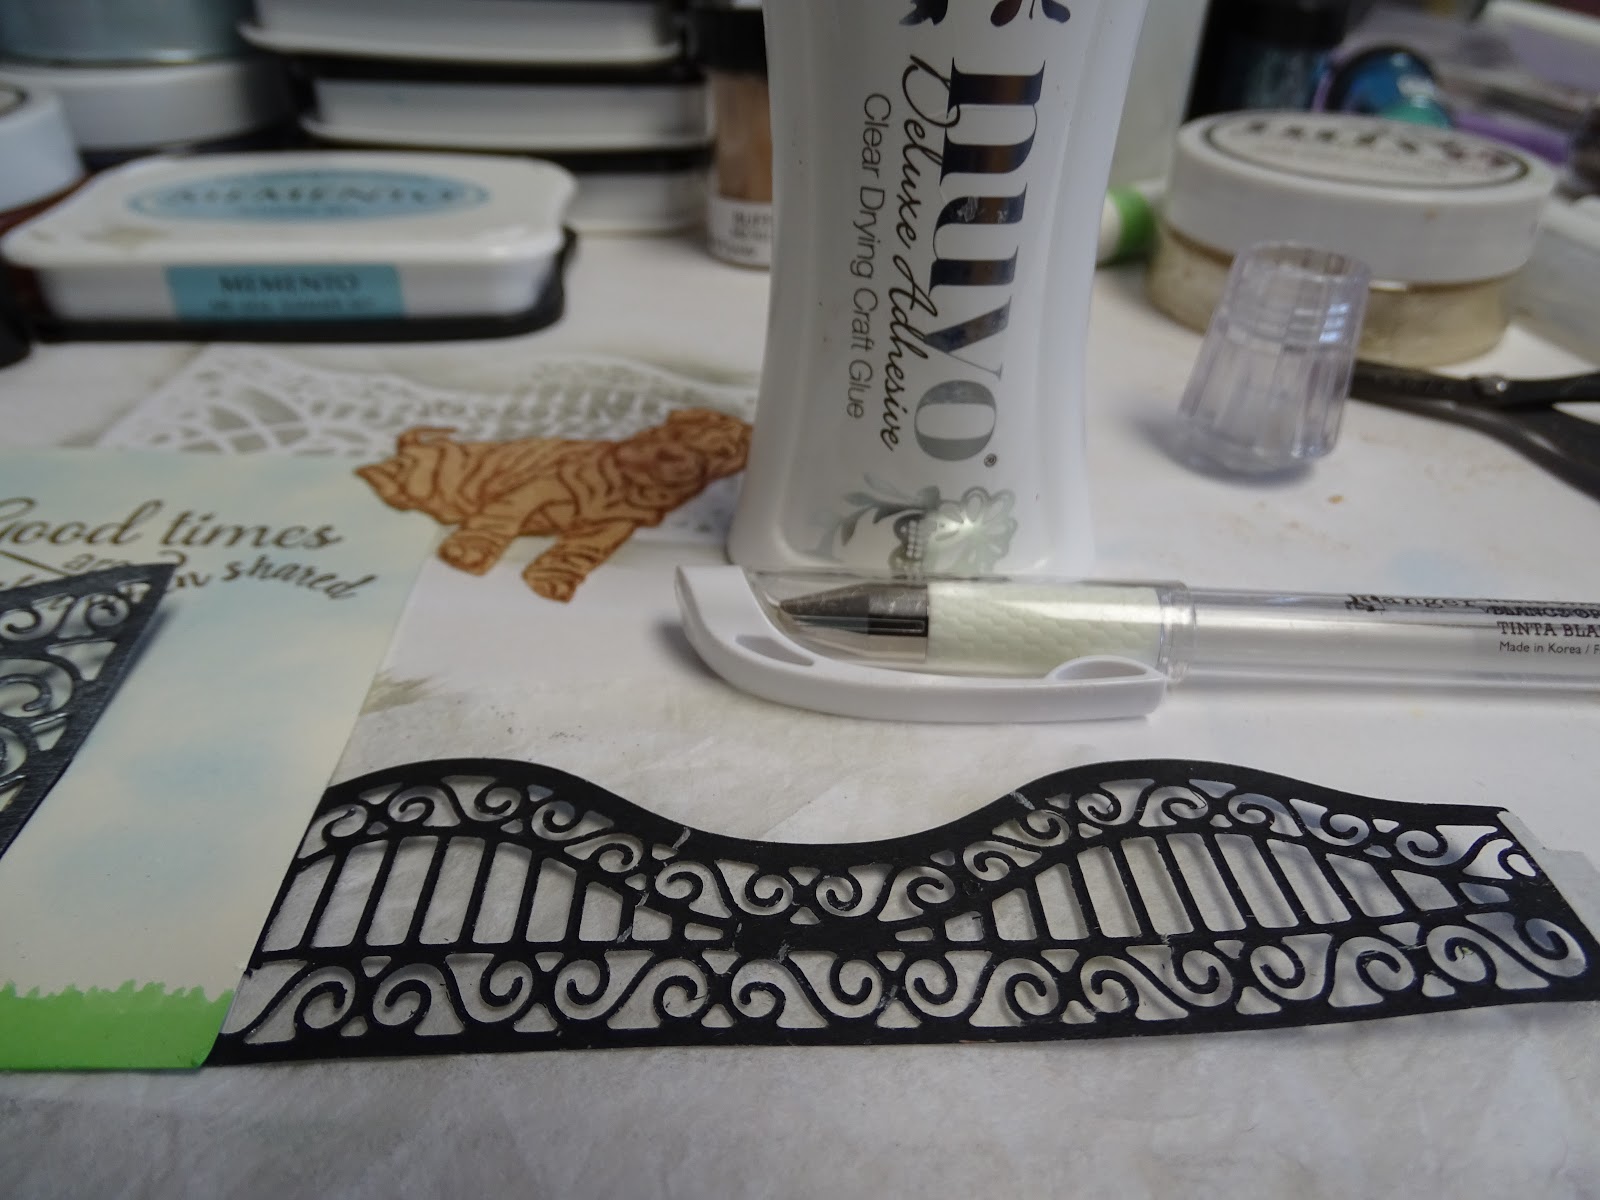
To make the background I cut the Spellbinders Tropical Paradise die from black cardstock. This was layered on to a piece of Super Adhesive Sheet, after removing the protective backing and the new Microfine 24kt Gold glitter was burnished into the exposed adhesive.


The background was layered on to a cream cardbase. Then it was on to the flowers. The small flower was stamped six times onto cream cardstock in Versamark and was then heat embossed with Gold Detail. The large flower was stamped and embossed in Gold Detail once on cream cardstock and then again onto Kraft. The leaves and stem were cut off the cream version using the 5" Mini Scissors. They are so good for fussy cutting! All the little flowers were also fussy cut.


All the flowers were colored with the three Aqua Flow Watercolor Markers: Lemon Zest, Fresh Green and Spiced Ginger. These are wonderful to use for watercoloring, they blend really nicely.


A little Green Iris glitter was applied with the Quickie Glue Pen to the centers of the flowers.


Lemonade glitter was applied to the petals of the flowers again with the glue pen.


The big colored flower was attached to the Kraft version with foam mounting tape. A little of the Nuvo Mother of Pearl Embellishment Mousse was added to the leaves.


The sentiment was stamped in Versamark on cream cardstock and was heat embossed with Gold Detail again. This was die cut with the Sizzix Thinlits Dotted Ovals, the next larger die was used to cut the larger oval and these two pieces were sponged with a little Nuvo Mother of Pearl Embellishment Mousse. A little gold thread bow was threaded through a couple of the dots before being layered with Mounting Tape.


The card was then put together as shown using Tear-ific Tape and Mounting Tape.


Here is a list of the products used to make the card, most of which can be found in the SNS store.

Embossing Powders: Gold Detail (EP168)
Inks: Versamark
Nuvo Aquaflow Pens: Lemon Zest, Fresh Green, Spiced Ginger
Spellbinders Tropical Paradise
Sizzix Thinlits Dotted Ovals

I'd like to play along in the following challenges:
Crafty Gals Corner Challenge #142: Anything Goes
Double D Challenges: Sentiment/Quotes
Stampavie and More Challenge #290: Lots of Flowers
World Wide Open Design Team Challenge #26: Anything Goes


Hope you've enjoyed my share today? Hope to see you back again soon!

Hugs,

Shona

Thursday, September 21, 2017

Magnolia Birthday

Hi there,

Back today with a quick little card from the latest SNS Reveal, starring the Lovely Magnolia Set #853. This is a very versatile set and as you can see from my card I didn't even use the big flower from the set. I chose to make a little shaker card, so the little magnolias worked better.


I die cut the Tonic Happy Birthday from the middle of the white card front.


I then stamped the little magnolia around the die cut seven times in Black StazOn ink, as I was going to use the Nuvo Aqua Flow markers for the coloring.


I used only two Aqua Flow pens on an acrylic block and used that as a little paint palette. These markers really blend well and the tips go into the little spaces, so work well for corners and tight spaces.


After coloring, I made the shaker part of my card. I used mounting tape to make the well, using a piece of tulle instead of acetate. Some Shaved Ice was then put into the well before being covered with black cardstock.


So back now to the front! Nuvo Morning Dew Crystal Drops were added to the orange centers of the flowers. Then Dandelion Yellow, Honey Gold, Banana Split and Orange Marmalade were added around the rest of the card front.


The butterfly die, Little B Butterfly, was cut out and colored with the same Spiced Ginger Aqua flow marker.


This was then applied with Versamark and heat embossed with Clear Detail.


It gave the butterfly a lovely shine. The card front was attached to a black layer and then to the white card base. The little butterfly was attached with a couple of cut up pop dots.


Hope you've enjoyed my share today?

Here are the products that were used in making this card, that can be found on the SNS website:

Versamark, StazOn
Nuvo Jewel Drops Orange Marmalade

I'd like to enter my card in the following challenges:
Cards und More Challenge #193: Flower Power
2 Crafty Critter Crazies Challenge #6: Use a critter
World Wide Open Design Team Challenge #26: anything Goes
Classic Design Team Challenge #17: Anything Goes

Thanks for stopping by! Hope you'll stop back soon,

Shona

Thursday, September 14, 2017

Sparkle N Sprinkle's September Reveal

Welcome to the September 
Sparkle N Sprinkle New Reveal Blog Hop! 

Today I went with the cute little Birdhouse Friends Set 852 and paired it with a pup from one of the old SNS sets Dogs Sharpei Set 229. I needed a pal for the birds behind my wrought iron fence and he fitted in nicely! 


The Blog Hop is on the 15th of each month.  On the 1st of each month, SNS will release a new Video Kit Club.

SNS is always adding new products and new product lines to the store. So stop by often to see what's new!

We are pleased to reveal the following new stamp sets this month. The sets are:


Birdhouse Friends 852
(Digital Version DIGI852BG)

Lovely Magnolia 853  
(Digital Version DIGI853FS - see below)

A Puppy's Halloween 863
(Digital Version DIGI863FS)

Victorian Camille at Christmas 864

(Digital Version DIGI864LS)


DIGI853FS - Lovely Magnolia huge digi bundle (lots of extras not included in the rubber version.)

You are definitely going to want both the digi version as well as the rubber version because when you purchase the digital versions, there are lots of extras that aren't available otherwise.  These extras can include additional images, additional sentiments, digi papers (in some cases), and a cut file.

The new sets are 20% off until the 20th of the month.  Head on over to the SNS store once you've finished the Blog Hop and start shopping.

One GRAND PRIZE WINNER will be announced on the 17th of the month.  One of the Designers is our Mystery Host and the winner will be selected from comments left on her blog.  You must leave a comment on each of the Designers' blogs in order to be selected as the winner, as you never know who the Mystery Host will be.  This is checked for compliance.

The GRAND PRIZE WINNER will be announced on the SNS Facebook page and on the SNS Blog and will receive all the rubber stamp sets revealed this month.

The Blog Hop order is:
(Tip: if you have difficulty with a particular link, try clicking on the Designer's blog title to be directed to their Home page.)

Belinda
Anne
Chris
Jess
Diane
Shona
Eret


Did you know that SNS has a You-Tube Channel?  If not, then you are in for a real treat.  Subscribe today to get all the latest tips and techniques!


The Sparkle N Sprinkle Creative Challenge group is on Facebook.  
This is a closed group (just trying to keep out spammers), but we want anyone who to participate to join.  Click on the link and join in on the fun today!

The Creative Challenges run from the 1st - 25th of each month.  A SNS image (either rubber or digi) is required.  If you don't have any yet - no worries - there are some freebies located on the Home page of the SNS website.  Just scroll down the page a bit to see them.

The Creative Challenge Winner and Top Three will be posted on the last day of each month.  The winner will receive a $15 Gift Certificate to go shopping at the SNS store.

Please review all the Challenge Rules before submitting your photo 😀.  We can't wait to see what all you create using SNS images.

We hope you enjoy the New Reveal Blog Hop as much as we enjoy creating new projects for it.  Be sure to visit the SNS Blog for even more inspiration.  Something new is posted most every day.

Happy Hopping!
~~~~~~~~~~~~~~~~~~~~~~~~~~~~~~~~~~~~~~~~
This was one of those cards that just kept changing along the way! Does this ever happen to you? Oh, I could add that - oh, and that would make it better!!! Anyway, I started out with stamping the Birdhouse image on cream cardstock in Black StazOn, as I wanted to color the image with my new Aquaflow Pens, these are the new Tonic watercolor pens that are so fun to work with. I love the colors they have and they really blend nicely.


After it was colored in I intended using the new Tonic Pretty Piazza Window Box Set (for which you can also get an accessory set with it, which puts slits where you need them for the tabs on the fencing. But I realized 1: I had stamped the image too high up on the page and it would look stupid having the birdhouse appear like it was in the sky and 2: If I used the entire fencing it would cover up most of the image. So I improvised and used just the fencing part and not the two outline pieces of the fence and then cut the left hand side one short so that it worked with a regular sized card 4 1/4" x 5 1/2".


The ornate pieces do not have tabs. First after die cutting the two pieces in black cardstock I daubed them with Nuvo Mother of Pearl Embellishment Mousse, to give them a wrought iron look.


I cut the cream card down to 4" x 5, and put in the slit (on the right) using the Window Box Slit Die Set. I attached a piece of black cardstock to the bigger piece of fencing - on both edges. One would be wrapped around the cream cardstock and the other would serve as a tab on the right side, see below, which would go through the die cut slit. The shorter fence was just wrapped around the back of the cream cardstock, as it would have been too long to leave it complete and a little tab was also added to the end of that one, so it fit into the slit in the die cut of the larger piece of fencing..


I placed the fencing as they would be when set up, then put it on to my Tonic Stamping Platform, so that I would get the right placement for the sentiment. Then I laid the fences flat again before stamping the sentiment in Versamark and heat setting with Platinum.


Love the detail and shine in this embossing powder:


So on to my little doggie! I stuck a piece of 2 1/2" Tear-ific Tape down on to cream cardstock and removed the protective layer.


Buff Flocking was then burnished into the Tape with my finger giving a nice fuzzy coating.


This was put into my Stamp Platform again, as I figured it might need a couple of stampings! I applied the old SNS doggie image with Memento Rich Cocoa and stamped him directly on top of the flocking. I re-inked him and stamped him again to get a nice, detailed image on the flocking.


He was fussy cut using my Tonic 5" Mini Scissors and then I put him against the back of the front fence where I wanted him placed and marked the outer edges of him on the back of the fence with a white gel pen. I then went in and applied the Nuvo Deluxe Adhesive, which has a nice fine applicator to the rungs on the fence and then attached him face down to the fence.


I layered the card front to a pink border to finish of the card. Here are my friends sharing the front yard!


Hope you've enjoyed my project today. Here is a list of the products that I used, which can be found on the SNS website:

Birdhouse Friends # 852
Dogs Sharpei # 229
Versamark, StazOn Black, Memento Rich Cocoa, Summer Sky

Next and last on the blog hop is our very talented Eret! Remember to leave a comment with each of the designers, so that you can be eligible to win all four of the sets.

I'd like to join in the following challenges with my card today:
Worldwide Design Team Open Challenge #26: Anything Goes
Classic Design Team Open Challenge #17: Anything Goes
2 Crafty Critter Crazies #6: Must use an animal
Crafty Animals Challenge #6: Anything Goes
Sheepski Design Challenges #6: Feature a Creature

Thanks for stopping by today,

Hugs,

Shona

Thursday, September 7, 2017

Candle Birthday Wishes

Hi there,

Today I'd like to share with you a card that I made using two of the new fun Tonic Invite Dies: Celebration Candles and Happy Birthday.


I die cut the Celebration Candles from white cardstock twice and colored them with all three sets of the new Nuvo Glitter Markers. This gave the candles a nice sparkly appearance.


Nuvo Dandelion Yellow Crystal Drops were added for the flames. The two candle pieces were set aside to dry, while I worked on the shaker portion.


I die cut the Happy Birthday from the center of a piece of black cardstock.


A piece of tulle was taped down with 1/4" Tearific Tape behind the Happy Birthday and then I made a "well" for my shaker with mounting tape. Shaved Ice was put into the well. The taped area was then covered with white cardstock.


The candle pieces were glued on to the top and bottom of the front panel with the Nuvo Deluxe Adhesive. This has a fine applicator so was great for just running along the backs of the candles.


The front panel was layered to white cardstock and then to a black card base to finish off my card for today.


Hope you've enjoyed my share today. Below is a list of the products that I used that can be found on the SNS website:


Thanks for stopping by today,

Shona