Showing posts with label embossing powder. Show all posts

Wednesday, February 14, 2024

CCC Icicle Christmas

 Hi there and welcome back to my blog! We got another dumping of snow today, so my header is a little Dark-eyed Junko, waiting his turn to get to the window feeder at the kitchen!


Today my card is for the Christmas Craft Creations challenge, where they would like to see your cards featuring either an embossing folder or a stencil!


I chose to play with the Cuttlebug Christmas Words embossing Folder.


I inked up the inside of the embossing folder with Paradise Versafine Clair ink and then ran it through my embossing machine.


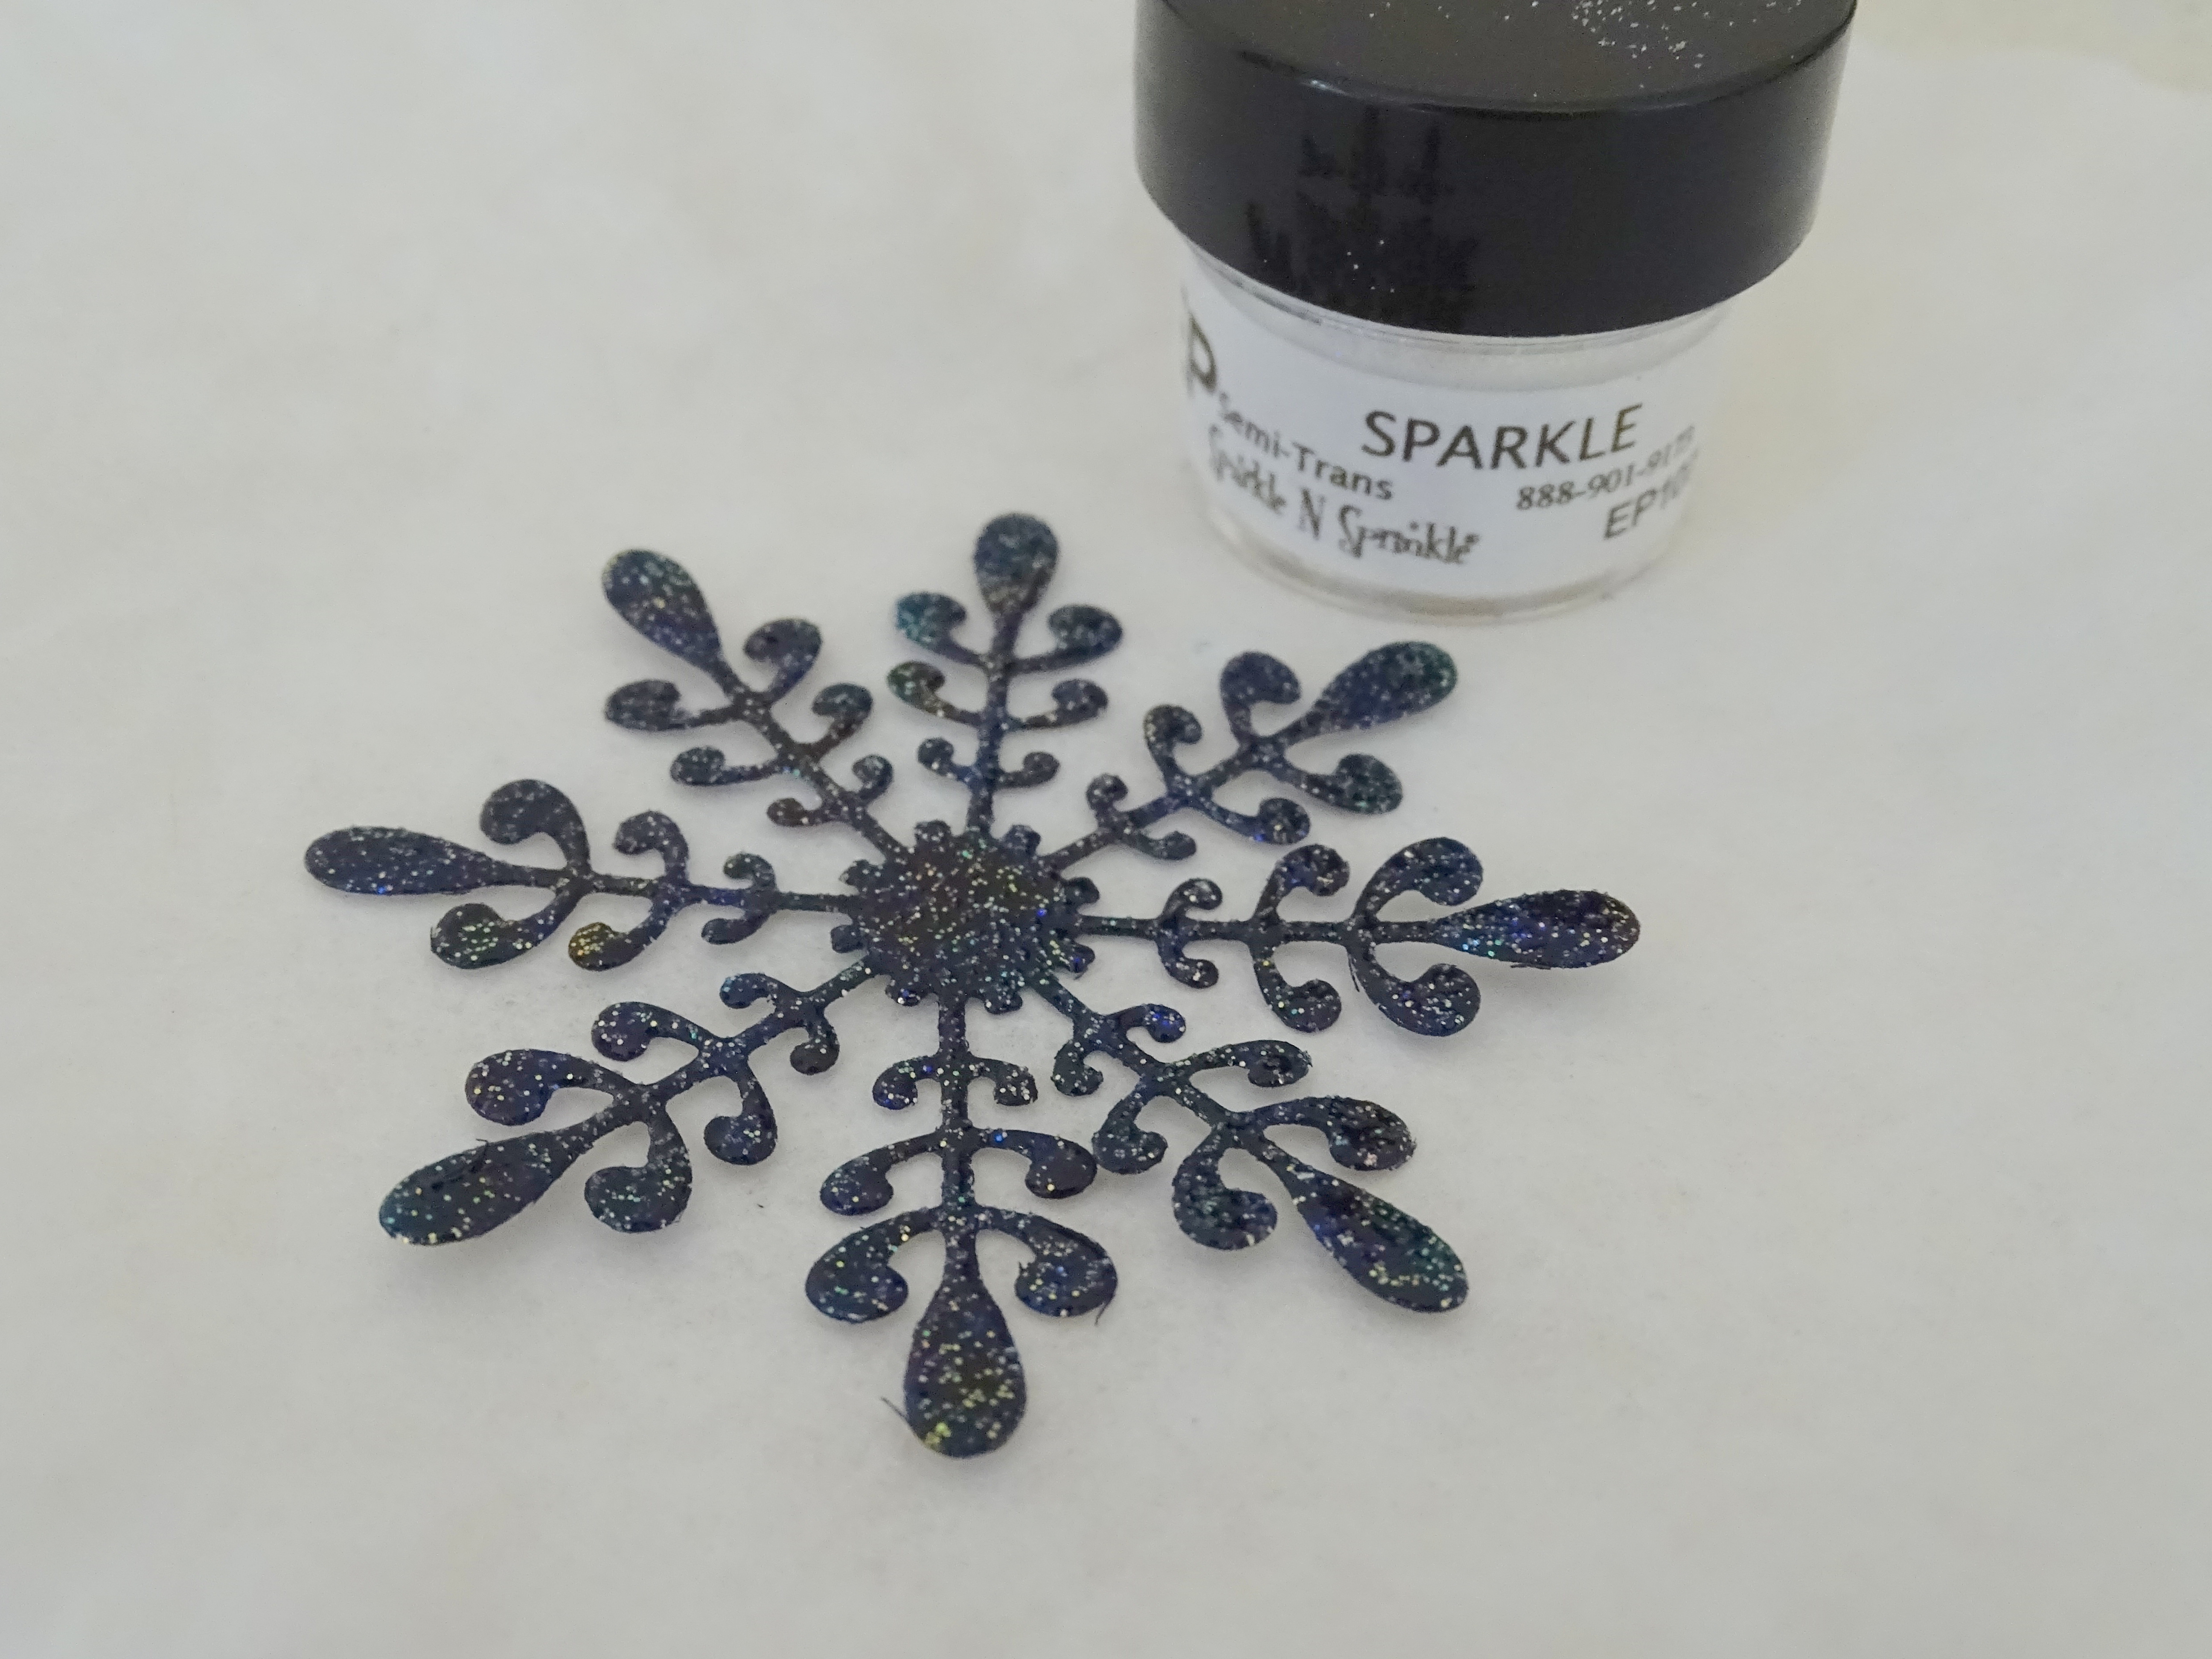
I then sprinkled some Sparkle embossing powder over the wet ink and heat embossed it.


Next I cut the Joy Craft Winter Wishes icicle die out of navy cardstock.


I inked the icicle up with Versamark and then applied Sparkle and heat embossed that too.


It was attached to the front panel with a silver brad.


This was then attached to a glossy white card base.


That finished up my card for today!

I hope I've inspired you to get out an embossing folder or a stencil to join in on the challenge this month?

Till next time,

Shona

Tuesday, April 18, 2023

Holly Greetings

 Hi there and welcome back to my blog! Today I have a card for the Holly and Ivy Challenge, which is always anything goes!


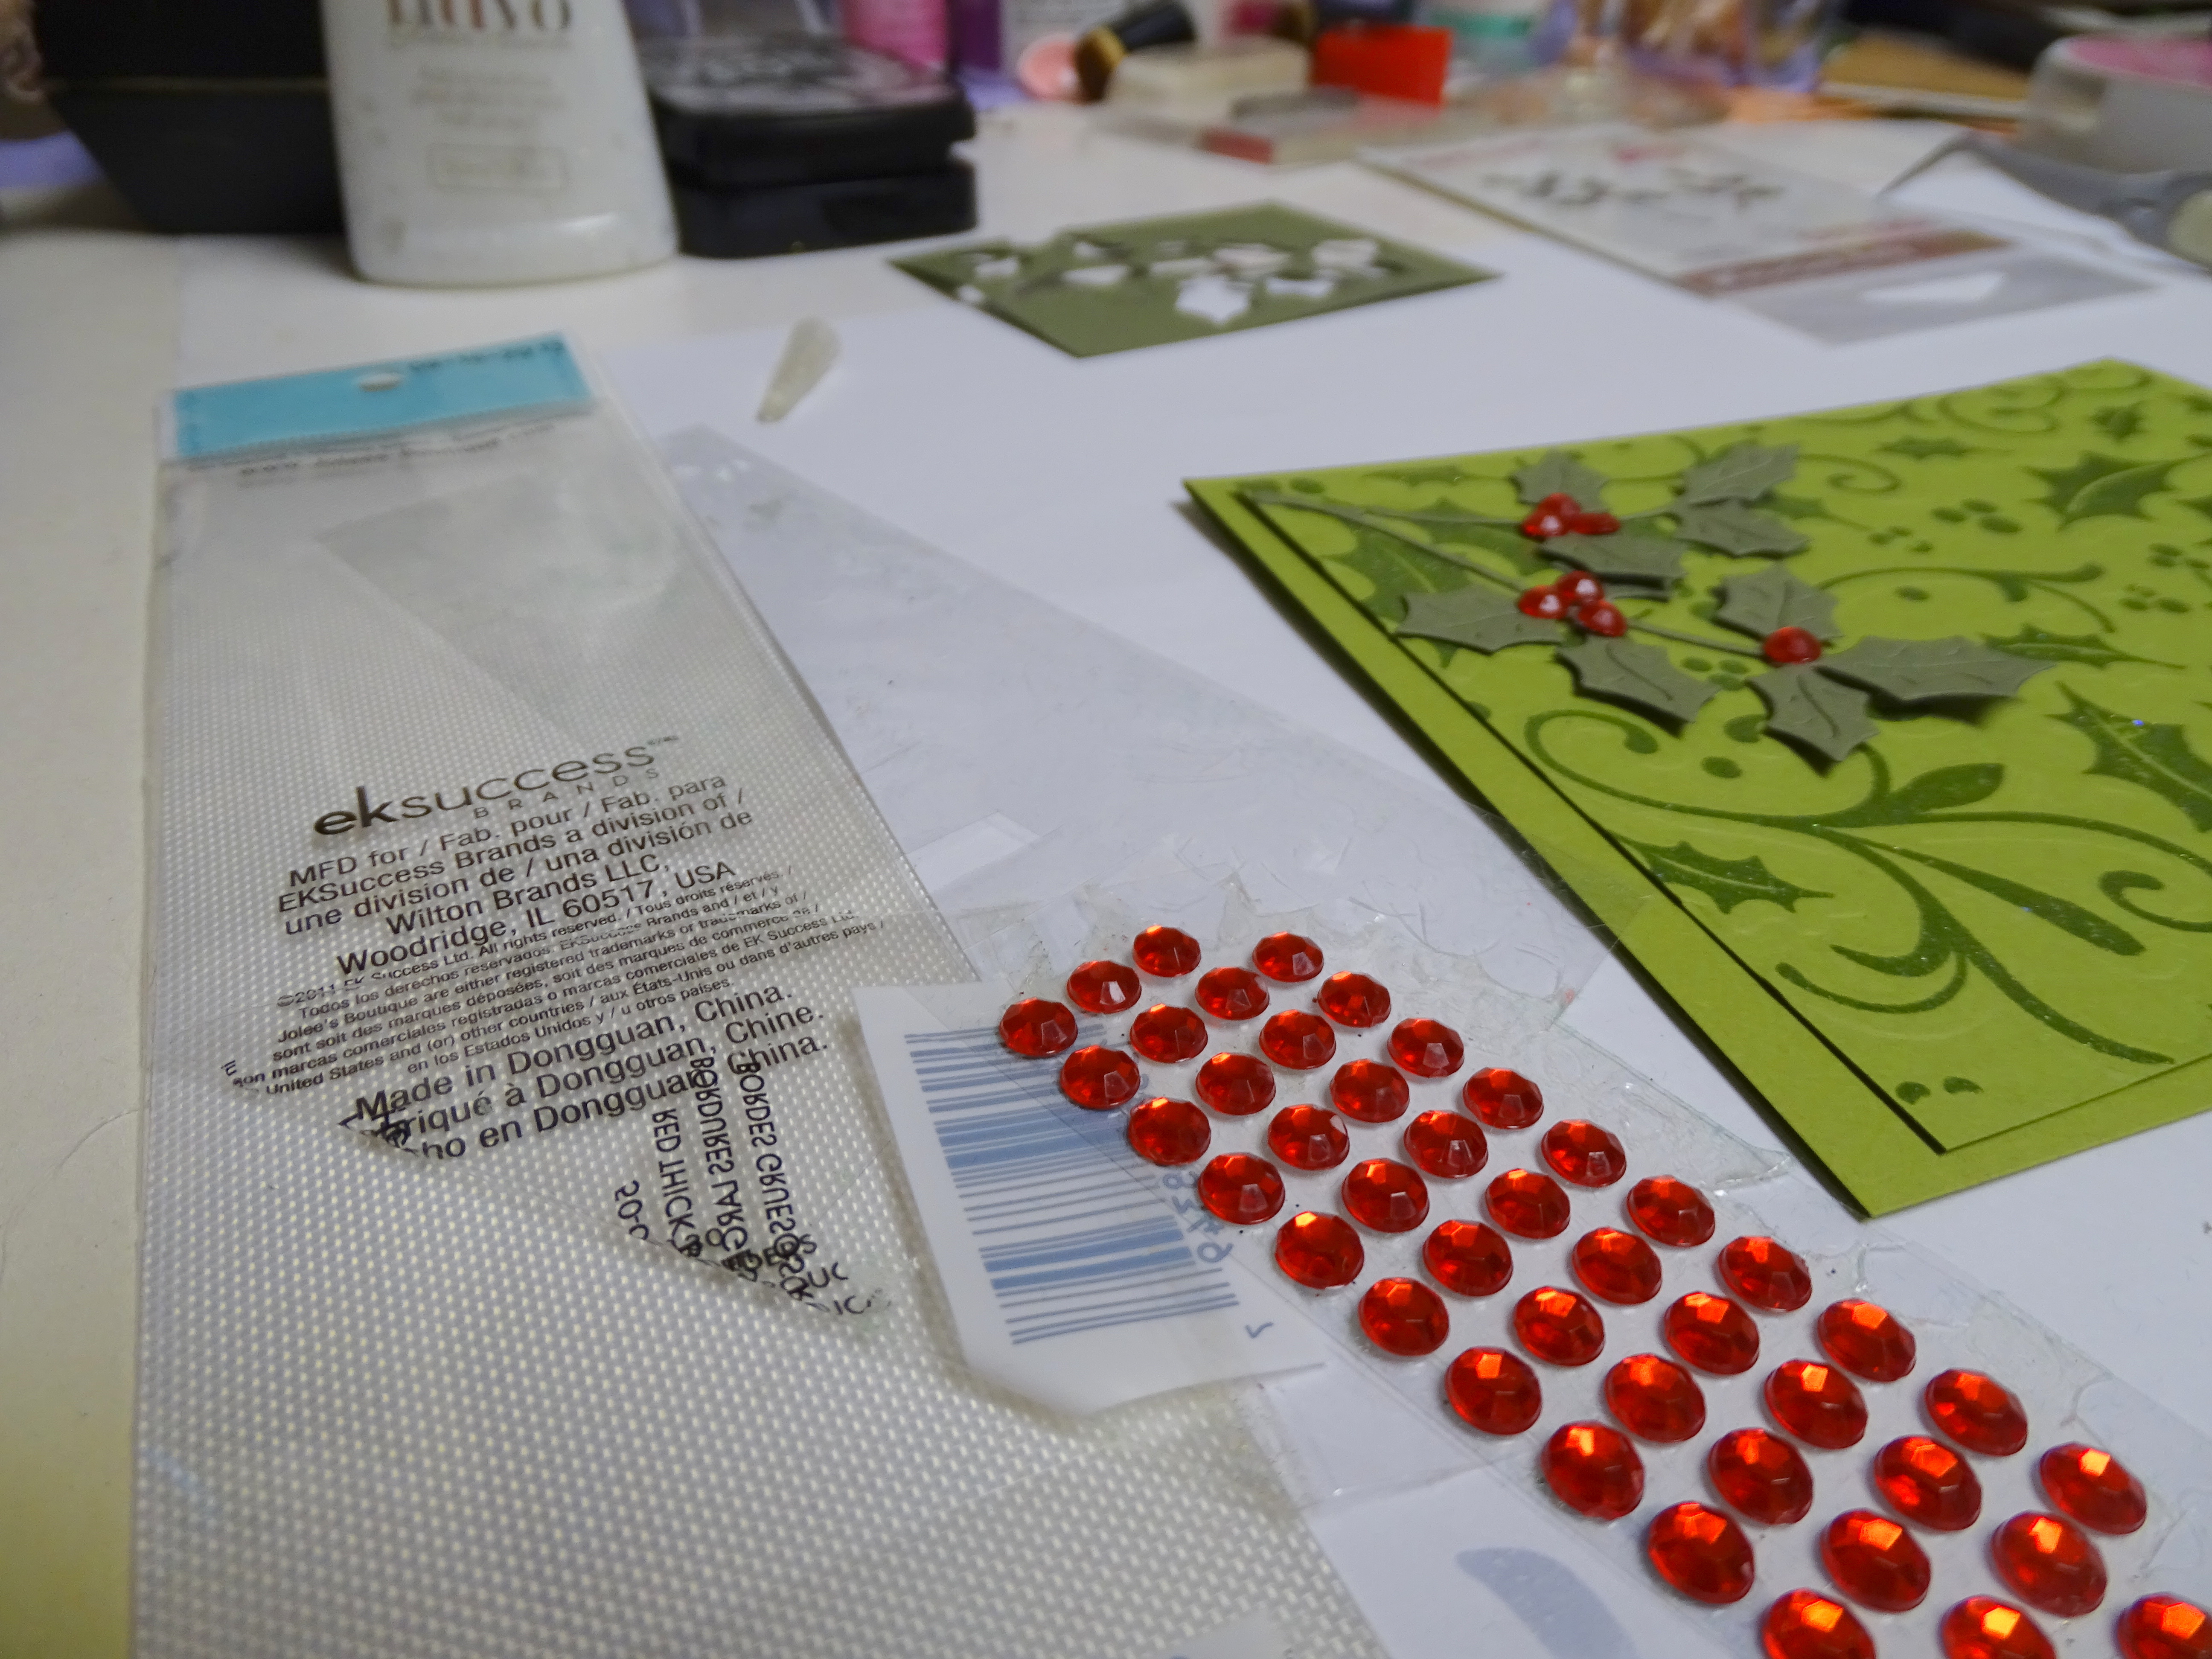
I found a Sizzix holly embossing folder and stamp set, which I don't ever remember using! Anyway, I dry embossed the embossing folder and then inked on top of the raised side with the stamp. I placed it in the Stamp Platform, just so if I needed to, I could restamp, but I didn't.


 I stamped with Versafine Shady Lane ink and heat embossed with Sparkle embossing powder.


It has a great look! I then layered on to the same color of card base. I found a scrap of another shade of green which I die cut the two little holly sprigs from. 


To compliment the red of the berries, I decided to do the sentiment in red, and then used the EK Success self adhesive gems as the holly berries.


A red ribbon was attached to the top to finish off my card for the day. 


Hope you've been inspired to join in along with the challenge this month. 

Till next time!

Shona


Wednesday, February 8, 2023

Pink Scenery

 Hi there! Welcome back to my blog and my card for the Christmas Craft Creations Challenge.


Just to tie in with Valentine's Day, we would like to see anything pink in your creations this month!

So using different pinks, I set about my card. First I stamped the dotted background using A Stampin' Up set called Gorgeous Grunge. 


Both Memento Inks Rose Bud and Angel Pink were used for the background.


I think this idea looks best with a silhouette stamp, so I decided to do a little scene using a tree and two of the deer from a Simon Says Stamp set.


I had a Sparkle N' Sprinkle sentiment "Peaceful Wishes" that I thought would go well with the scene, however this was rubber, the silhouettes were clear mounted. So I put them on each side of the stamp platform, as I wanted to then heat emboss them with Sparkle powder. They were stamped with Versafine Clair Charming Pink and then heat embossed with the Sparkle powder.


The white stamped panel was mounted on to a layer of pink and then on to a white card base. An pink organdy ribbon finished off the card. Hope you're inspired to join in the February Challenge with us. Check out what the rest of the Design Team has for you and what you can win!

Till next time,

Shona


Monday, November 22, 2021

A Winter Wonderland

 Thanks for stopping by my blog today. My card is for the Holly and Ivy Challenge, where it is always an anything goes challenge. I found this old wood-mounted Hero Arts scene stamp the other day, which I've been playing around with. Here is one of the cards I made using it.


Using the Kaleidacolor Spectrum Blue Breeze ink pad with a brayer, I inked up a piece of glossy cardstock.


I then sprayed a light mist of water at the top edge of the darker blue and let the water drip down a little. This was then dried with the heat tool. Once it was dry, I rubbed the entire piece with the anti-static bag, before inking and stamping with Versafine Clair Nocturne. 


The inked image was then heat embossed with Clear Detail. After more anti-static powder was applied, I stamped the sentiment using my stamp platform also in the Nocturne ink and heat embossed with Clear Detail.


I cut the panel down a little on the top and the bottom edges and adhered it to an 5 1/2" x 4 1/4" glossy card base. A blue organdy ribbon was tied around the left edge to finish it off!


Below you can find the products I used today:

Hero Arts stamp K5524

Sparkle N Sprinkle Winter Swirl stamp set 414

Kaleidacolor Blue Breeze ink

Versafine Clair Nocturne ink

Clear Detail embossing powder

Nuvo Light mist sprayer

Blue Organdy ribbon


I hope this inspires you to join in the challenge over at the Holly and Ivy?

Happy Thanksgiving to all my American blog friends!

Hugs,

Shona


Friday, November 29, 2019

Wish Upon a Star

Hi there, today I'd like to share a mostly white on white card, using the Precious Marieke Star Circle Die.


This is the die that I used today, the Precious Marieke Star Circle, which can be found over at Dies R Us


Precious Marieke - Warm Christmas Feelings - Star Circle


I began by die cutting the star circle die from both white cardstock and silver mirror cardstock. 


The negative star spots of the white version were filled in with the stars from the silver version. The little stars were quite fiddly to insert into the spots. They were held in place with little pieces of tape on the back. I used my stamp platform to stamp the sentiment from an old Sparkle N Sprinkle set. The platform allowed me to position the stamp exactly where I wanted it on the white card base in Versafine Clair Morning Mist. This was heat embossed with Silver Detail.


The circle was then attached using little foam pads behind the bigger stars and bits of foam pads behind the little stars. A few self-adhesive clear rhinestones were attached to finish off my card for today.


Below is a list of the products used in my card today:

Nesties Christmas Trees Set 420 (SNS)


Silver Detail embossing powder
Clear Self Adhesive Rhinestones
Foam Pads
Silver Mirror Cardstock

I'd like to join in the following challenges:
Scrapy Land Challenge #126: Use a die that Scrapy Land carries
World Wide Open Design Team Challenge #11: Anything Goes
The Holly and the Ivy Challenge #61: Anything Goes
Krafty Chicks Challenge #483: Monochrome

I hope you've enjoyed my share today?

Till next time,

Shona


Wednesday, October 9, 2019

When they saw the star!

Hi there,

I'm here today with my October card for Christmas at Sweet Stampin'.  This month we had the optional twist of using stars in our Christmas project. I had recently picked up the Recollections Christmas Noel embossing folders and clear stamp set, so decided to dry and wet emboss the star embossing folder for my background. 


I began with running the blue cardstock through my Big Shot with the Recollections star embossing folder. I then took a rubber brayer and Versamark ink and ran it across the raised pattern and then applied Detail Silver embossing powder.


I then stamped the image from the Sparkle N Sprinkle set 720: Three wise Men with Versafine Clair Twilight ink and heat embossed with Clear Detail embossing powder. 


I stamped the sentiment from the same set in the Twilight ink again and heat embossed with Clear Detail again. Then I tore around the sentiment to make it look like a sand dune and sponged a little of the Twilight ink around the edges.


The three wise men were taped to the star background, after I colored their gifts with a yellow Copic marker and the sand dune was popped up with mounting foam. The front panel was layered to a white card base and then the white organdy ribbon was tied around the left side of the card to finish it off.


Hope you've enjoyed my share? Below are all the products I used on my card:

Sparkle N Sprinkle 3 Wise Men Set 720
Recollections Christmas Noel Embossing Folders & Clear Stamps
Versamark Ink
Silver Detail  (EP257)
Clear Detail (EP280)
Versafine Clair Twilight Ink
Brayer
Copic Marker Y17
White Organdy Ribbon
Mounting Tape

I hope you will take a look over on the Christmas at Sweet Stampin' Challenge.
We'd love to see what you come up with, with the optional twist of "Stars"!

Till next time!

Shona


Tuesday, September 10, 2019

Decorations Challenge for CASS

Hi there,

Wait, what happened to August (not to mention summer)? My September blog header is a "late bloom" of my hardy hibiscus! Such a huge flower, though I have to say the leaves didn't look so spectacular this year!! I know that Japanese beetles got to them last year and it looks like that again, however the big saucer blooms are so fun and although they only last a couple of days, it has put on a lovely display of blooms the entire summer.

I'm here today with my monthly post for Christmas at Sweet Stampin', where they have an anything goes Christmas challenge and this month there is an option to use decorations! Surely, you have a stamp or die cut of some kind of Christmas decoration?  We would love to see you join in the fun. So now on to my card:


I was able to attend the Scrapbook Convention last month, where I took a few fun classes and picked up a few fun items! One of the classes was with Rubbernecker Stamps using their Watercolor Background Set 1227. For my card background, I started with one of the background images and mixed some water from a waterbrush and some Nuvo Catherine Wheel Shimmer Powder, using the waterbrush I painted the image and stamped it on to a piece of watercolor paper. I continued this process several times.


After the red splatters were dry (I used my heat tool to ensure it was), I came in and repeated the process with Nuvo Green Parade Shimmer Powder.


I die cut a piece of red and green cardstock using the Memory Box Addison Background Ornament die.


I then cut the Addison Ornament twice from Gold Mirror cardstock.


The gold ornaments were adhered to the red and green ornaments using a little Nuvo Deluxe Adhesive. The middle bauble was made by die cutting the ornament out of red cardstock and then putting a piece of Super Adhesive Sheet on top of Gold Mirror cardstock and running it through with the background die cut. The Adhesive sheet was peeled back to reveal the sticky gold surface on to which I placed the red ornament.


The sticky surface of the ornament was then filled in with 24KT Gold glitter.


I stamped the sentiment from Hero Arts CL551 on to white cardstock with Versafine Claire Golden Meadow. This was then heat embossed with Gold Detail embossing powder. It was placed at the bottom of the card and then the ornaments were added with mounting foam.


The bauble tops were glued in place using some Nuvo Deluxe Adhesive and then I added a little gold thread and taped them to the back of the background piece before layering to a green layer. This was then layered to a white card base.


Here's a close up of the ornaments:


Hope you've enjoyed my share today? Please stop by and join in the fun over at
the Christmas at Sweet Stampin' Creative Challenge. Below is a list of my card
ingredients!:

Rubbernecker Stamps 1227 Watercolor Background Set
Hero Arts CL551
Detail Gold (EP168)
Versafine Clair Golden Meadow
Super Adhesive Sheet
24kt Gold (GM2038)
Gold Mirror Cardstock
Nuvo Shimmer Powders: Catherine Wheel and Green Parade
Water Brush
Nuvo Deluxe Adhesive
Memory Box Addison Ornament Background
Memory Box Addison Ornament
Foam Mounting Tape
Gold Thread

I would like to take part in the following challenges:
World Wide Open Design Team Challenge #8 - Anything Goes
Classic DT Open Challenge #9 - Anything Goes
The Holly and the Ivy Christmas Challenge #55: Anything Goes
Take it Make it Challenge - September: Anything Goes
Scrapy Land Challenge #121: Anything Goes (use a die that SL carries)

Till next time,

Shona


Thursday, May 23, 2019

Let's Shellabrate!

Hi there,
As many of you may already know, Sparkle N Sprinkle is closing her doors. This will be my final post for Margaret and the Company. Today is a sad post for me as I have been a designer with the company for many years. I have had such a wonderful time, highlighting all their gorgeous stamp sets and the products that they brought on board throughout the years. I really want to thank SNS for making me think out the box, to try new techniques and even coming up with new techniques. I've loved every minute. Many things had to change as technology grew and I had to keep up with the times - I had to become a blogger and a facebook user and I will continue to do this as I have found many special friends in both areas. My rubber stamping days started at a Stampin' Up party I hosted one night a mere 23 years ago. I was immediately hooked after which I had cards published in magazines and it was then when I had used one of very first SNS golf sets that Margaret asked in her newsletter if anyone knew me! I've been with the company ever since. I have so enjoyed working with Margaret and the company, not only as a designer, but working some conventions too. 
Anyway, enough about me - on to the card for today, where we are using the beautiful Nature of the Beach Set 929 and a left over piece of netting (which I got from a neighbor to make a special shaker for my bees!)

When I was using it for what I needed for the bees,  I immediately thought of fishing netting and how it would work with the shell set. I partially heat set it in to super thick embossing powder, Blue Bird (EP471).


These ultra thicks should be heated from the bottom to prevent them from flying off the cardstock. Laying the netting on the top of the white cardstock, adding the embossing powder and gently heating it from the bottom.  Once it starts melting you can apply a little heat to the top which will melt the netting and make it look distressed. I then applied Frosted Lawn (EP475) to add in some green. 


The shells were then stamped with Versafine Clair Acorn using the stamping platform. 


The shells and turtle were colored with Copics and then applied with Versamark and then heat embossed with Sparkle (EP107).


Nuvo Jewel Drops Rose Water  and Crystal Drops Sugar Almond were then applied.


The Cheery Lynne die was cut from black cardstock and then the sentiment from the set was stamped in Versamark (after the piece was wiped with the anti-static bag). This was then heat set with White Detail (EP198).


Everything was then assembled. The white card front was attached to a black card base. The shells, turtle and sentiment were attached with mounting foam for dimension and then the Nuvo Drops Apple Green and Dazzling Blue were applied randomly around the card front.


Below is a list of the products that I used today. There is a closing down sale going on right now that you may wish to take advantage of. Many of these products may still be available.
Nuvo Crystal Drops: Sugared Almond, Apple Green 
Copics
Cheery Lynne Horizon Fishtail Banners Die
Mounting Tape
Fish net
I thank each and everyone of you that have been on this Sparkle N Sprinkle journey with me. I hope to keep creating and blogging and keeping up with all of you too!

I'd like to play along in the following challenges with this card:
Craft Stamper: Make It Take It May Challenge: ATG
World Wide Open Design Team Challenge #05: ATG
Classic DT Open Challenge #4 May: ATG
2 Crafty Critter Crazies Challenge #26: Use a critter (Turtle)
MIUCB #25: Anything goes + mixed media
JFF May 2019 Challenge: Celebrate Women + 3 Layers
Cardz 4 Guys: Challenge 220: Beside the Sea
Till next time,
Shona