Hi there and welcome back to my blog. My header today is Virginia bluebells. A wonderful native! I love this time of the year in the yard when all the Spring ephemerals are blooming!


Hi there and welcome back to my blog! Today I'm sharing a card that I made for the Holly and Ivy Challenge, which as always is an Anything Goes theme.


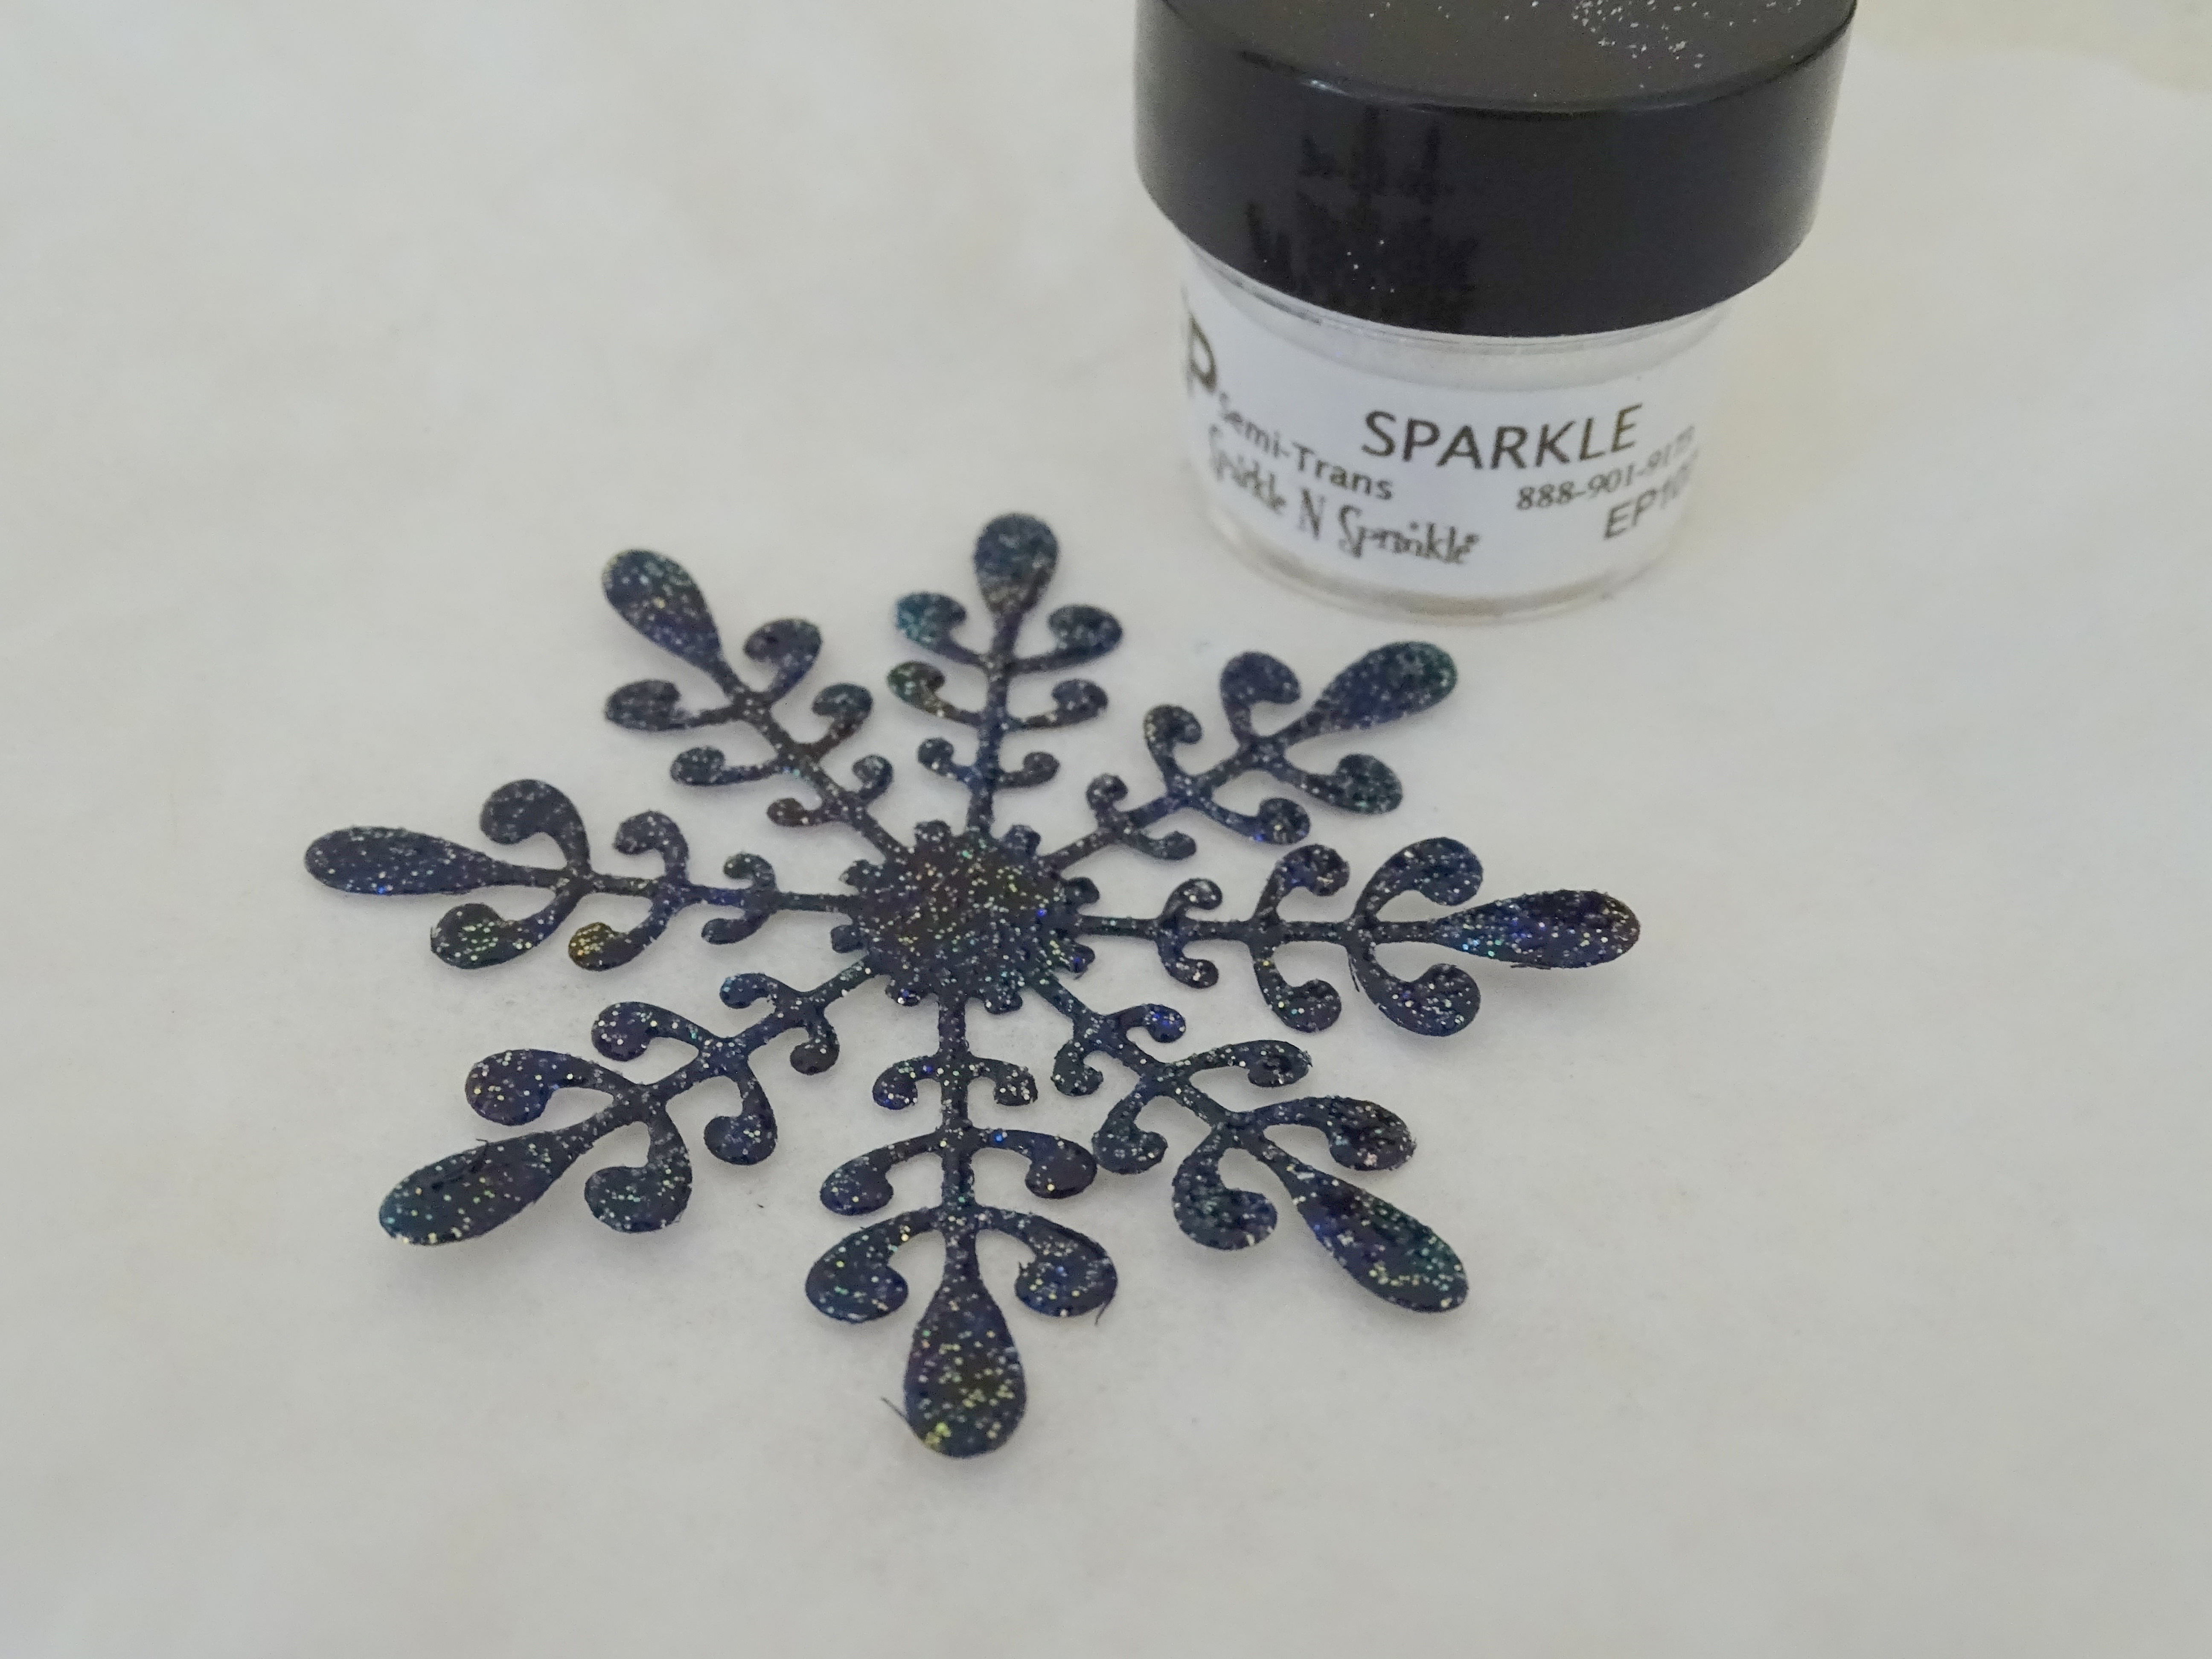
Hi there and welcome back to my blog!


Hi there and welcome back to my blog! I'm back from Scotland after a quick week's visit and am now rather sick with some kind of virus, not anything they tested me for, but am on antibiotics and am left with a rather raspy chest cough. Getting better each day though, so that's good! Took a walk around the yard and so much has happened in a week and a half! The crocuses and daffodils are a welcoming sight!
My card today is for the Holly and Ivy Challenge, where as always it is Anything Goes!


Hi there and welcome back to my blog. Today I have a card for the Holly and Ivy Challenge, which is always "Anything Goes".


Thanks again for visiting!
Shona


Hi there and welcome back to my blog! We got another dumping of snow today, so my header is a little Dark-eyed Junko, waiting his turn to get to the window feeder at the kitchen!