Showing posts with label Tear-ific Tape. Show all posts

Wednesday, June 10, 2020

Oh Christmas Tree

Hi there, and welcome to June! My header for June took a while to catch, but finally one of my little bees posed by the Catmint out in the yard as it collected nectar.


Today, I have my June card for the Design Team of Christmas Craft Creations and this month we were asked to feature Christmas 
Trees:
Three 2 1/2" strips of Tear-ific Tape were stuck down to green cardstock. Two of the slimmer tree were die cut and one of the fuller tree from the Sizzix Woodlands die.


I then taped a 4 1/4" x 5 1/2" piece of Super Adhesive Sheet to a piece of white cardstock and then took off the protective backing.
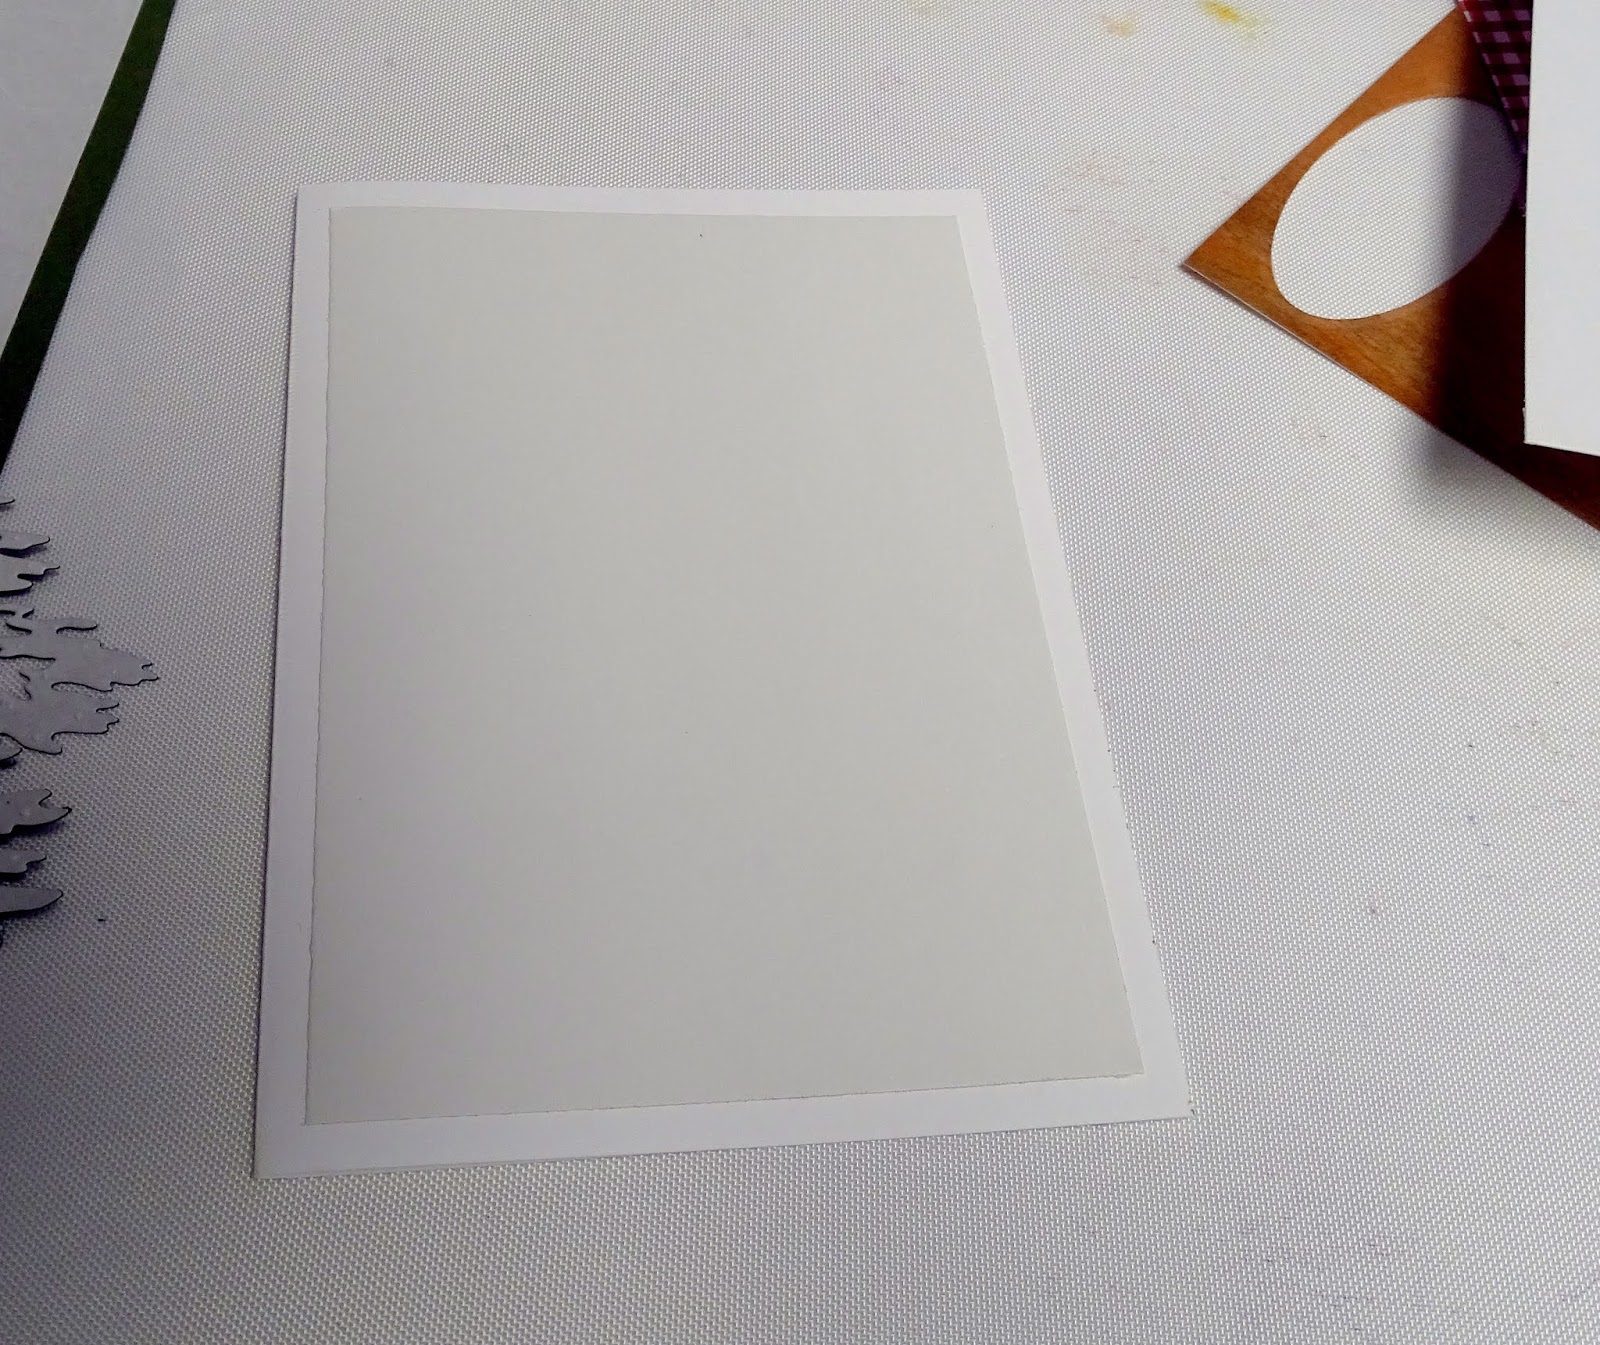

I placed the bigger tree in the middle of the sticky rectangle and then applied Sparkling Snow glitter to the rest of the sticky surface.


The protective backing was then peeled off the tree and the two slimmer trees were placed to the sides of the larger tree. This left some of the tree on the side "floating", giving a little dimension. Misty Isles glitter was then applied to the sticky surfaces of the three trees.


I die cut the panel with the Memory Box Cross Stitched Frame Borders, keeping the sides of the trees above the die, so they wouldn't get cut off.


I die cut the sentiment from green cardstock using the Tonic Oh Christmas Tree die and cut it out.


A piece of mounting tape was stuck to the back of the "sentiment" and Sparkling Snow glitter was applied through to the sticky surface.


The tree panel and the sentiment were mounted on to a lighter green cardstock. This was then attached to a white card base and a piece of light green organdy ribbon was tied around the side to finish off my card. Below you can see all the sparkle!


Here is a list of the products that I used in my card today:

Sizzix Woodlands (660978) 
Memory Box Cross Stitched Frame Borders 
Tonic Oh Christmas Tree
Super Adhesive Sheet
2 ½ “ Tear-ific Tape
Misty Isles Glitter
Sparkling Snow
Mounting Tape
Organdy Ribbon

I hope this has inspired you to play along with the June theme of Christmas Trees in the Christmas Craft Creations Challenge. Pop on over and see the other inspiration from the Design Team.

Take care and till next time - stay safe,

Shona

Thursday, April 25, 2019

Come Home Soon!

Hi there,
I'm here today to share a card with you using the Sparkle N Sprinkle You're my Hero Set 946. 

To begin with I stamped both the sentiment and the image on blue cardstock with Versamark and then heat embossed with White Detail. I kept everything very simple on this card, just regular cutting of the image and also cutting up the sentiment.

1/2" Tear-ific Tape was then repeatedly layered diagonally to a piece of 5 1/4" x 4" piece of white cardstock. After trimming the edges of the card the protective backing from the tape was removed and Gypsy Red Microfine Glitter was burnished into the tape using my finger tool.

This piece was layered to a grey card base and the image was attached with 1/4" Tear-ific Tape and the sentiment was staggered on the front with mounting tape. The little dog tag stickers were added to the bottom right corner to finish of my card.

Below is a list of the products used on my card today. You can use my designer code at check out, ShonaDT10,  to receive an extra 10% off anything over at the Sparkle N Sprinkle store.

I'd like to play along in the following Challenges:
Words to Craft By #64: All the Best Heroes
Unicorn Challenge Challenge #42: Spots and/or stripes

Thanks for stopping by,

Shona

Wednesday, March 13, 2019

Winter Deer

Hi there,

Today I have a card for the Christmas at Sweet Stampin' Challenge Blog. I decided to go with a sparkly monochromatic look this month. 


I began with stamping the large Penny Black Snowy Grove stamp in Hybrid Ink Metro Grey on glossy white cardstock. I used my stamp positioner for this since it is such a big stamp and it required a couple of applications of ink.


The three deer were cut out from the Sizzix Winter Deer die cut, which was cut from Black cardstock.


The Memory Box Merry Christmas die was cut from white cardstock covered in 2 1/2" Tear-ific Tape.


I cut out the "Merry" and "Christmas" from black cardstock and placed them in their spots before covering the snow bank with Twinkling Clouds Flocking. 


I used the Sakura Glue Pen with Starfire glitter to fill in the snow particles on the background. This glue dries clear.


A piece of Bakers Twine was strung around the top of the card before I mounted the front panel to a grey card base.


I hope you can see the sparkly snow on the background panel. It's so twinkly in real life.

Below are the products that I used in my card today, some of which can be found over on the Sparkle N Sprinkle website:


Penny Black Snowy Grove
Hybrid Metro Grey
Memory Box Curved Merry Christmas Die
Sizzix Winter Deer
Foam Pads
Foam Strips
Grey bakers twine

I'd like to join in the following challenges with my card today:

Classic Design Team Challenge #3 - March: Anything Goes
Craft Stamper: Take It Make It March Challenge: Anything Goes
Scrapy Land Challenge - March: Use a Die that Scrapy Land Carries
The Holly and the Ivy Christmas Challenge #45: Anything Christmas

Thanks for stopping by today,

Shona

Friday, February 1, 2019

It's A Girl Thing - Turner Syndrome Awareness Inaugural Blog Hop!


Hello Blogging Friends!!


Turner Syndrome is a genetic disorder where a female is born with only one X chromosome, instead of two, leaving her with life-long medical issues and learning disabilities. This condition occurs one in 2,500 female births worldwide, but is more common among pregnancies that do not survive to full term. That is why Turner Syndrome Females are considered MIRACLES!


Nineteen caring Sponsors and eleven DT Members have partnered with us to bring Turner Syndrome Awareness to the Public. For details on how you might win any of these fabulous prizes, please see Lori's TS home page. Thanks for learning About Turner Syndrome. 


My TS related project uses a few colors from the TS official color board:


I am so glad to be a part of the Turner Syndrome awareness Blog Hop. I had not even heard of this condition let alone the possible life changing medical issues it can cause. The butterfly has become the symbol for "Turner Girls". Just like a butterfly, they are considered fragile and beautiful miracles.  So I chose to highlight the fragile butterfly on my card.


I cut the butterfly die once from white cardstock and once from vellum.The vellum butterflies were colored with Copics and then turned over to show their paler sides before being slotted in their spaces.


I backed this with a piece of Super Adhesive Sheet to keep the vellum butterflies from fluttering away!

One of the sentiments from Sparkle N Sprinkle Set 933: Ribbons of Love was stamped on to a piece of vellum with Versamark and was heat embossed with Cerulean. I tore the vellum and wrapped it around the back of the butterfly panel. 


Next I attached another piece of Super Adhesive Sheet to white cardstock and ran the butterfly die through the machine again. Six of the butterfly confetti were "colored" with three glitters - Mountain Mint, Daisy and Blue Haze. I took the butterfly and removed the protective layer then burnished the glitters into the sticky surface.


A piece of light blue cardstock was edged with 1/2" Tear-ific Tape and after removing the protective layer the butterfly panel was adhered to the center of the sticky edged cardstock. Blue Haze glitter was then applied to the remaining adhesive.


The butterflies were attached to the butterfly panel with little strips of 1/8" Tear-ific Tape. I curled up their wings to make them more dimensional.


The card front was then adhered to a white cardbase, which finished off my card. 


Below is a list of the products I used in my card today. Use my code, ShonaDT10, to get an extra 10% off any linked items on the Sparkle N Sprinkle website.


Cerulean (EP421) Blue Ribbon (EP279) could have been used!
Copics
Recollections butterfly die


Thanks for joining me and hopefully learning a little about Turner Syndrome today. Please remember to visit the "It's A Girl Thing" Turner Syndrome Awareness Inaugural Blog Hop page to become eligible for the many prizes up for grabs. 

I'd like to enter my card in the following challenges:
Scrapy Land Challenge #106: Use a die cut 
Craft Stamper Take It Make It - February Challenge
World Wide Open Design Team Challenge #1: Anything Goes
Classic Design Team Challenge Blog #2: Anything Goes

Bye for now,

Shona


Saturday, December 15, 2018

Robin's Happy Holidays

Hi there,

It's been a while since I posted anything on my blog (almost 3 months actually) and today I'm posting my first Christmas card!  2018 was an extremely busy year for us and I had to take a leave of absence from Sparkle N Sprinkle, while I endeavored to catch up on life. I hope to be back in the stamping saddle by the beginning of the year.

I went back to Scotland to visit my Mum and Dad at the beginning of 2018 and while I was there I took photos of this gorgeous wee robin, who was singing at the top of his lungs, around the back of the train station. My Dad really liked it - so much so that it is his screen saver.  He e.mailed me a month back and hinted that it would make a good Christmas card. I've been pondering what I could do with it, and so here it is:


I also wanted to use the gorgeous Sparkle N Sprinkle Stamp Set 897, designed by a dear friend, Donna Ellis. I managed to incorporate all three stamps from the set on my card! I began by die cutting the wreath from some green cardstock.


This was then covered with Versamark and heat embossed with a bit of Moss and Pear Star embossing powders.


Next I die cut my robin photo and kept the inlaid bits intact, as I wanted to use them in the card. I then added some sparkle to the photo with the Quickie Glue pen and some Sparkling Snow Glitter and Twinkling Clouds Flocking.


I then layered a piece of Super Adhesive Sheet on to a 5 1/2" square piece of red cardstock. The wreath and photo were placed on top of the adhesive and then the various inlay pieces were added to the wreath.


Cherry Sparkle Flocking was added to the remaining sticky surface. I then stamped the sentiment and the little ivy leaf in Versamark on vellum using the Stamp Platform and heat embossed with Moss.


The green cardstock that the red piece was going to be layered on was die cut with the small wreath and three sprigs from the Sizzix Holiday Greens Mini dies.


These were also heat embossed with Moss and Pear Star. Glitter Accents Winter Cranberry was added to the holly sprig and set aside to dry.


I stuck a piece of 2 1/2" Tear-ific Tape on a piece of scrap white cardstock, removed the backing and then attached the vellum sentiment. This was die cut with the small wreath and then fitted in to the prepared wreath.


I used the pretty saying from the stamp set on the inside of the card. I stamped with Hybrid Safari Green ink, using the stamp platform, stamping twice to get a good crisp image. I then ran a piece of 1/4" Tear-ific Tape along the bottom of the inside of the card, removed the backing and added some of the Cherry Sparkle Flocking.


The card was then assembled. Red front layered to the green and then card base. The little wreath was attached with foam pads and the three sprigs were attached using little bits of 1/8" Tear-ific Tape. Below you can see the sparkle of the Sparkling Snow and Twinkling Clouds on the branches.


 .. and here you can see the sparkle from the Glitter Accents:


Here is the inside of the card.


I hope you've enjoyed my share today.  Here is a list of the products I used:

Spellbinders Wreath die
Sizzix Holiday Greens Mini die

Today I'd like to join in the following challenges:
Craft Stamper Challenge: Take It Make It - December

Hope to be back to blogging on a weekly basis in the New Year. In the meantime, I hope you all have
a wonderful Christmas, full of love and fun and I wish everyone a happy and healthy New Year!

Shona

Thursday, March 15, 2018

Gilded Elephant Birthday Wishes

Hi there,

Thanks for stopping by! Today I'd like to share with you a card using the new March Reveal Amazing You Paisley Elephant Set 884. This fun stamp has so many possibilities - I chose to highlight my elephant with the Sunkissed Copper Gilding Flakes.


To begin I took the Nuvo Large Glue Pen and ran it over the surface of the elephant and then stamped on to a piece of black card.


You need to leave it a little while until the "creamy" color goes clear, which means that the glue is ready to be applied with the gilding flakes.


I applied the Sunkissed Copper gilding flakes to the glue. Using a textured dauber I removed the excess flakes.


The Copper Flakes only stay where the glue is.


For the background I cut black cardstock with the Tonic Floral Blooms die using the Tangerine.


This was then placed over a piece of Sticker Paper and then the Gilding Flakes were applied to the sticky surface.


Again, the excess Gilding Flakes were rubbed off using the texture dauber.


A strip of pompoms was stuck to the top of the floral background with 1/4" Tear-ific Tape. I added some Autumn Spice Microfine Glitter over the top of the ribbon, so that any adhesive would be covered.


This was layered to a piece of rust cardstock and I made the easel card base from rust cardstock and attached the front panel to the card base. Next I applied Hybrid Ink Acorn Brown to the elephant stamp and stamped on two scraps of the rust cardstock.


Once this was dry I swiped each piece with the Anti Static bag then stamped the sentiments on to each of the pieces in Nuvo Clear Mark ink and heat embossed with Black Detail.


The sentiments from the same set were cut out and stuck to little black strips that had two folds on either edge so that they would have some height to them to be used as stops for the easel. The elephant was attached with mounting foam to finish off the card.


Hope you've enjoyed my latest share? Here are the products that I used to create my card:


Black Detail (EP171)
Autumn Spice (GM2030)

Note that Sparkle N Sprinkle is trying something new this month instead of our traditional Blog Hop. You will be eligible to win a $20 gift certificate when you leave a comment both here and over on the SNS blog (you must do both to be eligible). One lucky winner will be chosen from one of the Designers' posts on the last day of each month. The winner will be announced on the 3rd of the following month, both on the SNS Blog and on the SNS Facebook page. Thanks for leaving us some love and good luck!

Unitl next time,

Shona