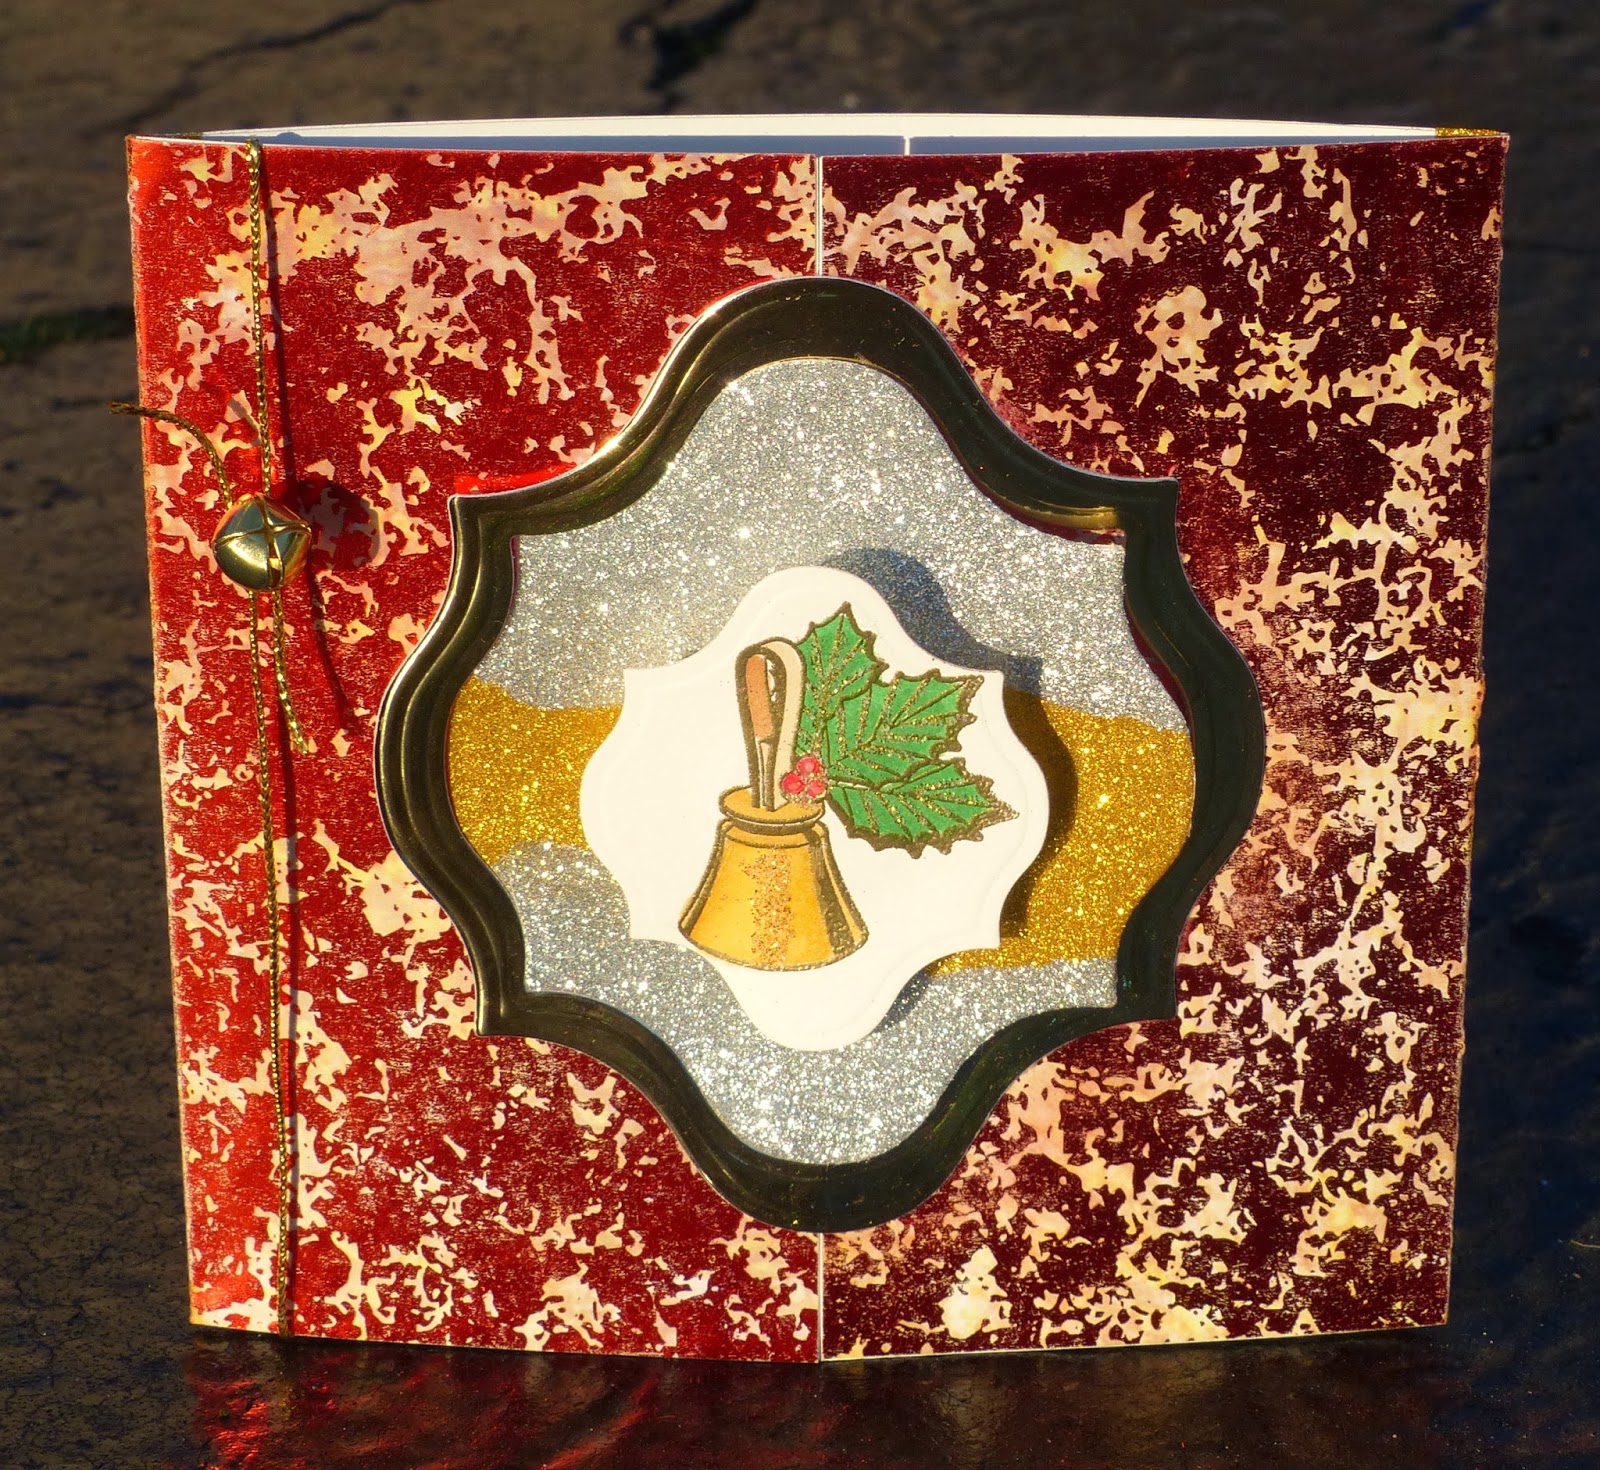
I have to say, I was naughty today (I hope Santa's not listening!). Instead of making Christmas cards and getting what I really needed to do done, I started playing - with some really fun products from Sparkle N Sprinkle!
We recently introduced two fun and appropriate seasonal embossing powders: Red Marbled Christmas and Green Marbled Christmas - now that isn't hard to remember is it, but look at the results!:

Full of sparkle - OK, I know, what isn't, over at Sparkle N Sprinkle - it would be a misnomer it it didn't sparkle!
OK, sorry about that I digressed yet again today! If you didn't see my post yesterday, have a quick look at that card. Look at that beautiful metallic background cardstock!

Using a different combination of this lovely metallic cardstock, I decided to go with a more "orangy" hue for my card today. So I took a lovely orange patterned designer paper, die cut it with Spellbinders Botanical Swirls and and covered it in Magic Speckle - "Thanks April" , what a gorgeous covering it became. Felt like I didn't want to cover up the background, metallic look, but couldn't help myself. (Come on, more is never enough!).
I did feel bad covering the entire left side bottom with the Spellbinder's Nested Poinsettias, but that was what I had intended to do - so I did get over it - and on with the show! Oh, and don't forget the leaves from Spellbinder's Rose Creations.

I had some "pinkish" colored paper scraps and cut and embossed them with the Poinsettia Spellbinder's die and then covered them in Versamark and applied the new Red Marbled Christmas to each layer. Oh, yes, and I did the same with some sage green cardstock and the Spellbinder's Rose Creations, except after the Versamark - I applied the Green Marbled Christmas embossing powder. But doesn't it look like the flower and leaves were outlined? OK, I confess, with a Sakura Glue pen and some Celestial glitter!
The frame was done with a couple of sizes from the Spellbinder's Grand Large Labels. So after cutting and embossing the frame, I applied Versamark and then some Verdigris embossing powder - and then a little Magic Speckle.

The base card was edged with Versamark and then heat embossed with some of the Red Marbled Christmas embossing powder, and edged with a little Distress ink - Rusty Hinge. The frame was set on top with dimensional tape and then the poinsettia was positioned!
The sentiment was stamped and heat embossed in Pine. These Tuscany powders are perfect for detail embossing. I used the Spellbinders Fancy Tags for the Sentiment from Sparkle N Sprinkle Set 507 ( another new and awesome Christmas SNS set). I distressed the tag with Pine and Rusty Hinge.
Wishing I had done something more than copper brads for the flower centers but yellow didn't seem appropriate - thus the metallic look!

Hope you liked what I did today - felt it needed a ribbon of some sort (but that is truly outside my comfort zone! - not enough space on the card!). This was already a 5 x 7! Sorry Margaret!
Hugs,
Shona
Using a different combination of this lovely metallic cardstock, I decided to go with a more "orangy" hue for my card today. So I took a lovely orange patterned designer paper, die cut it with Spellbinders Botanical Swirls and and covered it in Magic Speckle - "Thanks April" , what a gorgeous covering it became. Felt like I didn't want to cover up the background, metallic look, but couldn't help myself. (Come on, more is never enough!).
I did feel bad covering the entire left side bottom with the Spellbinder's Nested Poinsettias, but that was what I had intended to do - so I did get over it - and on with the show! Oh, and don't forget the leaves from Spellbinder's Rose Creations.
I had some "pinkish" colored paper scraps and cut and embossed them with the Poinsettia Spellbinder's die and then covered them in Versamark and applied the new Red Marbled Christmas to each layer. Oh, yes, and I did the same with some sage green cardstock and the Spellbinder's Rose Creations, except after the Versamark - I applied the Green Marbled Christmas embossing powder. But doesn't it look like the flower and leaves were outlined? OK, I confess, with a Sakura Glue pen and some Celestial glitter!
The frame was done with a couple of sizes from the Spellbinder's Grand Large Labels. So after cutting and embossing the frame, I applied Versamark and then some Verdigris embossing powder - and then a little Magic Speckle.
The base card was edged with Versamark and then heat embossed with some of the Red Marbled Christmas embossing powder, and edged with a little Distress ink - Rusty Hinge. The frame was set on top with dimensional tape and then the poinsettia was positioned!
The sentiment was stamped and heat embossed in Pine. These Tuscany powders are perfect for detail embossing. I used the Spellbinders Fancy Tags for the Sentiment from Sparkle N Sprinkle Set 507 ( another new and awesome Christmas SNS set). I distressed the tag with Pine and Rusty Hinge.
Wishing I had done something more than copper brads for the flower centers but yellow didn't seem appropriate - thus the metallic look!
Hope you liked what I did today - felt it needed a ribbon of some sort (but that is truly outside my comfort zone! - not enough space on the card!). This was already a 5 x 7! Sorry Margaret!
Hugs,
Shona