Monday, November 26, 2012

ASIAN GOOD LUCK

Hi there,

Back from visiting David's Mom, in Virginia.  It was a nice, relaxing visit, didn't do much (well, apart from eat!).  Since I couldn't haul my stamping loot with me, I leafed through magazines to get ideas for my Christmas cards. I usually stamp 15 to 20 of each design, using 10 different designs.  Haven't done the count yet, this year, but last was 162.  Half of them go overseas, so I really should get moving on it!

Also have quite a few birthdays in December and January, so I need to get them done too.  So while I'm waiting on my stamping room to heat up a bit, let me share with you, an Asian Good Luck card that I did last week:


I stamped the Gingko leaves in Versamark and heat embossed in Detail White. I used a Deckled Rectangle die from Spellbinders to create the window, putting a piece of cardstock over the leaves so that the die wouldn't cut the entire rectangle, then cut around the leaves. I ran the two top layers through the Darice Scroll Background embossing folder and distressed the top layer with distress inks.

The Leaf Robe was stamped in Versamark on brown cardstock, heat embossed in white.  I bleached out her face and then colored over some of the white embossing with colored pencils. I cut her out and then applied Versamark to entire piece and heat embossed with Clear Detail. Repeat with Versamark and Super Thick Clear embossing powder.

Full instructions for the card, if you need them, can be found in the Sparkle N Sprinkle Gallery. OK, I'm off to see what I can get done upstairs.

Wednesday, November 14, 2012

SPARKLE N SPRINKLE WINTER WONDERLAND BLOG HOP

Hi there, and welcome to the Sparkle N Sprinkle Winter Wonderland Blog Hop.  We have lots of ideas to share with you this time round.  In fact, so many that we are having this hop run for four days, instead of our usual two.  Sparkle N Sprinkle has picked out a few new designers for our team and so they are all joining us on this hop.  So without further ado let's get going!

The Hop will work the same way as usual, all you have to do is leave a comment on each designer's blog in order to be eligible for one of the 6 fabulous prizes. You should have hopped here from one of my new team mates, Debi's blog.  If you did, then you are on the right track, if not, you should go back to the beginning at the SNS blog page, to be eligible for all the prizes.

Have you heard about Sparkle N Sprinkle's latest product?  Velvet Glitters!  Yep, they are lovely and sparkly and they feel like velvet to the touch, hence their name!  I've been spending most of my stamping  time this month, playing with them, and one in particular - Cloud Nine! The reason for this is, not only can you stamp on it - you can color on it too!

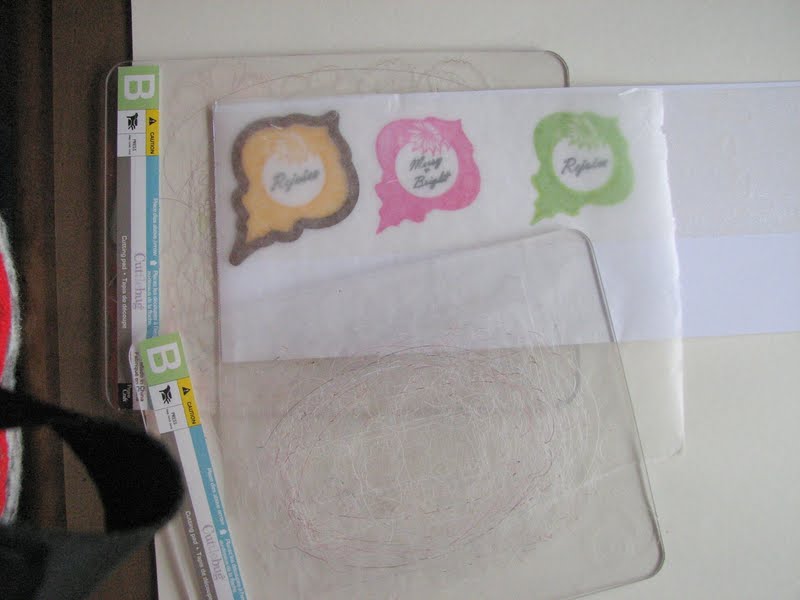
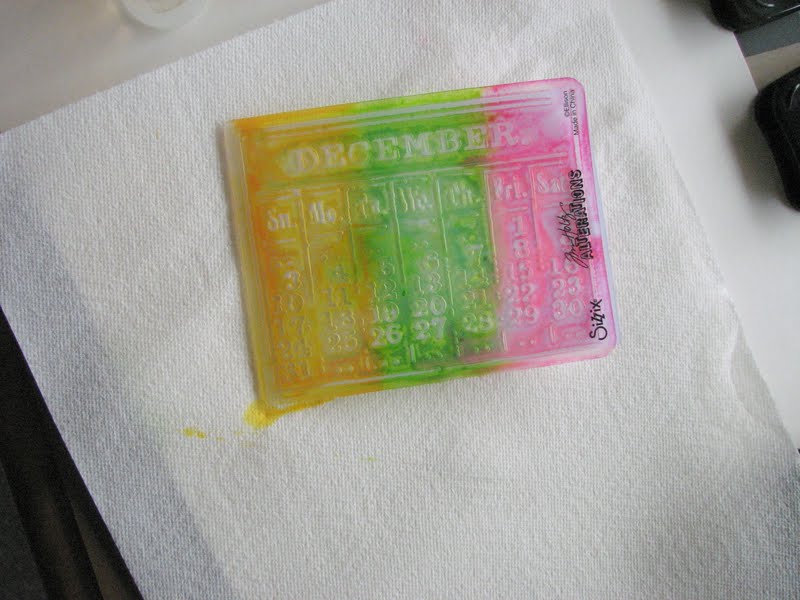
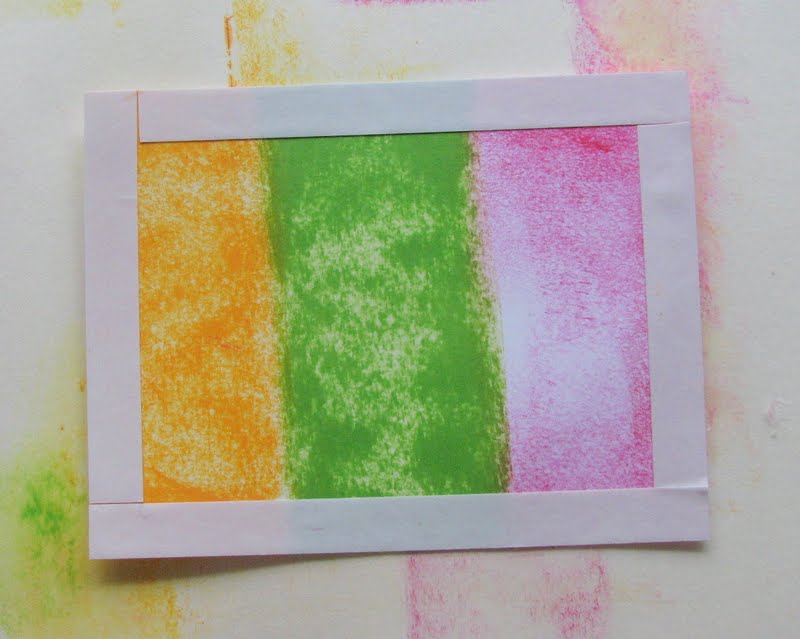
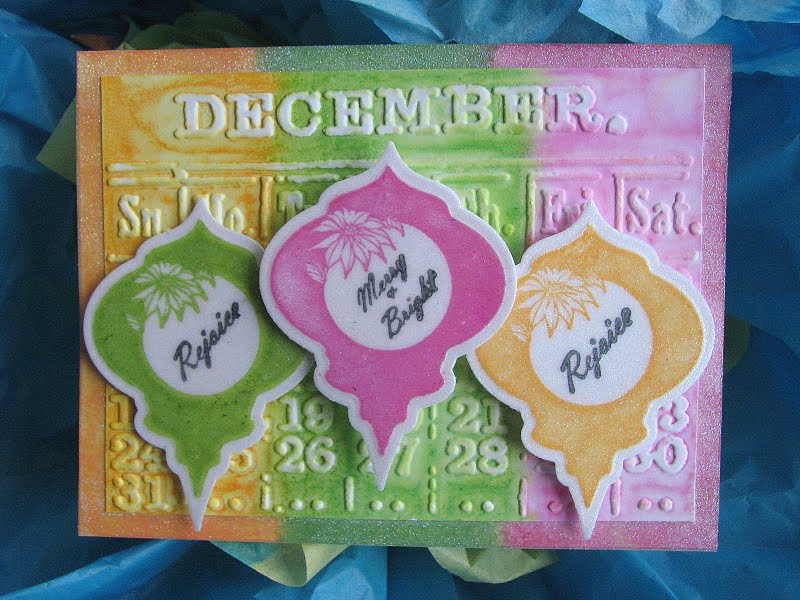
For my first card today, I used three of the new glitters: Luau Green, Gypsy Red and my favorite - Cloud Nine.  Can't you just see the velvety texture of the glitter?  That is one thing that I would like to point out about these new glitters - the coverage is phenomenal! The cardstock behind the glitters is white, the Velvet Glitter is so fine that no white shows through!  


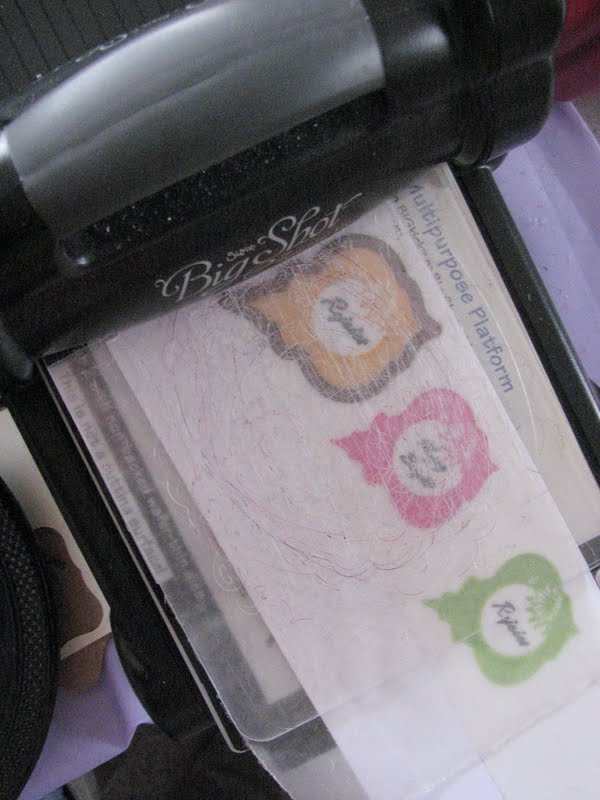
To do the image part of the card, I applied a piece of the Super Adhesive Sheet to white cardstock and then removed the protective backing.  Apply Cloud Nine glitter, burnish in with your finger, and you're ready to stamp and color!  Now, the only thing you need to remember is this:

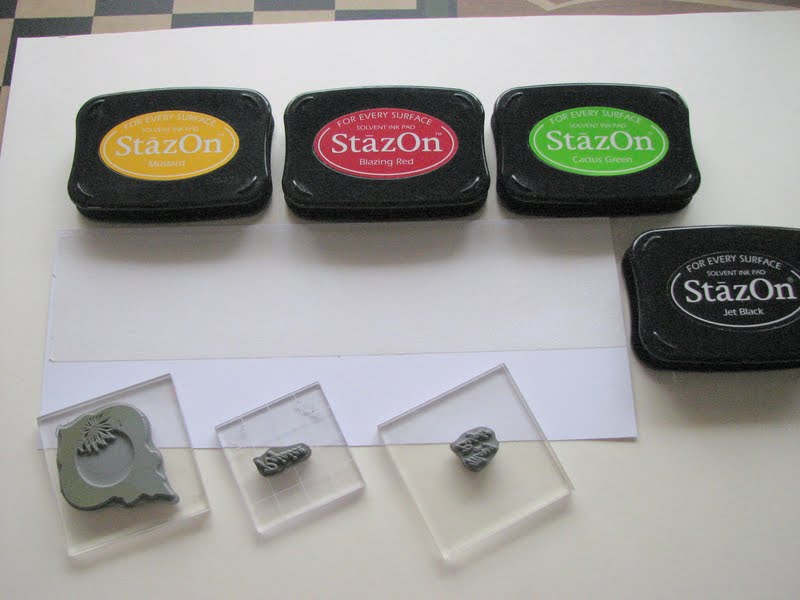
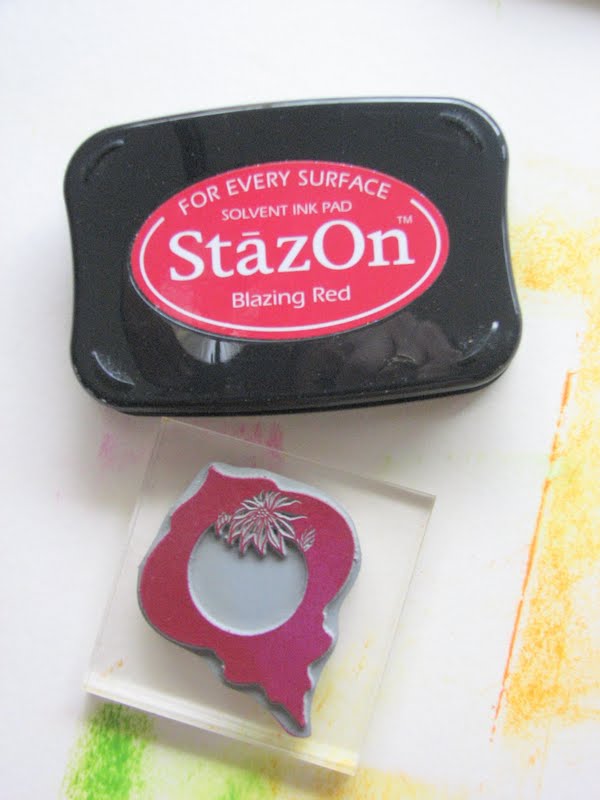
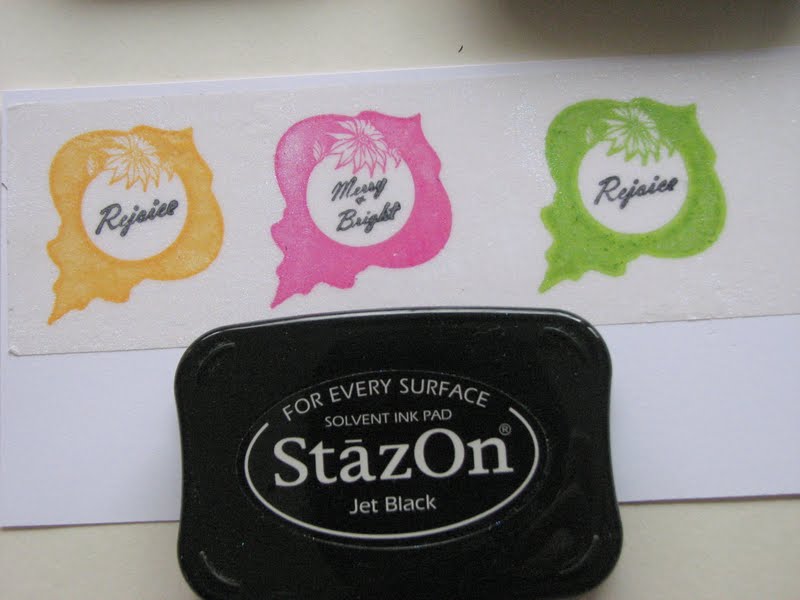
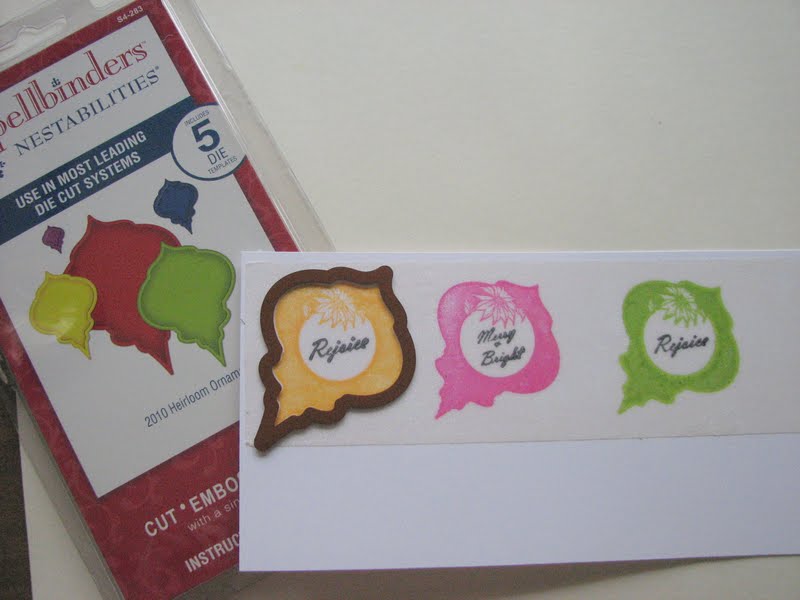
If you are going to color with Alcohol markers (such as Copics), you need to stamp with Memento ink (just as you would on cardstock).  If you are going to use watercolor pencils or crayons (which I did in this card) you will need to use Staz-On ink! 

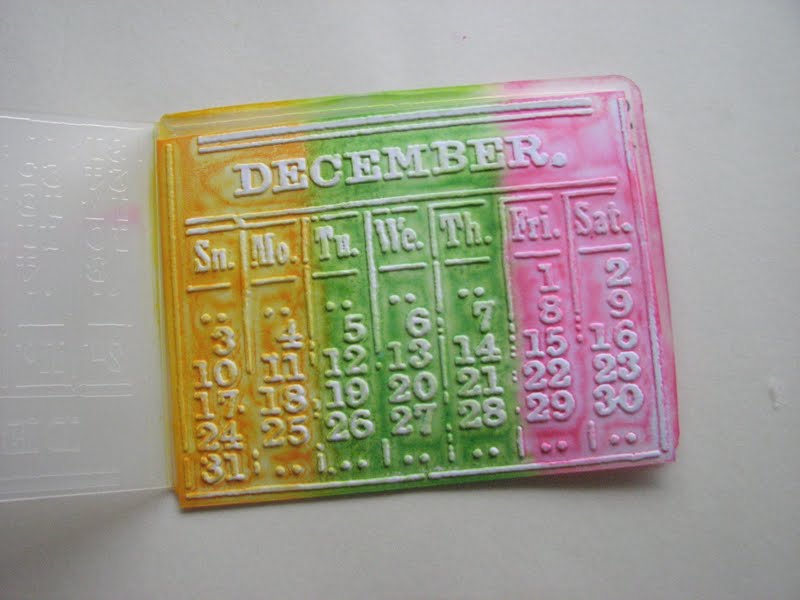
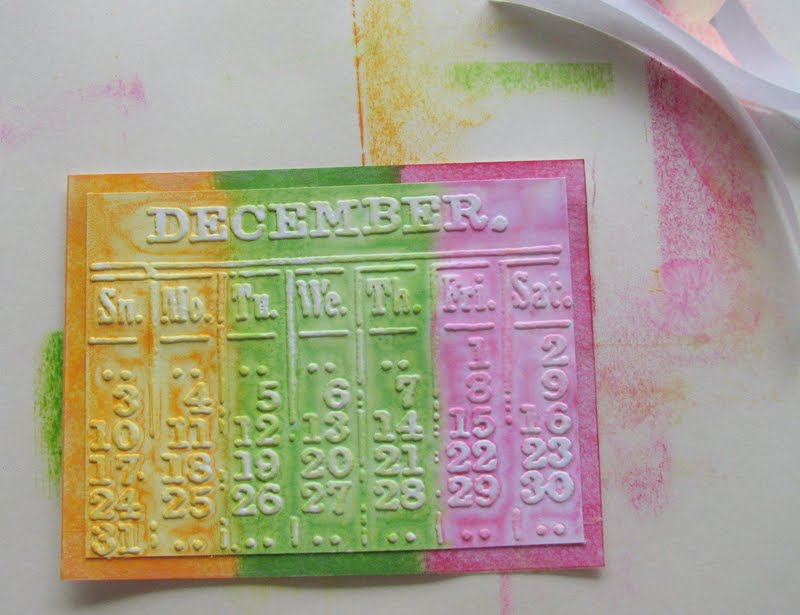
So, for my little froggy, Raising Cane, I stamped him in Staz-On and then colored over the top of the glitter using my waterbrush and watercolor crayons. If you go outside the lines by mistake, just take a clean waterbrush and remove the color.  Full directions for this card are right here.  

Once, I got started with this I couldn't stop - here is another card - done with the same technique:


Full directions for the above card are here.  

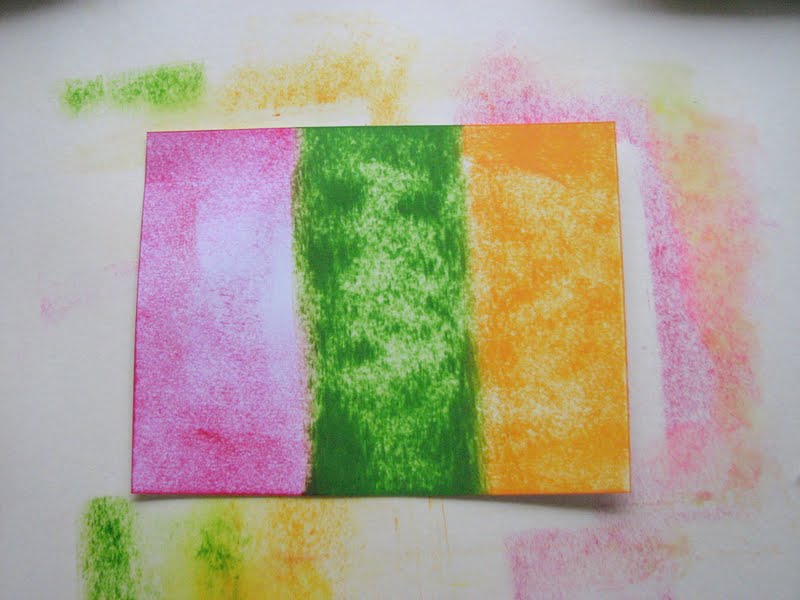
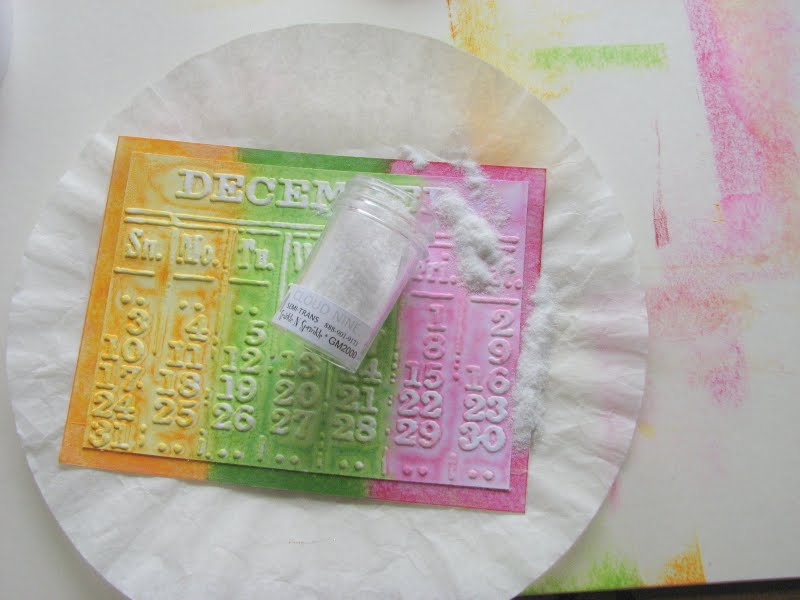
Now, just to let you see the difference, in the glitters, I colored the above image with watercolor crayons and the waterbrush, 
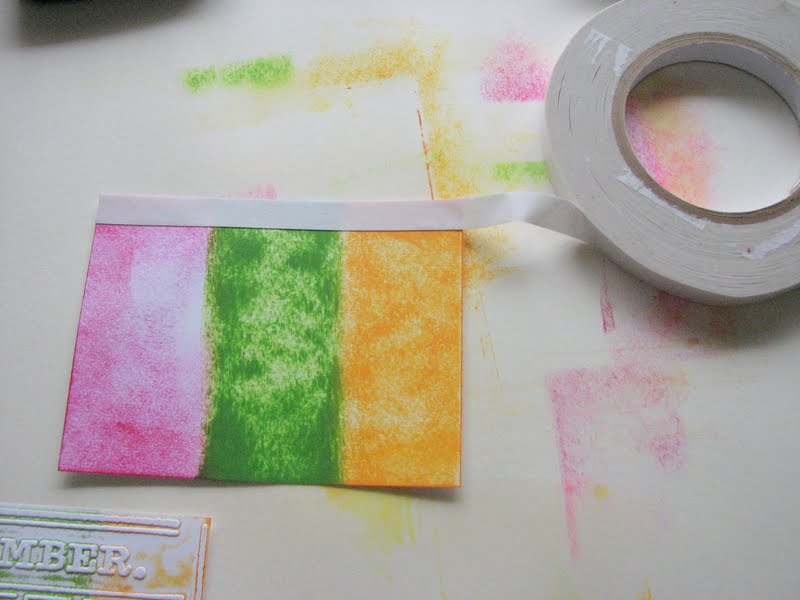
on  top of the Cloud Nine Velvet glitter.  In the next card, I colored the paper first with the crayons and brush and then covered the colored panel with the Super Adhesive Sheet and applied Sparkling Snow Glitter on top of the image.  Here is how that looks:


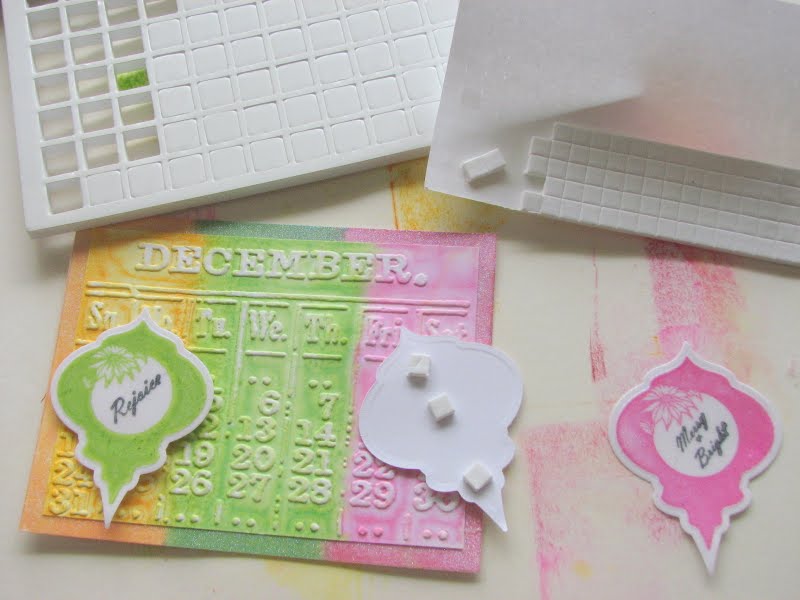
It's all just a matter of taste and what look you prefer. Now I have to show you how the Cloud Nine looks with Memento and Copics:


Isn't he just adorable?  This is Woofie our Christmas pup!  I stamped the image in Memento black ink and colored with Copics.  Oh and for the little label? - I stamped directly on the glitter with green Staz-On ink - but that's a whole other possibility!!  Full details can be found in the art gallery.  Also, come back after the hop and check out all the great ideas in our Tips and Techniques Section under  Glitter - Velvet.  

Well, I hope I've whetted your appetite to try some of these new glitters out. However,
BEWARE:  It is highly addictive! 

That's all from me today, hope you've enjoyed what I've shared. Don't forget to leave a comment for me before you pop over and see what another one of our new designers, Dawn, has up her sleeve!  Have a great day!


Wednesday, November 7, 2012

Staz-On and Velvet Glitter

Hi there,

Well, still no power, but we do have internet, so I'm typing with cut-off gloves!  The bedroom was 47 degrees this morning!

I'm going to quickly try to put up a tutorial that I did this weekend using Staz-On with Sparkle N Sprinkle's new Velvet Glitters.

So let's get started:

Take a piece of 2 1/2" Tear-ific Tape and apply it to white cardstock.


Remove the protective backing and apply Cloud Nine Velvet Glitter, burnishing it in well with your finger.


Ink up your image (I found that bold images work best with this technique) with the Staz-On color of your choice and stamp on top of the glittered piece. On this card I am using the Poinsettia Ornament image and some of the sayings from Set 418: Nesties Ornaments.


Sparkle N Sprinkle also carries the Spellbinders 2010 Heirloom Ornaments dies.  They can also be bought together as a combo.  This is what I used to cut and emboss my ornaments with.  One thing I did find - if your plates are cut up like mine, it helps to put a piece of wax paper between the stamped image and the top plate, it keeps the image nice and clean.


So I was thinking of how my ornaments were going to be staged?  I figured I needed to do some kind of background using the same three colors, but I couldn't emboss anything - as I'm without electricity?  I tried inking up the embossing folder with the three colors and running a piece of white cardstock through:


Well that looked pretty uninteresting!!  So, I went to clean the folder with Staz-On Cleaner and the colors got all wet and blended a little, so I thought rather than wiping all this color away, I'll try putting another piece of card through, I didn't have anything to lose (well - just a piece of cardstock!) I wrapped everything up in paper towel first, as I was scared that the wet ink might ooze out on to my plates, machine etc! 


Oooooh! So pretty!  That was a stage for my baubles!


So after I got the piece of card dry (normally I would have used my heat gun - but I had to dry it by the fire place for a half hour!), I cut the lines off.  I inked up the edges of the card front with the same colors of ink and edged the piece with 1/2" Tear-ific Tape.


Once edged, remove the protective backing and center the calendar and apply Cloud Nine Velvet Glitter to the exposed edges.


I then attached my baubles with dimensionals:


Here is my finished project!  You can find complete details in the Sparkle N Sprinkle Art Gallery.


Hope you've enjoyed what I've shared with you today, 'till next time - keep warm!