Thursday, March 28, 2019

Welcome Spring

Hi there, 
Can you believe that April is almost around the corner? We actually do have some signs of Spring here in New Jersey: the snow has melted, the Witch Hazel is almost finished blooming and the crocuses (header photo) have just poked their heads out! As long as I can get out in my yard to clean up, even though the temperatures are still in the 40's, I'm a happy girl! The warm sun on one's back is such a welcoming sign. Daffodils should be blooming in a week or too also. .... and they are also blooming on my card! Today I am using the Sparkle N Sprinkle Stamp Set Welcome Spring 937.


I stamped on vellum with the daffodil image from the Welcome Spring Set 937 in Versamark and then heat set in White Detail. The vellum was turned over and colored with Copics from the back. 

Versamark was again applied, this time to the back of the vellum and heat embossed with Sparkle embossing powder. 

I made a glittered frame using two Memory Box Cross Stitched Frame Borders and a piece of Super Adhesive sheet on top of yellow cardstock. Lemonade Glitter was applied to the exposed sticky surface. 

Another two daffodil flowers were stamped on velum in Versamark, heat embossed in white and colored again from the back. They were both fussy cut. 

I added foam strips to the back of the frame, so it was raised and then some Nuvo Deluxe adhesive was applied to a couple of the stems where the vellum flowers were placed. 

For the backing I scored the white card base on the top, the right and left sides, a quarter inch from the edges. This was then sponged with Memento Dandelion Yellow. I stamped the sentiment Welcome Spring (after applying the anti-static bag) in Versamark and then heat embossed with Gold Detail. The frame was then attached to the yellow background, with the mounting tape. 

I hope you have enjoyed my share today. This was a quick and fun make for me! 

Below are the products I used and if you use my personal Code ShonaDT10, you will receive an extra 10% off anything in the Sparkle N Sprinkle store.
Memory Box Cross Stitched Frame Borders
Nuvo Deluxe Adhesive
Memento Dandelion
Copics
Vellum

Today, I'd like to join in the following challenges:
Crafty Gals Corner #188: Spring is here!
The Sisterhood of Crafters: Let's Celebrate Spring
Unicorn Challenge #41: Spring
Cute N Crafty Challenge #23: Spring is in the Air
Thanks so much for stopping by today,
Shona

Thursday, March 21, 2019

Grandest Chick!

Hi there and Happy Spring!
Today I have an Easter card for you combining the fun digi set 945: Easter Parade with the Easter Parade Stamp Set 945. 
To begin with I printed out the little duck and cut the paper so that he would be in the top right hand corner, leaving enough space for his other two pals! Another duckling was printed out, as was the little chick. These last two were fussy cut. 

The eggs were stamped with Distress Inks Fossilized Amber and Wilted Violet and were then given a coat of Clear Detail and then heat set. That produced nice shiny eggs. I fussy cut them to make them look like the chicken and ducklings had just hatched!
The ducklings and chick were flocked with Canary Yellow with some smooth precision glue. Pinkerbell glitter was added to their ears in the same manner. 

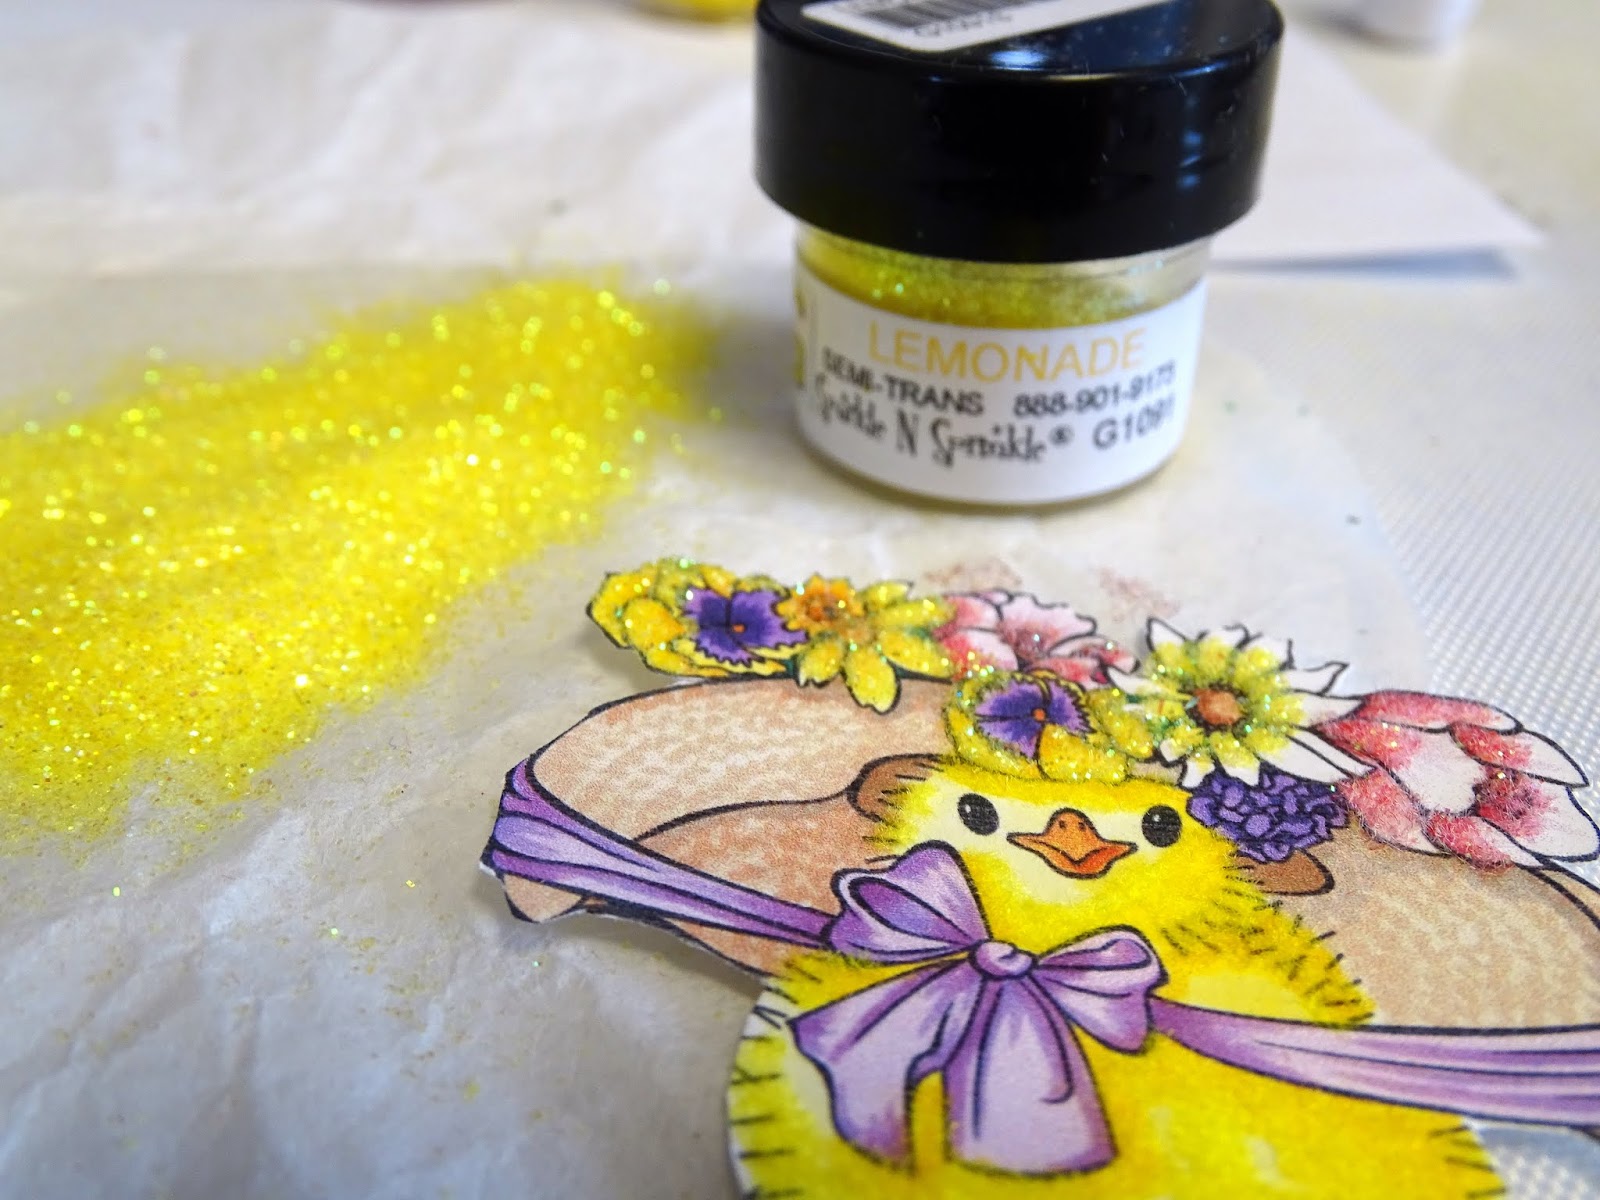
Using the same glue pen I added Lemonade glitter to the yellow flowers on the chick's bonnet. 

Dimensional Glue was then added to all the ribbons, wellies and feet and set aside to dry. This gives a raised glossy look when dry.
The sentiment from the stamp set was stamped in Versamark and was then heat embossed in Black Detail. I then sponged some Memento Dandelion ink around the edges of the card. 

The front panel was layered to purple, then to a yellow layer before the white card base. I then mounted the second duckling with mounting tape along with the eggs. The little chick was attached with a wobble. I added some Violet Galaxy Nuvo Crystal Drops to pull out the purple elements of the card. 

 That finished off my card for today. 

I hope you've enjoyed my share today. Below are the products used in my card.  You will also receive an extra 10% off anything in the Sparkle N Sprinkle store by using my code ShonaDT10 at the checkout.
I'd like to join in the following challenges:
2 Crafty Critter Crazies #24: Use a Critter
Crafty Animals #24: Must use animals
World Wide Open Design Team Challenge #3: AG
Have a great day!
Shona

Thursday, March 14, 2019

The Luck of the Irish!

Hi there,
Today I'd like to celebrate the upcoming St. Patty's Day with my card using the Lil' Garden Cottage Set 943 along with the Lil' Leprechaun Digi Set 3154.
I started with stamping the cottage in my stamp positioner on to kraft cardstock.in Hybrid ink Acorn Brown. I colored the cottage using a bleach pen and some Copics. 

I then placed the image back in the stamp positioner and inked up the stamp with Versamark and heat set with Clear Detail. 

I die cut and embossed light green cardstock with the Spellbinders Card Creator Deco Lux 2. Super Adhesive Sheet was attached to the back and 24KT Gold was burnished in to the sticky adhesive. 

I then printed out the pot of gold and the leprechaun from the digi set. I inked the pot of gold all over with Versamark and heat embossed with Clear Detail.  

I used my Versamarker Pen to apply Smokey (one of the new Super Thick Powders) to the pot.  

One last application of Versamarker and then heat embossed with Super Thick Clear - lovely shiny pot! 

A piece of the green cardstock was cut with the Tonic Good luck die. It was applied with Versamark and heat embossed first with Clear Detail then again with Smokey. 

A piece of 2 1/2" Tear-ific Tape was attached to another scrap of the green cardstock and was die cut with the Spellbinders Ribbon Tag Trio Two. The protective backing was peeled off the tag and the Good Luck was stuck to the adhesive, with 24KT Gold being burnished in to the remaining sticky area. 

The Leprechaun was then glittered up with various green glitters, Margarita, Lator Gator, Gecko and Shamrock, applied with the Nuvo Smooth Precision Pen. 


A piece of green organdy ribbon was threaded through the tag die cut and adhered at the back of the card before being layered to a white card base. The cottage, leprechaun and pot of gold were all adhered to the card front with mounting foam.
 
I hope you have enjoyed my share today. Below are the products that I used in my project today. Most of these can be found in the Sparkle N Sprinkle Store. You can use my personal code ShonaDT10 at the checkout for a further 10% off. 
Acorn Brown Hybrid Ink
Tonic Good Luck Die
Spellbinders Ribbon Tag Trio Two
Spellbinders Card Creator Deco Lux 2
Bleach
Copics
Foam Pads
Green Ribbon
I'd like to join in the following challenges with my card:
Scrapy Land Challenge #109: Use a die that Scrapy Land carries.
Classic DT Challenge #03: Anything Goes
Craft Stamper Make it Take it Challenge March: ATG
Ellibelle's Crafty Wednesday: Add some green!
Die Cuttin' Divas Challenge #411: Use Green or Gold

Thanks so much for stopping by!

Shona