Showing posts with label CASS card-making. Show all posts

Wednesday, May 8, 2019

Decorate Your Holidays

Hi there,

Welcome to my first May post! My May header is not from my backyard, but from a visit to the Cream Ridge Tulip Farm, New Jersey. I am here today to share my May Christmas card for the Christmas at Sweet Stampin' Design Team. Please stop over to see what the rest of the Design Team has created and join in the challenge where there is an optional twist of snowflakes for May. 

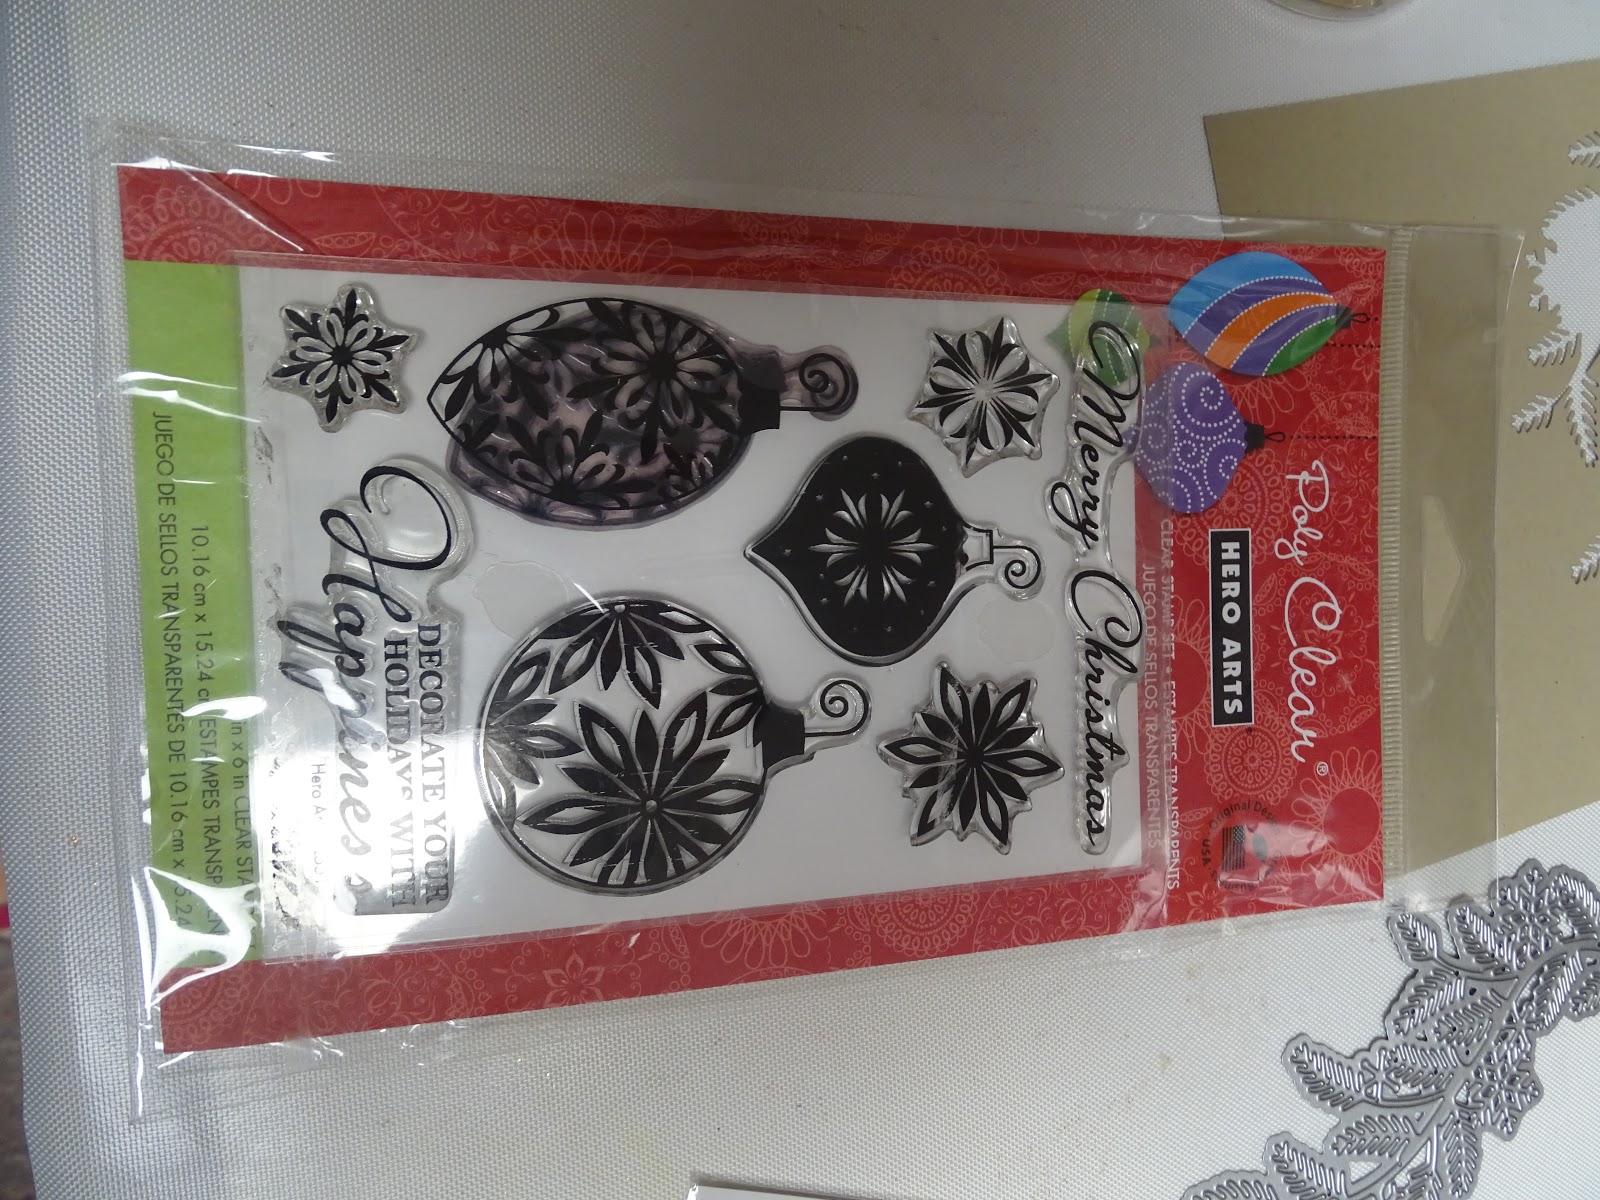
I have lots of snowflake paraphernalia, so ended up using Hero Arts baubles (with snowflakes) stamps, a Darice snowflake embossing folder, a Tutti Design Arched Fir branch (with snowflakes) and a Martha Stewart snowflake punch!


I began by die cutting the branch from Kraft cardstock, sponging with Versamark and heat embossing with Sparkle.


Next I stamped the baubles using Versafine Clair Golden Meadow, using my Stamp Platform, and then heat embossed them with Gold Detail. These were then fussy cut.


I embossed the white cardstock with the Darice embossing folder and then stamped the sentiment at the bottom of the cardstock with Versafine Claire Golden Meadow and heat embossed with the Gold Detail. The edges of the cardstock were then applied with Versamark and heat embossed with Gold Detail.


The Martha Stewart punched border was covered in Versafine Claire and heat set with Gold Detail and was wrapped around the back of the gold-edged panel.


The panel was attached to a white 5" x 7" card base and then I attached the fir branch with bits of 1/8" Tear-ific Tape. The baubles were attached with mounting tape.

That finished my card for today. Hope you've enjoyed my project.


Below is a list of the products I used:

Hero Arts Decorate Your Holidays
Versamark
Versafine Clair Golden Meadow
Gold Detail (EP168)
Sparkle (EP107)
⅛” Tear-ific Tape
Tutti Designs Arched Fir Branch
Martha Stewart Snowflake Punch
Darice Snowflake Background embossing folder
Mounting Foam

I'd like to play along in the following challenges:
The Holly and the Ivy Challenge #49: Anything Goes
World Wide Open Design Team Challenge #4: Anything Goes
Christmas Cards All Year Round: May - Ornaments


Thanks for stopping by today, I'd love to hear what you think of my card.

Till next time,


Shona


Wednesday, April 10, 2019

Seasons Greetings!

Hi there, 

Welcome to my first card for April! We're in the 70's today and the forsythia, crocuses (my header photo) and daffodils are putting on quite a show. The trees are starting to bud out too, I was in shorts and t-shirt setting up my bee hives today - as my bees are due to arrive sometime this week!

Today I have a card to share with you for the Christmas at Sweet Stampin' April 2019 Challenge.  Be sure to take a look at the inspiration from the Design Team. This month they have an optional theme, which is monochrome. I chose to play with silvers.


To begin with I stamped the background stamp from Technique Junkies - Winter Wonderland in Versamark and heat embossed with Silver Lightning. 


As you will see I failed to get a good impression with the stamp up in the sky area - so I decided to stamp in Versafine Claire Morning Mist and then heat emboss with Sparkle! 


Here you can see the difference:


So I fussy cut the sky area out of the Versafine Claire version and added it to the top of the Silver Lightning background. I die cut three snowflakes from glossy cardstock. Two were inked with Versamark and heat embossed with Silver Lightning and the third was heat embossed with Sparkle. I also die cut the Sweet Cuts Classy Deer from Silver cardstock and heat embossed with Silver Lightning.


I placed them on the card and thought that it would be better if the deer was a little darker, for contrast, so I added a little Versafine Claire Morning Mist on top of the embossed deer and then heat embossed with another silver embossing powder, Shimmer, this worked out nicely. The Tonic die Seasons Greetings was cut from silver cardstock. Then it was time to assemble everything. I layered the background to white glossy which was then layered to silver cardstock, but I didn't have it go all the way to the bottom of the card. The snowflakes were then adhered with mounting tape.


The deer was added with mounting tape, positioned like it was touching the white snowflake. The Seasons Greetings die was attached using Nuvo Precision Glue, overlapping the base of the front panel.


That finished of my project for the day! Hope you've enjoyed my monochromatic share and I look forward to seeing some of your projects over on the CASS site!

Below are the products that I used today. If they have a link - that means they are from the Sparkle N Sprinkle website and you can receive a further 10% of anything on the website by using my personal code ShonaDT10 at the checkout.

Technique Junkies Winter Wonderland #S635
Silver Mirror Cardstock
Sweet Cuts Classy Deer die
Joy Crafts Winter Wishes die
Mounting Foam

I'd like to join in the following challenges:
Scrapy Land Challenge #111: Use a die that Scrapy Land carries.
2 Crafty Critter Crazies - Challenge #25: Use a critter
World Wide Open DT Challenge #3: ATG
The Holly and the Ivy Christmas Challenge #47
Craft Stamper: Take It Make It Challenge - April

Wednesday, March 13, 2019

Winter Deer

Hi there,

Today I have a card for the Christmas at Sweet Stampin' Challenge Blog. I decided to go with a sparkly monochromatic look this month. 


I began with stamping the large Penny Black Snowy Grove stamp in Hybrid Ink Metro Grey on glossy white cardstock. I used my stamp positioner for this since it is such a big stamp and it required a couple of applications of ink.


The three deer were cut out from the Sizzix Winter Deer die cut, which was cut from Black cardstock.


The Memory Box Merry Christmas die was cut from white cardstock covered in 2 1/2" Tear-ific Tape.


I cut out the "Merry" and "Christmas" from black cardstock and placed them in their spots before covering the snow bank with Twinkling Clouds Flocking. 


I used the Sakura Glue Pen with Starfire glitter to fill in the snow particles on the background. This glue dries clear.


A piece of Bakers Twine was strung around the top of the card before I mounted the front panel to a grey card base.


I hope you can see the sparkly snow on the background panel. It's so twinkly in real life.

Below are the products that I used in my card today, some of which can be found over on the Sparkle N Sprinkle website:


Penny Black Snowy Grove
Hybrid Metro Grey
Memory Box Curved Merry Christmas Die
Sizzix Winter Deer
Foam Pads
Foam Strips
Grey bakers twine

I'd like to join in the following challenges with my card today:

Classic Design Team Challenge #3 - March: Anything Goes
Craft Stamper: Take It Make It March Challenge: Anything Goes
Scrapy Land Challenge - March: Use a Die that Scrapy Land Carries
The Holly and the Ivy Christmas Challenge #45: Anything Christmas

Thanks for stopping by today,

Shona