Showing posts with label EPs. Show all posts

Thursday, June 21, 2018

Happy Fourth of July!

Hi there,

Today I'd like to share another Sparkle N Sprinkle June Reveal card, using both the fun little Baxter Pup Stamp Set 901, along with the digi version of the set.


I began by printing out little Baxter and after fussy cutting with my 5" mini scissors, I added Versamark ink both from the pad and the Versamarker pen to apply Clear Detail to the flag and his nose before I heat embossed.


I printed out the flag from the digi set. Cloud Nine and Gypsy Red were added to the white and red stripes with the Nuvo Medium Glue Pen. Cloud Nine was applied to the stars with the Quickie Glue Pen.


I stamped Baxter in Black Shadow Hybrid Ink on the stamp platform, for good coverage.


He was then colored with various Nuvo alcohol markers. After fussy cutting, Elephant Gray flocking was applied to his muzzle with Nuvo Deluxe Adhesive.


Craft Perfect Mirror Card Ruby Red and Cobalt Blue were used for the card base. A red shiny banner was die cut from the red piece first on the Tangerine.


Then this was layered to the Cobalt Blue and then a white card base.


The sentiment was stamped, using the stamp platform, in Nuvo Empire Blue ink and before it dried, this was heat embossed with Clear Detail.


I used the curve of the banner die to cut the sentiment out.


The sentiment and banner were added to the top right hand corner and some Double Denim Crystal drops were added above the sentiment. Both Baxters each got a googly eye using the Nuvo Deluxe Adhesive.


The little stamped Baxter was attached with Craft Perfect Foam Pads and the bigger digi version was attached with an action wobble, so that he could wave his flag!!


Here is the list of the products that I used to make my card:

Baxter Pup Set 901
Clear Detail Embossing Powder (EP280)
Nuvo Alcohol Markers: Plum Tomato,
Ultramarine, Hay Bale
Craft Perfect Mirror Card: Ruby Red, Cobalt Glaze
La-La Land Craft Die: Flag Banner
Mounting Tape

Googly Eyes

I hope I've inspired you to pick up some of these fun products. If I have please
stop over at the SNS Creative Challenge. All you need to do is use a Sparkle N
Sprinkle stamp in your creation (don't have any stamps? No problem - you can
pick up one of the free digis to use!) The challenge is open until June 25th and
the winners will be announced at the beginning of July. Can't wait to see your
creations!

Thanks for stopping by,

Shona


Thursday, May 31, 2018

Live as if .....!

Hi there,

I'm back today to share my last May Reveal card using the lovely Aster Garden Set 893 this time.


I began by stamping the main sentiment in the middle of white glossy cardstock in Nuvo Clear Mark using the Stamp Platform then I heat embossed with Gold Detail.


I then made two masks of the big flower from post-it notes, stamping in Memento black ink and fussy cutting with my 5" Mini Scissors.


I inked up the stamp using the Hybrid ink Diamonds Set Tropical Fruit and with the help of the masks I stamped around the sentiment, so that the images didn't overlap one another.


I stamped the smaller image with the butterfly on glossy card in Nuvo Clear Mark and heat embossed with Gold Detail.  This was then colored in with Aquaflow Watercolor markers - making a pallette from an acrylic block and applying the colors with the Nuvo Water Brush. Once dry this was fussy cut again with the 5" Mini Scissors.


Next I stamped on top of the flower circle with Nuvo Clear Mark and heat embossed with Gold Detail the same butterfly image.


Nuvo Deluxe Adhesive was applied to the back of the fussy cut piece and placed on top of the stamped image.


The larger flower was stamped twice in Nuvo Clear Mark and heat embossed with Gold Detail and then after being colored with the colors from the same pallette, they were fussy cut with the 5" Mini Scissors.


An embossed frame was made from cutting out an oval from the Craft Perfect Ivory Bouquet paper, using the Tangerine Machine along with the Sizzix Dotted Ovals and a Spellbinders Grand Ovals die.


Next I made my card base. Using the next biggest size oval die, I cut out the front of the easel card and then the base was made, using a scrap piece of cardstock at the fold of the card base, to "stop" the machine from cutting past the fold - the card front would then be placed on top. I did the same on the base edge - this way the base is also rounded.


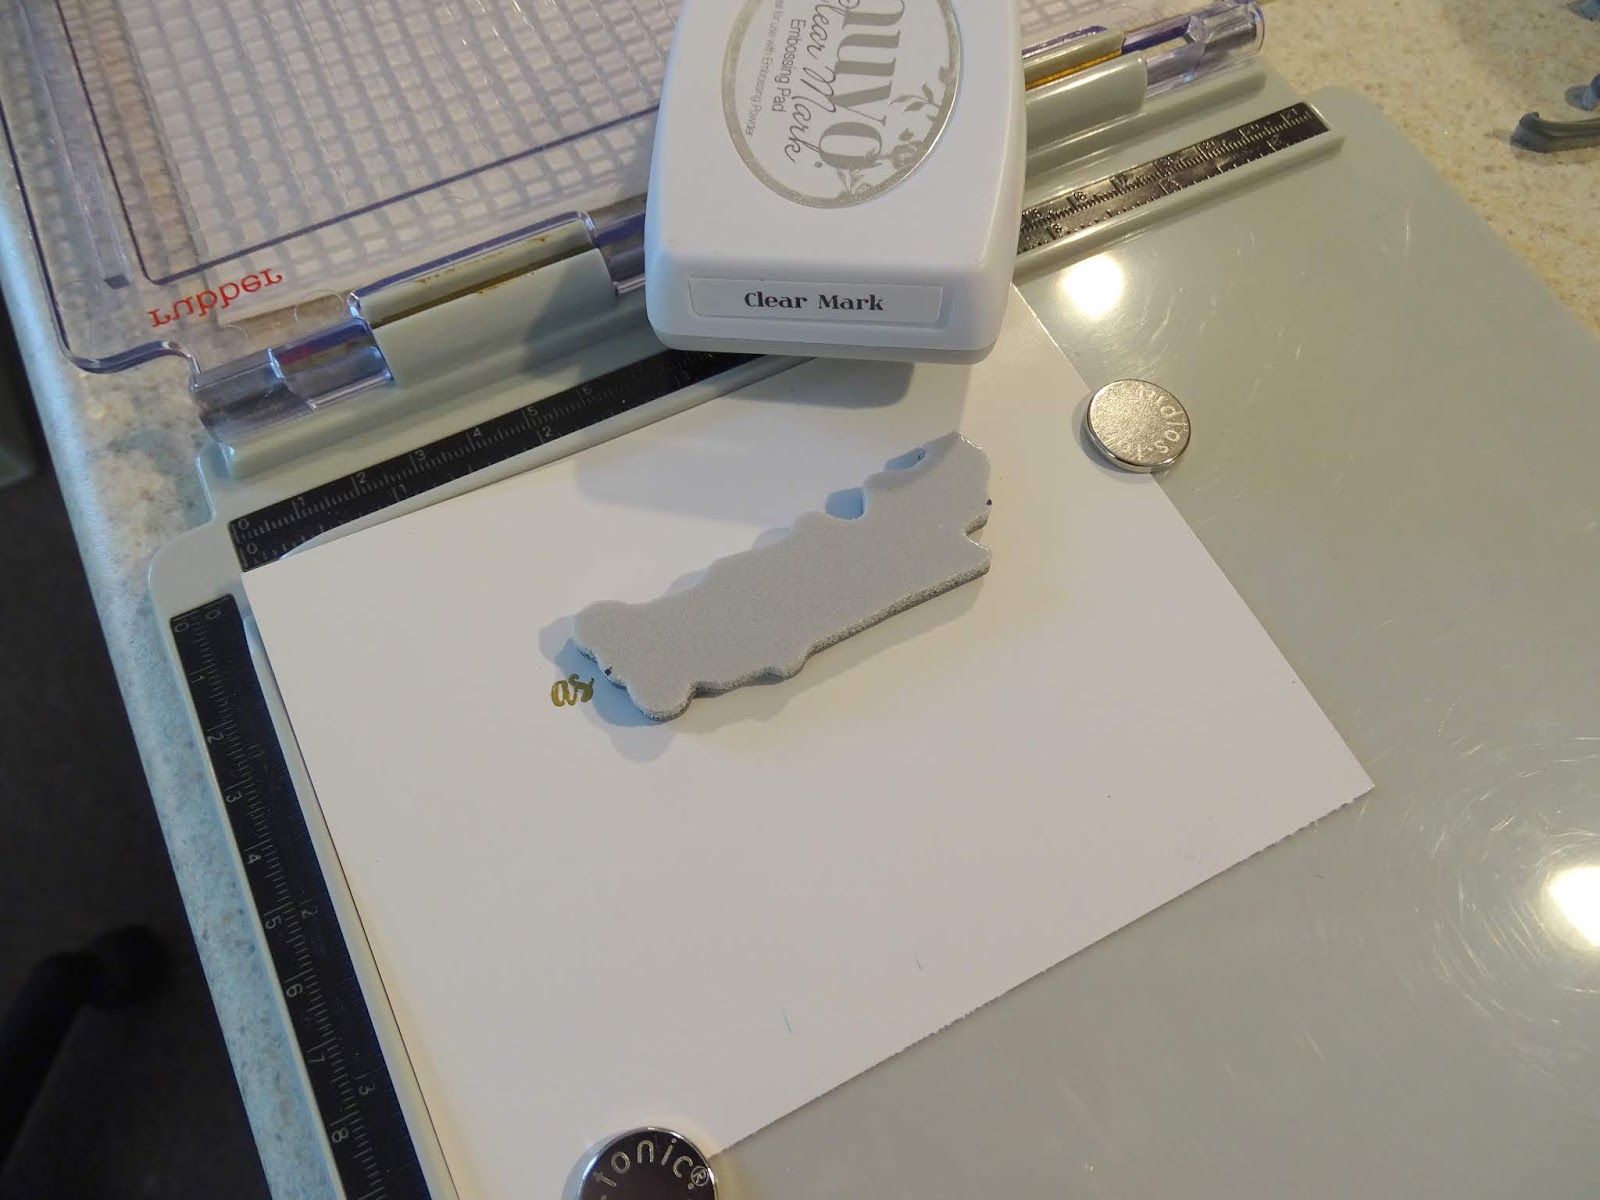
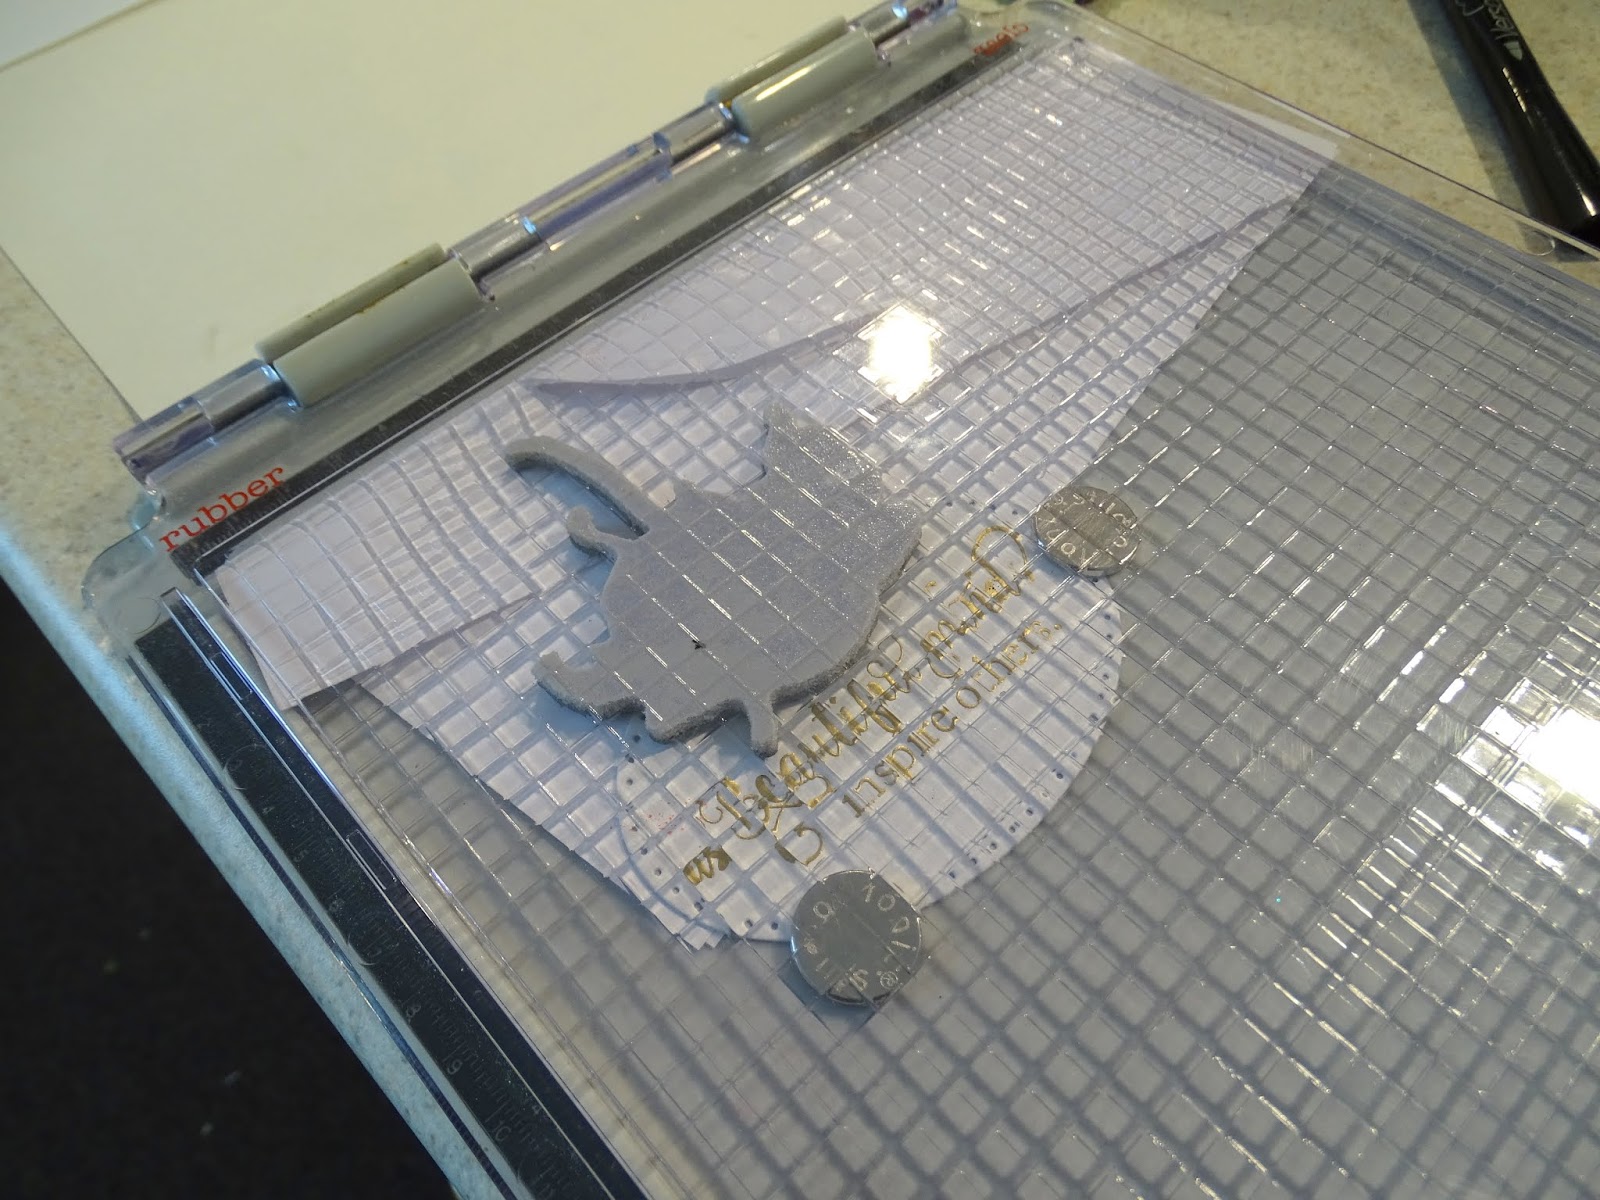
For the smaller sentiment I applied Versamarker pen to the word "as" from the first sentiment and stamped it on to white glossy card with the Nuvo Clear Ink and then heat embossed with Gold Detail again. Then using the Stamp Platform I lined up the second sentiment and embossed with Gold Detail. This was then die cut in the Tangerine using one of the smaller Dotted Oval Dies.


The large flower was stamped again above this sentiment with a piece of scrap paper under the oval, so ink would not hit the platform. Again stamped with Nuvo Clear Mark and heat embossed with Gold Detail.


This was again colored with the Aquaflow Watercolors.


I layered up the card front and then ran the Versamarker Pen around the outer edge of the large oval front and heat embossed a little Gold Detail to distress the edge.


The two colored flowers were then attached to the card front, placing on top of the existing stamped flowers with some 1/4" Tear-ific Tape.


The Sakura Glue Pen was used to apply a little Autumn Frost Glitter to the center of all the attached  flowers and Butterscotch Glitter to the petals.


Two more images were stamped using the Hybrid Inks Tropical Fruits on the card base and then the smaller sentiment was positioned on the card base as my "stop" with mounting tape. A few Honey Gold Crystal Drops were added to the base of the easel. This finished off my card for today.


If you leave a comment here and then also go over and leave a comment on the Sparkle N Sprinkle Blog you will be eligible to win a $20 gift certificate for the Sparkle N Sprinkle store. Not many people are doing this, so your chances of winning are pretty high - just saying!

Below is a list of products that I used on my card, the majority of which can be found in the Sparkle N Sprinkle Store:

Gold Detail (EP168)
Sizzix Dotted Ovals
Spellbinders Grand Ovals
Mounting Tape

I'd like to play along in the following challenges:
Crafty Creations Challenge #367: Anything Goes
Crafty Gals Corner Challenge #166: Anything Goes
City Crafter Challenge Blog Week 414: Watercolor Flowers
World Wide Open Design Team Challenge #5: Anything Goes

Thanks so much for stopping by,

I'll see you back here in June!

Shona

Thursday, August 3, 2017

Robin Wreath Christmas Greetings

Hi there, 
I'm back today with another card from the SNS July Reveal using the cute Winter Greeting Bird and Wreath Set 855.
I ran the Sizzix Holly embossing folder with green cardstock through my embossing machine. Spring Green Nuvo Embellishment Mousse was then sponged on the piece.
The wreath image was stamped in Versamark on white cardstock and was heat embossed with Christmas Green. I fussy cut with my Tonic Mini Scissors then the holly leaves were colored with a Copic Green marker and then the Spring Green Mouse was sponged around the inner and outer edges.
The berries were colored with the Red Berry Nuvo Crystal Drops. I did this in stages so the drops would dry between applications, so that they didn't become one large berry! 
The robins were stamped with Memento Tuxedo Black and colored with Copic markers. I fussy cut them with my Tonic 5" Mini Scissors. I took a strand of 1/4" Tear-ific Tape and rolled it between my hands to make a little rope and then passed it through a "puddle" of Gypsy Red Velvet Glitter to make a sparkly little red rope!
I then took a silver brad and dipped it in the Versamark pad and heat set it with Red Apple. This was wrapped around the little rope bow and attached to the bottom of the wreath.
The wreath was then popped up on the embossed background and with mounting tape and the little birds were attached with tape and foam as shown. This was layered to red cardstock before being layered to a white card base. The sentiment was stamped on glossy white in Versamark and heat set with Christmas Green, was fussy cut and attached with mounting tape.
This finished up my card for today, Below are the products used on this card. Just click on the item to find them in the SNS store.
I'd like to play along in the following challenges:
Crafty Creations Challenges: Anything Goes
Sunny Day Crafting #46: E is for emboss
World Wide Open Design Team Challenge 24: Anything Goes
The Merry Christmas Challenge #28: Animals

Thanks so much for stopping by!

Shona