Hi there,
Glad you stopped by today, I've got a fun
technique which I have played with before, Coloring on Flocking. This time however, I used Distress Inks and Distress Markers to "color" my Snow White Flocking. Even the sentiment is stamped on flocking!
I used the other bird set (
Wilson) from the October Reveal. Here are the ingredients I used to make my card:
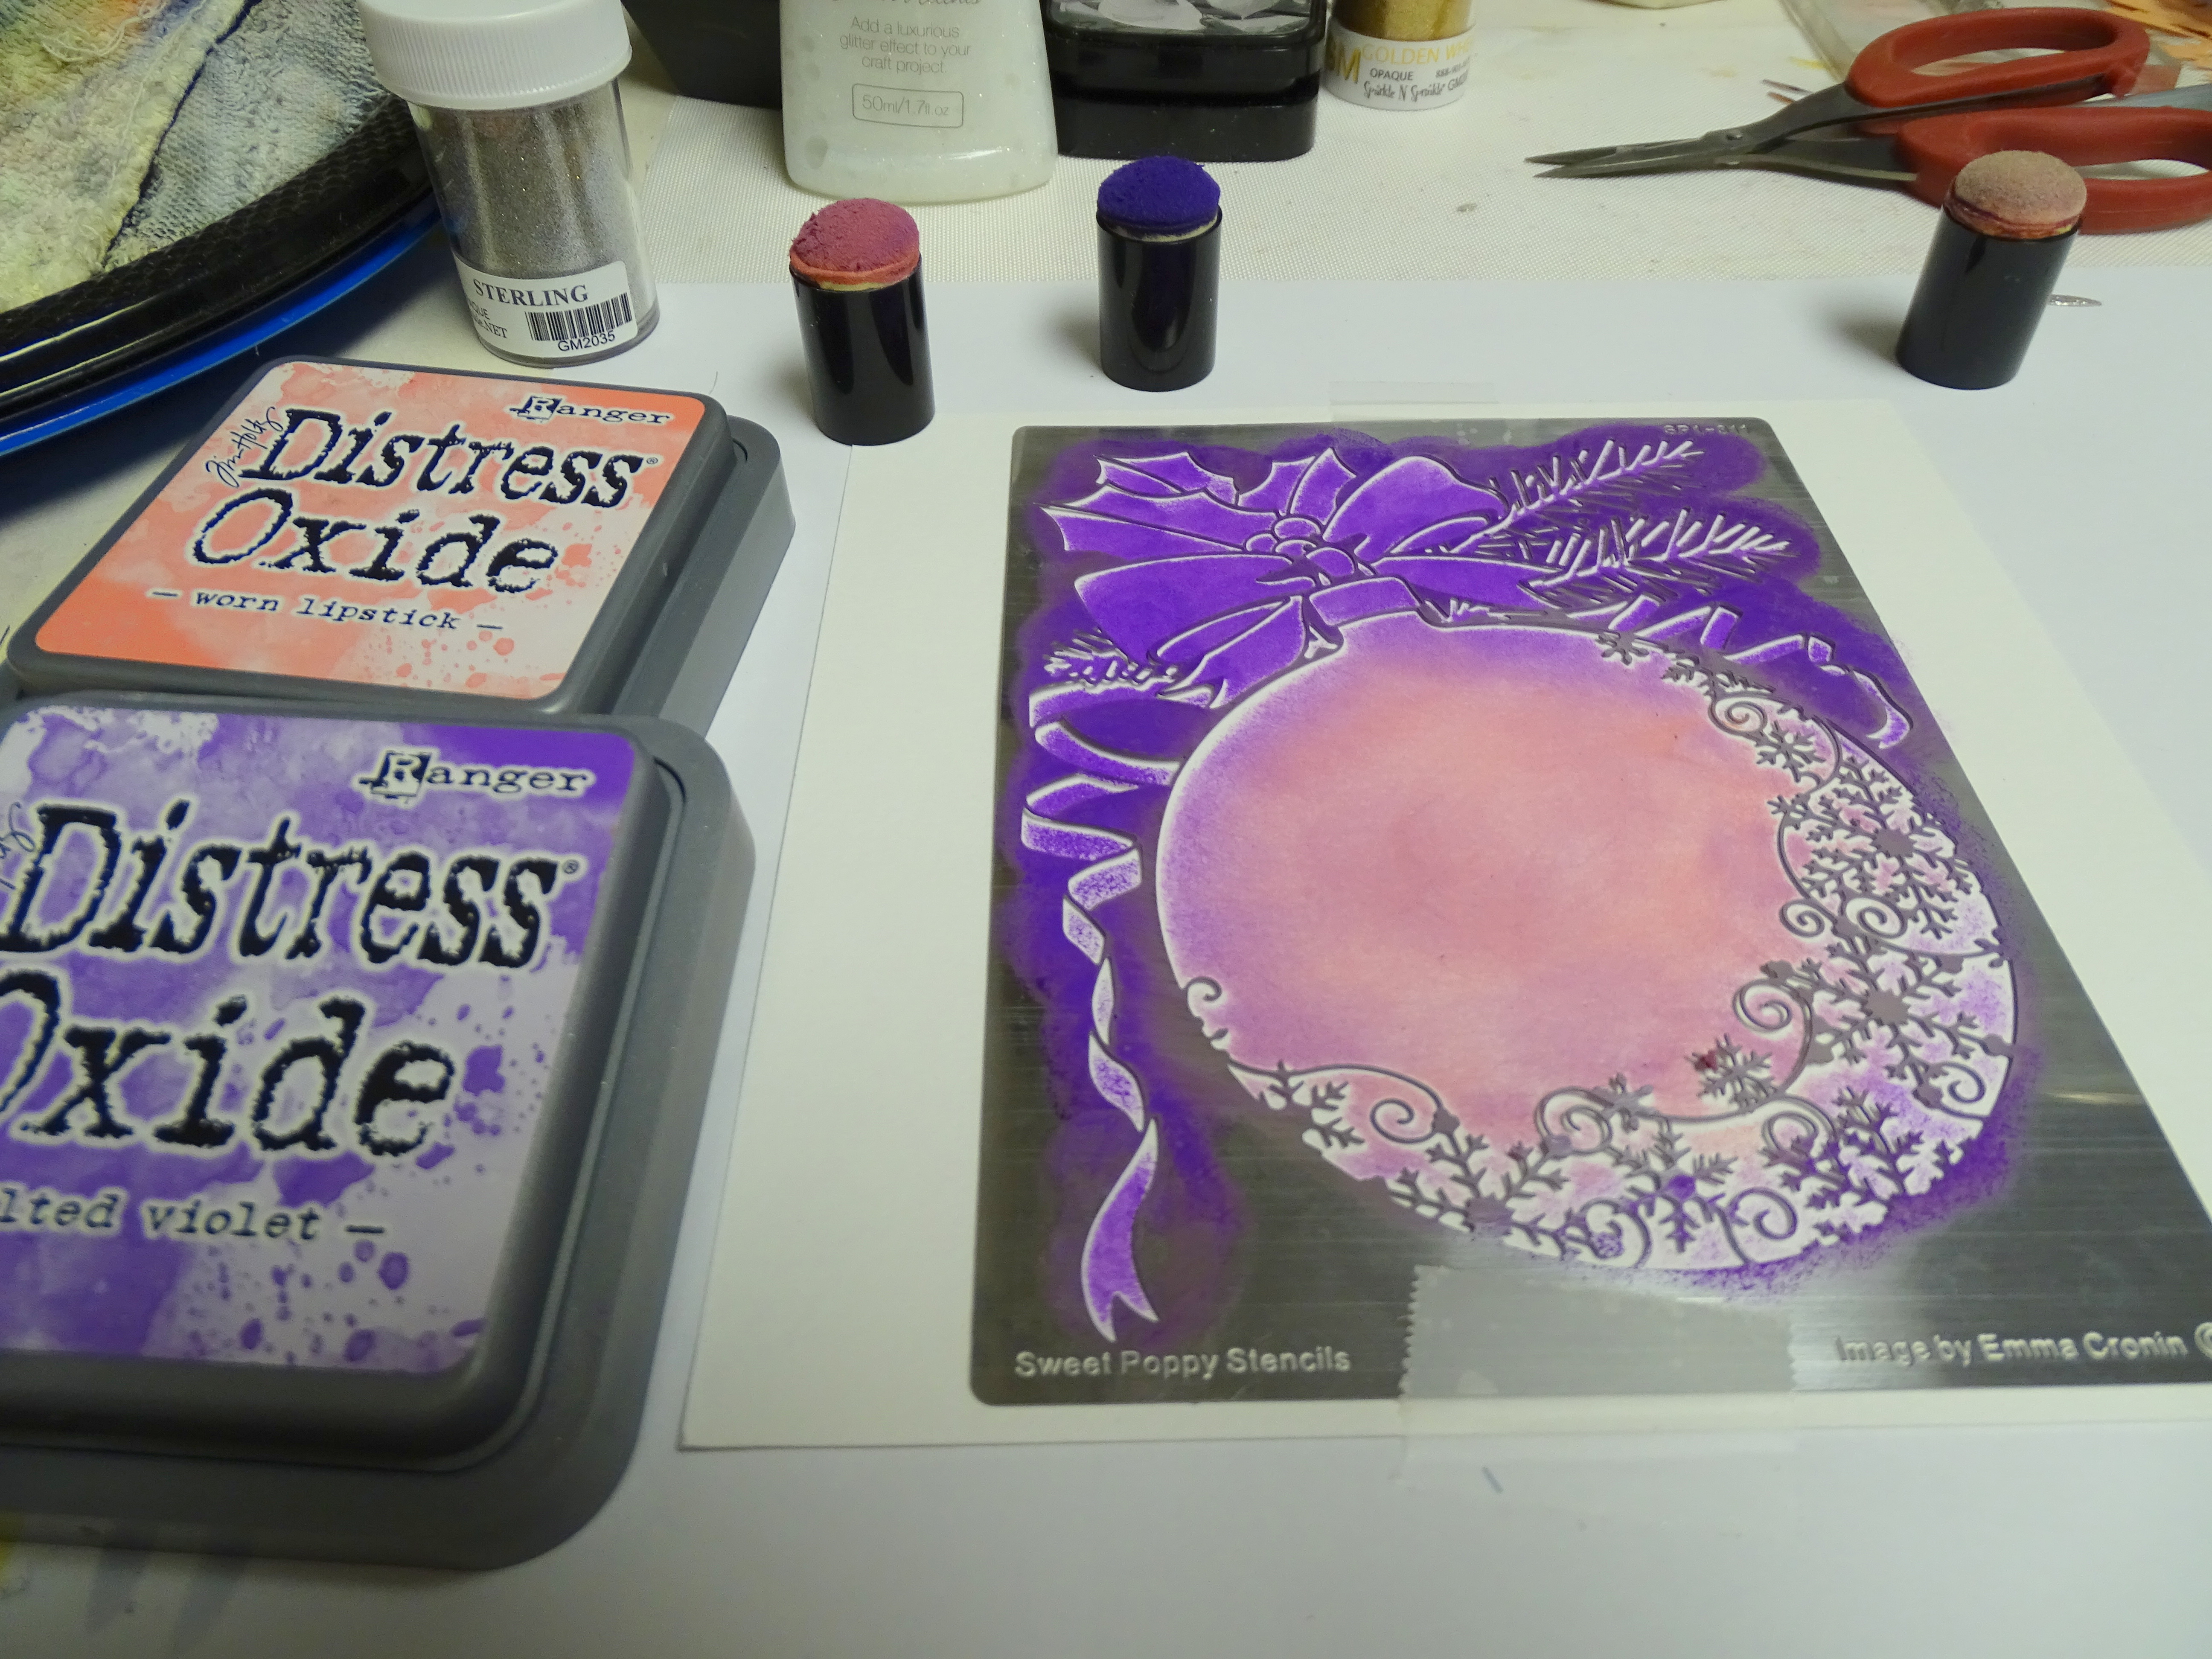
Distress Inks: Dusty Concord, Spiced Marmalade, Aged Mahogany
Distress Ink Markers: Pine Needles, Dusty Concord, Aged Mahogany, Spiced Marmalade, Black Soot
So let's start with the background, shall we? I cut a piece of 4" x 5 1/4"
Super Adhesive sheet and attached it to a piece of white cardstock. I removed the protective backing and covered the entire piece with Snow White Flocking, burnishing it in well with my finger tool. I opened the Cuttlebug Leafy Branch embossing folder and applied Memento
Summer Sky ink to the raised background of the folder. Taking the "fall" colored Distress Markers I then colored in the depressed areas. I "huffed" to remoisten everything as it took a few minutes to color in all the leaves.
The white flocked piece was placed in the folder so that the flocking was face down to the inked side. It was run through the embossing machine to provide this gorgeous result:
So then on to the birds! Since the Distress markers are dye based, I used Black Staz-On as my choice of ink. NB: If you prefer to use alcohol markers then you should stamp with Memento ink. I'm using the dye-based markers as I wanted to use the matching ink pads.
I took a piece of
2 1/2" Tear-ific Tape and attached it to white cardstock. I removed the protective backing and then applied the
Snow White Flocking. The stamp was inked up with the black StazOn and stamped directly on top of the flocking:
Then get coloring!
What I found with the Distress inks, that matched the Markers, is that I could daub the color directly to certain areas. This gives a more even look than using the markers. It's also a much quicker way to color bigger sections. When you use the daubers, just mask out the certain areas that you don't want colored. You can see the difference in the coloring with markers versus the daubers by looking at the tall bird. His belly was daubed, but I used the marker (Aged Mahogany) for his back. The marker produces a darker and more textured look.
For the birds below. I daubed both of them (except for the masked eyes, beaks, belly and the legs).
Then they were all fussy cut!
On to the sentiment. I thought I'd see if it worked - and guess what? It did!
I placed a scrap of
Super Adhesive Sheet on a piece of orange cardstock and removed the protective backing. I then applied Snow White Flocking and burnished it in well with my finger. I then inked up the sentiment stamp with
Dusty Concord and stamped directly on top of the flocking. I loved the result. It was very clean and vivid. I hand cut it in to a fish tail banner.
To put the card together, I layered the background on to a piece of purple cardstock and then to an orange card base. It was then just a case of placing the birds and the sentiment with some
Dimensional Foam, though I did use
1/8" Tear-ific tape at the feet of the birds so that the heads kind of popped up to give the card a little more dimension. Now looking at the photo it looks like the little guy on the right has bunny ears!
Hope I've inspired you to get more colors from your flocking! It can be whatever color you want, or at least whatever color of markers and ink pads you own!
Have fun!
Shona