Showing posts with label Spellbinders. Show all posts

Thursday, August 30, 2018

Birds of a Feather

Hi there,

Thanks for stopping by today. I'd like to share with you my last August Reveal card, using the adorable little Feathered Friends Stamp Set 909.


Going along with the wreath image from the stamp set, I decided to make a telescopic card, combining the Spellbinders Wreath die set. First, I backed some designer paper with Super Adhesive Sheet. I then ran the two wreath dies through the Tangerine.


The wreaths were each centered on to black cardstock circles, cut from the Spellbinders Grand Circles die set, using the Tangerine. The wreath image was stamped on white cardstock in Nuvo Clear Mark Ink, using the Stamp Platform and then being heat embossed with Black Detail.


Using the Stamp Platform I positioned the sentiment in the middle of the stamped wreath again in Black Detail. The wreath was then colored with Nuvo Aquaflow pens. I made a little palette using an acrylic block and applied the color with a Nuvo Water Brush.


This front panel was then die cut with one of the smaller circle dies with the Tangerine and layered on to the smallest of the black circles (attached with a black brad) with a little piece of white ribbon as a pull at the top. Nuvo Crystal drops Morning Dew were applied to the flowers for dimension.


The middle panel was created by stamping the three birds in Hybrid Black Shadow on top of the scrap piece of the designer paper from one of the wreath cuts and then die cutting the one bird with the circle die.


This was then covered with Nuvo Clear Mark ink and then heat embossed with Clear Detail. This was then layered on to the middle-sized circle.


For the base panel, white cardstock was cut using the inside of the larger wreath die. The birds and the second sentiment were then positioned on the area using the Stamp Platform.


The birds were watercolored using the same palette as before and inserted inside the wreath on the base circle. Nuvo Glitter Drops Sherbert Shimmer were added to the bottom.


The card was assembled bottom to top. Here is the base:


The three panels were then attached with black brads, so that they turn round to close over each other. Here is the entire project closed:


I hope you have enjoyed my share today. Below are the products used in my project and you will receive an extra 10% of your SNS order if you enter the code ShonaDT10 at checkout!

Feathered Friends Stamp Set 909
Spellbinders Wreath Die Set
Spellbinders Grand Circles Die Set
Two Black Brads
White Ribbon
Freebie Designer Paper from Magazine

I'd like to join in the following challenges with my card today:

World Wide Open Design Team Challenge #8: Anything Goes
Scrapy Land Challenge #96: Anything Goes - Use dies
Crafty Creations Challenge #373: Anything Goes
Crafty Gals Corner Challenge #173: Anything Goes

Thanks again for stopping by. Have a great day!

Shona

Thursday, May 31, 2018

Live as if .....!

Hi there,

I'm back today to share my last May Reveal card using the lovely Aster Garden Set 893 this time.


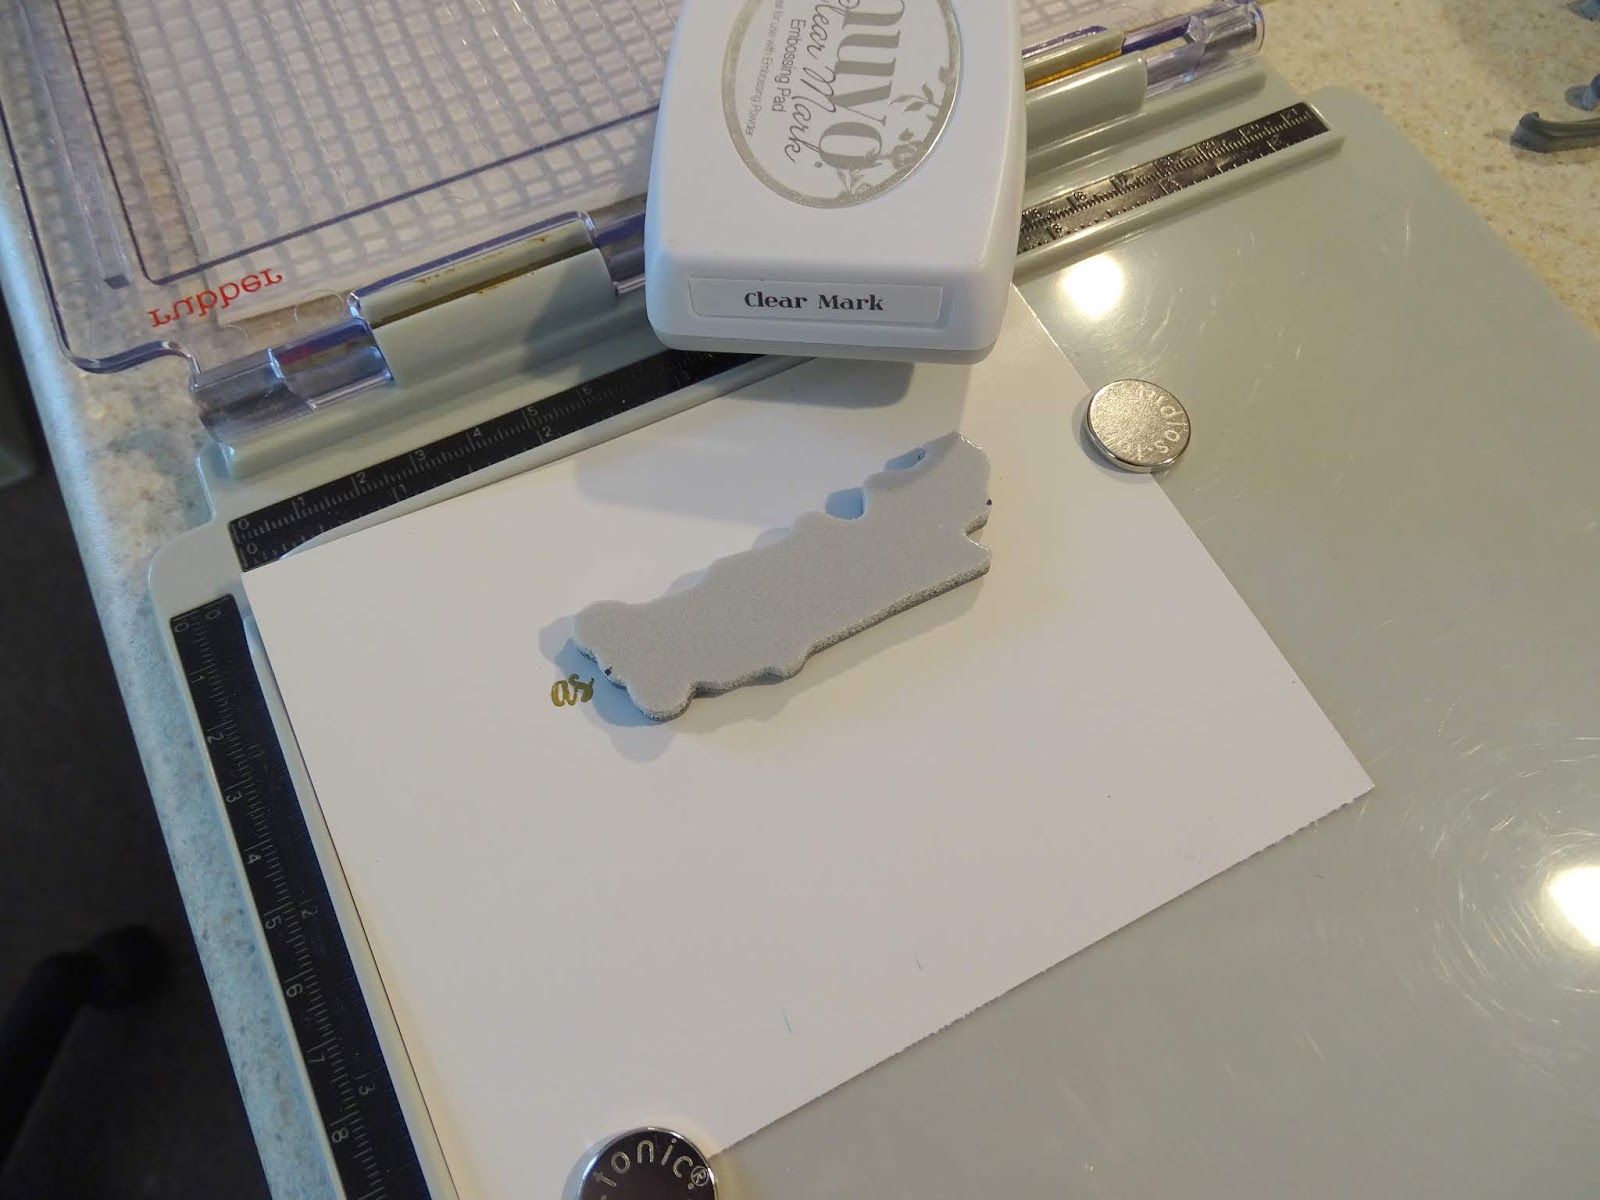
I began by stamping the main sentiment in the middle of white glossy cardstock in Nuvo Clear Mark using the Stamp Platform then I heat embossed with Gold Detail.


I then made two masks of the big flower from post-it notes, stamping in Memento black ink and fussy cutting with my 5" Mini Scissors.


I inked up the stamp using the Hybrid ink Diamonds Set Tropical Fruit and with the help of the masks I stamped around the sentiment, so that the images didn't overlap one another.


I stamped the smaller image with the butterfly on glossy card in Nuvo Clear Mark and heat embossed with Gold Detail.  This was then colored in with Aquaflow Watercolor markers - making a pallette from an acrylic block and applying the colors with the Nuvo Water Brush. Once dry this was fussy cut again with the 5" Mini Scissors.


Next I stamped on top of the flower circle with Nuvo Clear Mark and heat embossed with Gold Detail the same butterfly image.


Nuvo Deluxe Adhesive was applied to the back of the fussy cut piece and placed on top of the stamped image.


The larger flower was stamped twice in Nuvo Clear Mark and heat embossed with Gold Detail and then after being colored with the colors from the same pallette, they were fussy cut with the 5" Mini Scissors.


An embossed frame was made from cutting out an oval from the Craft Perfect Ivory Bouquet paper, using the Tangerine Machine along with the Sizzix Dotted Ovals and a Spellbinders Grand Ovals die.


Next I made my card base. Using the next biggest size oval die, I cut out the front of the easel card and then the base was made, using a scrap piece of cardstock at the fold of the card base, to "stop" the machine from cutting past the fold - the card front would then be placed on top. I did the same on the base edge - this way the base is also rounded.


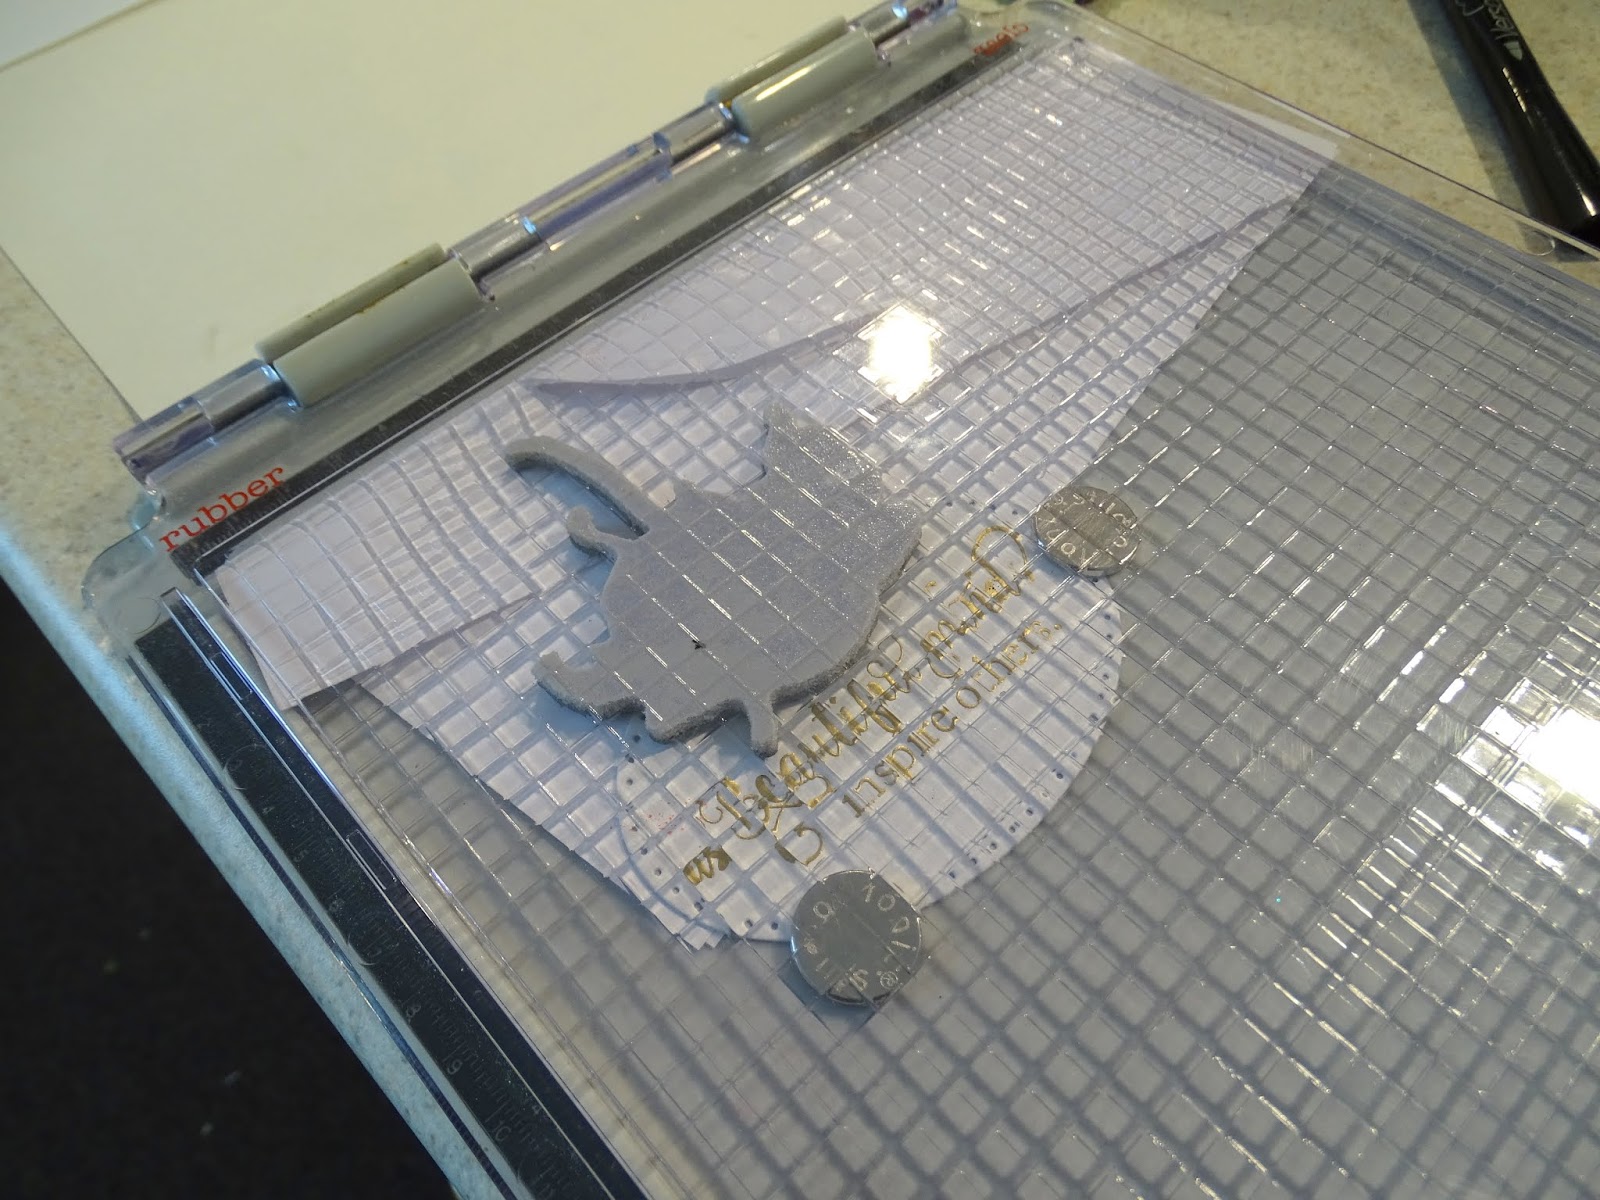
For the smaller sentiment I applied Versamarker pen to the word "as" from the first sentiment and stamped it on to white glossy card with the Nuvo Clear Ink and then heat embossed with Gold Detail again. Then using the Stamp Platform I lined up the second sentiment and embossed with Gold Detail. This was then die cut in the Tangerine using one of the smaller Dotted Oval Dies.


The large flower was stamped again above this sentiment with a piece of scrap paper under the oval, so ink would not hit the platform. Again stamped with Nuvo Clear Mark and heat embossed with Gold Detail.


This was again colored with the Aquaflow Watercolors.


I layered up the card front and then ran the Versamarker Pen around the outer edge of the large oval front and heat embossed a little Gold Detail to distress the edge.


The two colored flowers were then attached to the card front, placing on top of the existing stamped flowers with some 1/4" Tear-ific Tape.


The Sakura Glue Pen was used to apply a little Autumn Frost Glitter to the center of all the attached  flowers and Butterscotch Glitter to the petals.


Two more images were stamped using the Hybrid Inks Tropical Fruits on the card base and then the smaller sentiment was positioned on the card base as my "stop" with mounting tape. A few Honey Gold Crystal Drops were added to the base of the easel. This finished off my card for today.


If you leave a comment here and then also go over and leave a comment on the Sparkle N Sprinkle Blog you will be eligible to win a $20 gift certificate for the Sparkle N Sprinkle store. Not many people are doing this, so your chances of winning are pretty high - just saying!

Below is a list of products that I used on my card, the majority of which can be found in the Sparkle N Sprinkle Store:

Gold Detail (EP168)
Sizzix Dotted Ovals
Spellbinders Grand Ovals
Mounting Tape

I'd like to play along in the following challenges:
Crafty Creations Challenge #367: Anything Goes
Crafty Gals Corner Challenge #166: Anything Goes
City Crafter Challenge Blog Week 414: Watercolor Flowers
World Wide Open Design Team Challenge #5: Anything Goes

Thanks so much for stopping by,

I'll see you back here in June!

Shona

Thursday, June 8, 2017

Happy Flowers! Happy Birthday!

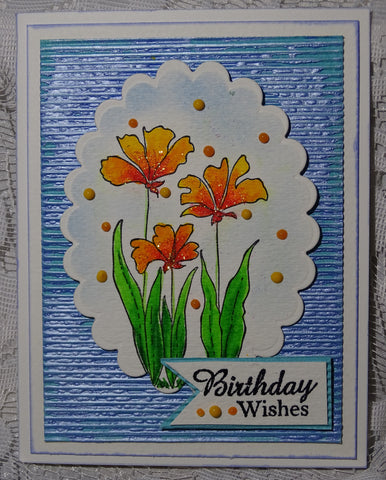
Hi there, today I'd like to share a little birthday card that I made using the May Reveal Happy Flowers Set 840. This is such a cute little set. 
I stamped the image in Black StazOn on watercolor cardstock as I was going to color it with the new Nuvo Aqua Flow Markers. They are so vibrant and they blend really nicely too.
I only used four colors for my little scene: Spiced Ginger and Red Apple for the flowers and Fresh Green and Evergreen Fern for the leaves.
 
They color very similarly to Copics. Go in and paint the lighter color over the darker shade to blend the shades. The image was die cut with Spellbinders Classic Scalloped Ovals Large and a little Memento Summer Sky was sponged around the image before removing the die.I then added some Orange Crush Glitter to the flowers with the Quickie Glue Pen.
I took a piece of light blue corrugated cardstock and randomly applied the Nuvo Embellishment Mousse Cornflower Blue with a spatula. I actually used my heat gun to quickly dry the mousse and this made the mousse "bubble" which I happened to really like. Will be doing this again. 
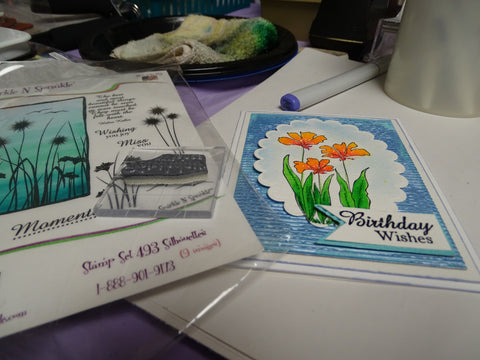
The sentiment was from the Silhouettes Set 493, one of my SNS all time favorite sets! I stamped this in Versamark and then heat set with Black Detail. This was fussy cut and layered to a little piece of the corrugated backing.
The backing was layered to a piece of watercolor cardstock edged with blue Copic B63 and was then layered to the white card base. The image and sentiment were attached with Mounting Tape. Then I applied the Nuvo Crystal Drops English Mustard and Ripened Pumpkin sporadically around my image and sentiment.
That finished up my card for today!.
I'd like to enter this card in the following challenges:
Creative Moments - Challenge 119: Anything Goes with a twist - Birthday
Mod Squad Challenge: Spark it Up
I hope you've enjoyed my share today? Thanks for stopping by.
Shona

Thursday, April 6, 2017

Every Flower

Hi there,

Today I'd like to share another card using both the rubber stamp Corner Garden Stamp Set 842, together with the Digi Bundle Corner Garden #842. I'm having so much fun with this digi bundle!
For my card today I ran off the the framed colored version of the image on to white cardstock. The joy of this digi set - there are black and white images to color yourself or you can take the pre-colored digis, where the work is already done for you! That's what I did here. 
I fussy cut the flowers and leaves and then thought to have them trailing over a trellis. I cut out Spellbinders Basic Lattice die from black cardstock and then daubed it with Nuvo Embellishment Mousse Mother of Pearl. This gave the trellis a wrought iron look. The vines were "placed" temporarily, which I decided my next step.
Sentiment was stamped in Versamark and heat embossed with Black Detail. This was then cut out with Spellbinders Standard Circles and some Peony Pink Embellishment Mousse was applied to the edge.
The trellis was backed with a piece of Super Adhesive Sheet, mounted to white cardstock and then pieces of mounting  tape were added to the vines to have them pop up.
Cloud Nine was applied to the sticky areas of the trellis. I edged white cardstock base with Nuvo Embellishment Mousses Lilac Lavender and Peony Pink.
Decided it needed more, so stuck down two doilies to the top left and bottom right corners of the edged card with 3/4" Tear-ific Tape behind them. The over lapping edges were trimmed, then I layered the card front  on top of the  base. The sticky areas of the doilies were also applied with Cloud Nine. Sparkling Snow was applied to the flowers and leaves of the vines using the Nuvo Fine Tipped Glue Pen.
I then stamped the little butterflies and two little additional flowers from the Stamp Set in Memento Tuxedo Black and colored them with Copics. They were then added to the gaps around the trellis with Mounting Tape. I added a little copper wire to the butterflies before sticking them down and that finished my card for today.

I'd like to enter my card in the following challenges:
Crafty Gals Corner Challenge 117: 3 layers or more
Stinkin' Inkers Challenge #1: showers of Flowers
World Wide Open Design Team: March 15th 2017 Challenge: Anything Goes
Scrapy Land Challenge #63: anything Goes
Ike's World Challenges #85: In the Garden
 
Product List:
Spellbinders Standard Circles
Spellbinders Basic Lattice
Copper Wire
2 Doilies
Thanks so much for stopping by today. Hope this has inspired you to try the combination of the digi and rubber stamp sets. I'm really liking the flexibility it offers.
Big hugs,
Shona

Friday, March 31, 2017

SPARKLE N SPRINKLE'S APRIL 1ST REVEAL

Welcome to the Sparkle N Sprinkle
 April Reveal Blog Hop!


Today I am sharing a card that I made using both the Corner Garden Set 842 and the Corner Garden Digi Bundle (Digi842FS).  I don't use digis often, but there were some lovely background papers in this particular bundle and so I decided to give it another try - and I'm glad I did! I used the stamped version of the set for the little butterflies and the sentiment.


NEW STORE - NEW BLOG - NEW PRODUCT LINES!
The sets are:


(Digi version DIGI839BG)
(Digi version DIGI841B - includes extra sentiment)
**Limited Edition**

Corner Garden - 842  
(Digi version DIGI842FS - includes extra images, decoupage sheets, and digi papers)

Corner Garden Digi Bundle set - DIGI842FS (includes extra images, decoupage sheets, and digi papers)
(Digi version DIGI843J)


The new sets are 20% off until April 3, 2017, so after the blog hop, hop on over to the NEW STORE and have fun shopping - be sure to check out the OTHER amazing new products as well! With names like TONIC STUDIOS, STAMPENDOUS and HOUSE MOUSE, you're sure to fill that cart up quickly!


SNS also has a brand new blog, which can be found here!


On April 3, ONE GRAND PRIZE WINNER will be selected from the comments left on all the Designers' blogs listed below.  Please leave a comment with each designer to be eligible for the Grand Prize (checked for compliance).  The Grand Prize Winner will be announced on the SNS Facebook page and the SNS New Blog.  

 There are FOUR new rubber stamp sets being released this month, plus a new Digi Papers set, and a huge Corner Garden Digi Bundle. 

Also, when you purchase the digi versions of any of the SNS rubber sets, you are getting lots of extras that aren't available otherwise.  These extras include additional images not available with the rubber version, digi papers (in some cases), and now a cut file to use with your electronic cutting machines will also be included with all digi images purchased!

You're definitely going to want both the rubber versions as well as the digi versions of all our new releases.

The new sets are 20% off until April 3, 2017.  So once you finish the blog hop, head on over to the New Store and start shopping.

On April 3rd, ONE GRAND PRIZE WINNER will be selected from the comments left on the Designers' blogs listed below. Please leave a comment with each Designer in order to be eligible for the Grand Prize.  You never know who the Mystery Designer will be that has the winning comment.

The Grand Prize Winner, which will be announced on the SNS Facebook page and the SNS New Blog, will receive ALL of the new rubber stamp sets revealed this month.

The Blog Hop Order this month is:


(*Tip: if you have difficulty with a particular link, try clicking on the Designer's blog title to send you to their Home page.)


We hope you enjoy the New Reveal Blog Hop as much as we do.  Thanks for joining us and remember to comment on each of the Designers' blogs to be eligible for the Grand Prize (including the Corner Garden surprise post).  
 Wonder who the Mystery Host will be this month????


Have you checked out the SNS YouTube Channel featuring Demo Donna?  If not, then you are in for a real treat.  Subscribe today to get all the latest Demo Donna tips and techniques!


So I began by printing out the "framed" digi on white cardstock from the Corner Garden Bundle Set #842, rotating it at 43 degrees.


Next I die cut the piece using the border of the Spellbinders Wedding Collection die. I ran off the orange version of the watercolor background paper. The card front was backed with a piece of Super Adhesive Sheet and was layered on top of the watercolor piece. Cloud Nine Velvet Glitter was applied to the sticky surface around the border.


The center was cut with a die from the same set.

I decided to put the blue background behind the card front, with a small border. A smaller circle (Spellbinders Standard Circles) was cut from a piece of the orange paper which had been attached to a piece of scrap cardstock with Super Adhesive Sheet, making it more rigid. The sentiment was then stamped in Versamark and then heat embossed in Black Detail.

The butterflies were also done this way by taping the paper to scrap cardstock and then stamping them in Versamark and heat embossing with Black Detail.


They were covered with Nuvo Moonstone Glimmer Paste and were set to dry before being fussy cut.


The sentiment and the butterflies were attached to the card with Mounting Tape and a wired rainbow bow, made with my Craft-Dee BowZ, was wrapped around the top of the card before it was layered to a black card base. This finished off my card for today.

I'd like to enter my card in the following challenges:
Craft-Dee Bowz: April 2017 Challenge
Classic Design Team Open Challenge: April 2017
Scrapy Land Challenge # 63: Anything Goes
Simon Says Stamp Wednesday Challenge
Crafty Sentiments Designs Challenge Blog: Anything Goes
Try it on Tuesday: Botanical 28th March


Hope you've enjoyed your visit today. I got a little carried away with this digi bundle and in fact made three entirely different cards, which I will be sharing with you throughout the month of April. Hope you'll pop back to see what I did! Now you need to pop on over to our extremely talented Eret's blog to see what gorgeous creation she made. Remember to comment on all the designers' blogs, you definitely want to be in a chance to win this awesome digi bundle along with all the other sets!!

Hope to have you stop back soon!

Hugs,

Shona