Showing posts with label Cloud Nine Glitter. Show all posts

Thursday, March 29, 2018

Kindness is Always Beautiful

Hi there,

Hope Spring is starting to show up in your neck of the woods? It's certainly been slow around here - but we're hopeful!

Today I'm going to share with you an open die card, using the sentiment from the SNS March Reveal, Bearded Iris Set 889.


Using the Tangerine, I cut two pieces of glossy white cardstock with the Tonic Floral Blooms die.


I then die cut three pieces of card using the Sizzix Dotted Ovals die on the Tangerine. Cover another piece of card with a piece of 2 1/2" Tear-ific Tape and run it through the Tangerine with the same die - this will be the front panel.

 
Die cut the flowers and stem from the Tonic Woodland Aster die. 


Color the pieces with Copics while still in place - makes coloring easier!


The sentiment from the Bearded Iris set was stamped with Nuvo Hybrid Safari Green ink and was die cut with a smaller die from the Dotted Ovals. I sponged some Memento Dandelion ink on the oval before I removed the die.


I then removed the protective backing from the taped oval and placed the stem, flowers and sentiment to the sticky surface and then applied Cloud Nine to the remaining adhesive.


To assemble the card, fold over an 1/8" of an inch at the top of the back die cut card and apply a piece of 1/8" Tear-ific Tape which will act as a hinge when attached together.


Attach the front panel, with one of the other plain ovals directly behind it and repeat on the back of the card, so that you have a place to write a message.


Add the ribbon to the top of the card and add a few Limoncello Jewel Drops to finish off the card.


Hope you have enjoyed my share today.

Sparkle N Sprinkle is trying something new this month. Instead of the usual Blog Hop you need to leave a comment here and then pop over and leave a comment on the SNS Blog to be eligible to win the $20 gift certificate to the store. You have to comment at both places to be eligible for the prize. One winner will be randomly selected from one of the Designers' blogs and it might be mine! Good luck!

Here's a last look at my card:


Here is a list of the products I used for this card, most of which can be found over in the store:

Nuvo Safari Green Hybrid Ink,
Memento Dandelion Yellow
Sizzix Dotted Ovals
Copic Markers

White Organdy Ribbon

Wednesday, January 16, 2013

Sparkle N Sprinkle Amazingly Fancy Folds Blog Hop

Hi there,

Welcome to the first 2013 Sparkle N Sprinkle blog hop. This month, rather than following a theme, we were asked to create cards using a fun fold.  We have an entire section in our Tips and Techniques area devoted to some of the many different card designs out there. When you're done hopping, and feel like that you might want to have a try at something different, pop on over and check it out.

In the meantime - on with the inspiration.  I hope you have made it to me by way of  Karalee. If you didn't then you need to go back to the beginning of  the hop at the Sparkle N Sprinkle Blog Page.  Remember to comment on each designer's post in order to be in the running for the great prizes that are up for grabs this month.

So on to the projects!  Last month, we were asked to create a scrapbook page, as part of our project package. I incorporated many of the sparkly options that SNS carries, to make up my page.  Sparkling  embossing powders and the new Velvet Glitters were at the top of the list!

Here's a quick look at the page:


For one of my fun folds, I thought I'd make a card incorporating another one of my backyard snowy pictures, which I took the day of the snowstorm right after Hurricane Sandy.  I decided on an easel card:


For the photo, instead of covering the entire picture in Velvet Sparkle Embossing Powder as I had done in the Scrapbook page, I went for the more subtle look with Sparkling Snow Glitter applied with the glue pen, along the branches. The snowflakes were die cut from 2 1/2" Tear-ific Tape using a couple of Spellbinders collections and  then attached with dimensionals, so that they act as a ledge for the fold.  This card then folds down to a normal 5 1/2" x 4 1/4" card.  Click here for full details.


For my second card, I went with a Side Spring Card.  This fancy fold  is definitely one of my favorites. To add to a favorite fold, I had to add one of my favorite SNS products - and we all know what that is (so far) - Yep, you guessed it - Cloud Nine Velvet Glitter!

I decided to leave winter behind for the next card, so I brought in a pretty little aster from Set 271 - Daisy Rectangle. I stamped directly on top of the Cloud Nine Velvet Glitter with Staz-On and then used Watercolor crayons and a waterbrush to color the image.  I love the subtle color and sparkle achieved using this technique:


You can find full directions for this card, right here.

I hope you'll find some inspiration in this Blog Hop to try a new fun fold in your next project.   Next in line is one of our new designers, Anne Temple.  Remember to leave a comment at each post, to make sure you have a chance to win the mini prizes as well as the Grand Prize!  Good luck!  

'Till next time,

Shona

Sunday, December 23, 2012

On Cloud Nine Again!

Hi everyone,

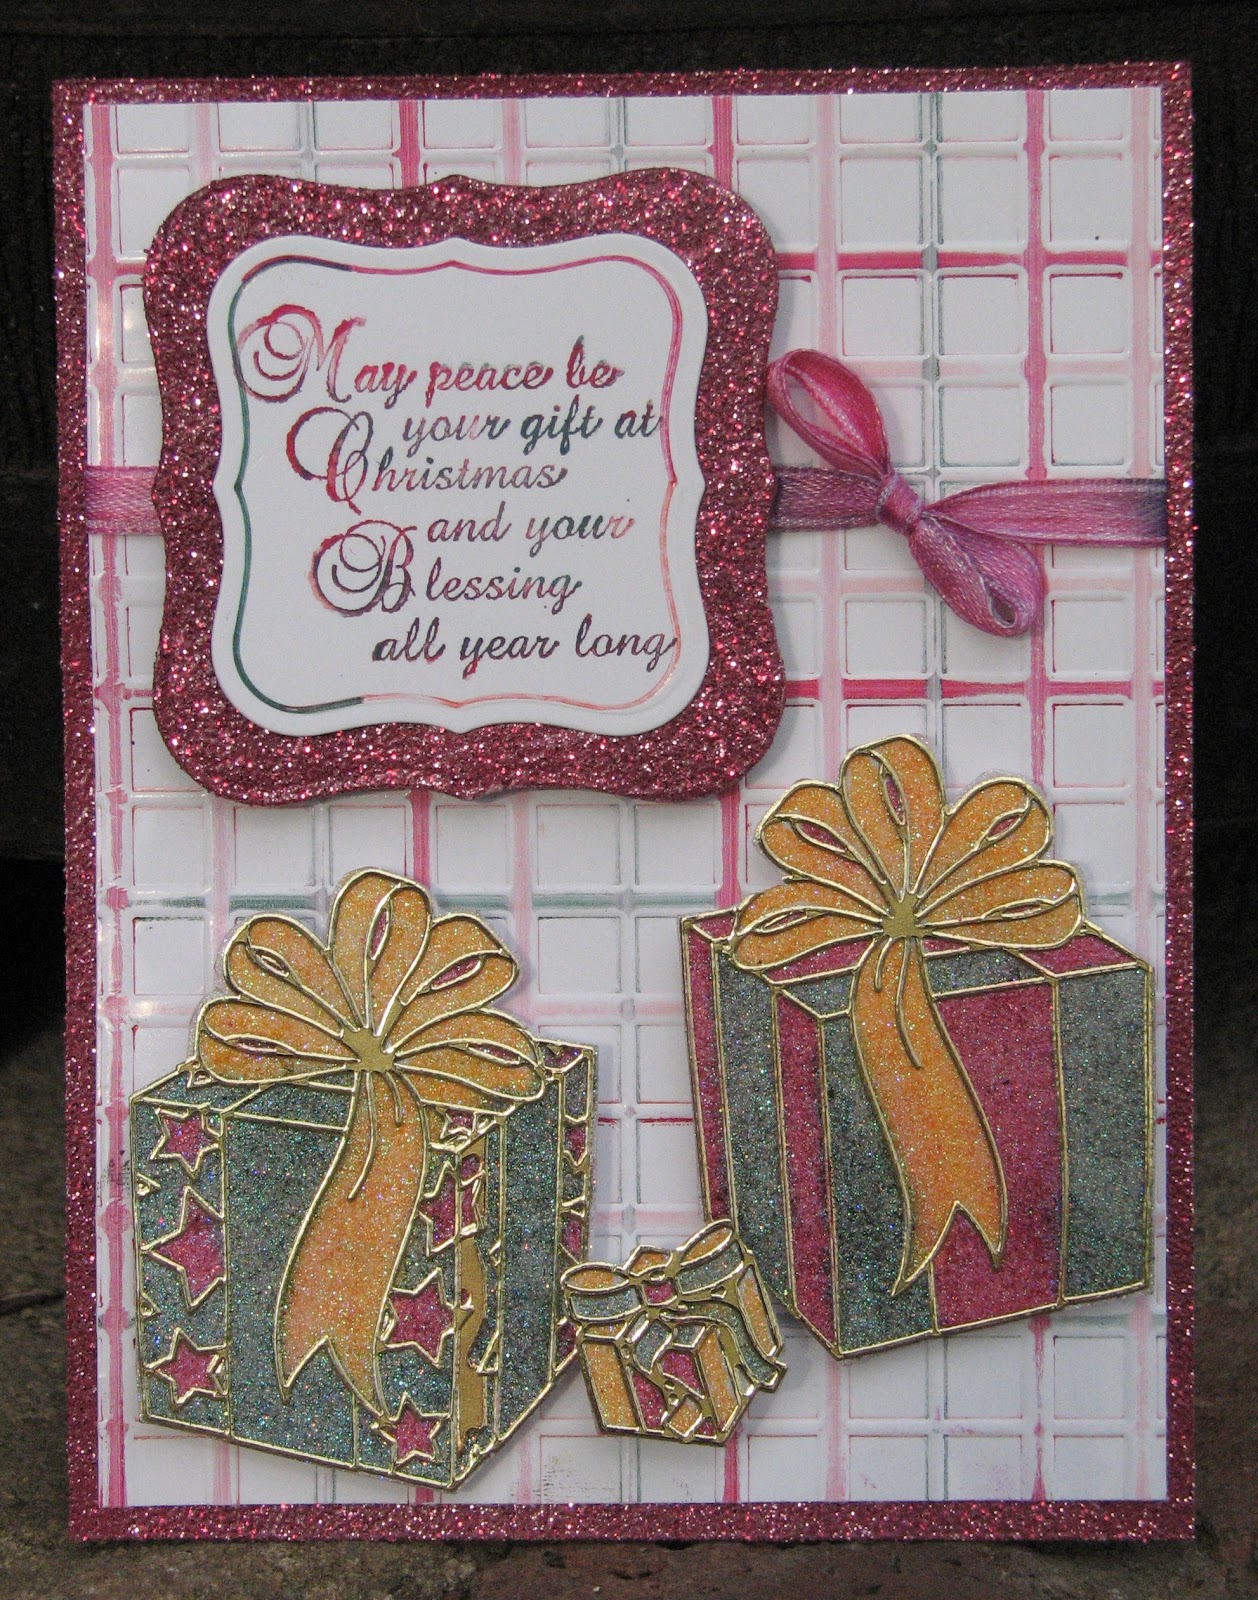
I just got a couple of cards published in this month's e.mail version of Vamp Stamp News.  It was for the Watercolor markers challenge.  I brought out some old markers and using a technique from one of my Design Team members at Sparkle N Sprinkle, using outline stickers and Cloud Nine Velvet Glitter, here is what I came up with for one of my cards:


Hope you have the time to check out what the rest of the artists came up with for this challenge!

Merry Christmas to everyone!


Friday, December 7, 2012

Playful Pandas

Hi there,

Just a quick post this morning, with another Asian card.  I decided to use the cute Panda stamp from Sparkle N Sprinkle, to make a masculine birthday card for an "older" Gentleman!  I recently picked up the Darice Bamboo embossing folder, which I love.  So that is what I used for my background.

I also used Sparkle N Sprinkle's Cloud Nine (Velvet Glitter) for the panda's white fur.  Unfortunately you can't feel it through the computer, but it is glitter with a fuzzy feel.  It's so versatile - check out the Tips and Techniques Section of Sparkle N Sprinkle, scroll down to Glitter - Velvet, to see some of the ways the designers have used it!

Here's the card, and the link to my gallery, if you need full directions:


Hope you're having a good day.  I'm off to hopefully put a dent in my Christmas cards!

Wednesday, November 7, 2012

Staz-On and Velvet Glitter

Hi there,

Well, still no power, but we do have internet, so I'm typing with cut-off gloves!  The bedroom was 47 degrees this morning!

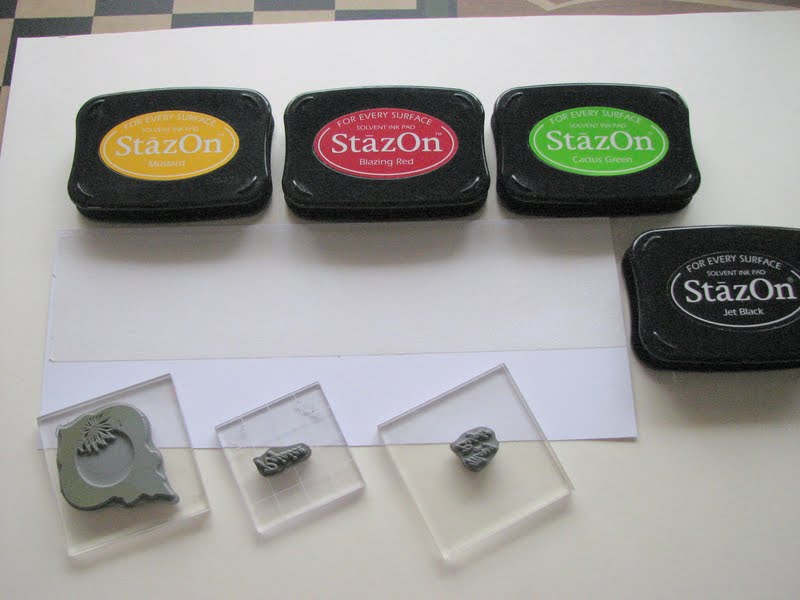
I'm going to quickly try to put up a tutorial that I did this weekend using Staz-On with Sparkle N Sprinkle's new Velvet Glitters.

So let's get started:

Take a piece of 2 1/2" Tear-ific Tape and apply it to white cardstock.


Remove the protective backing and apply Cloud Nine Velvet Glitter, burnishing it in well with your finger.


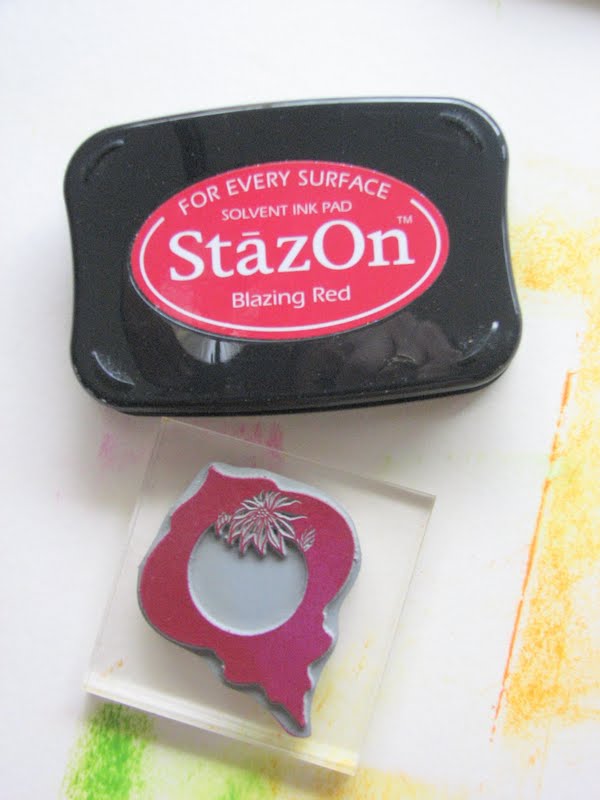
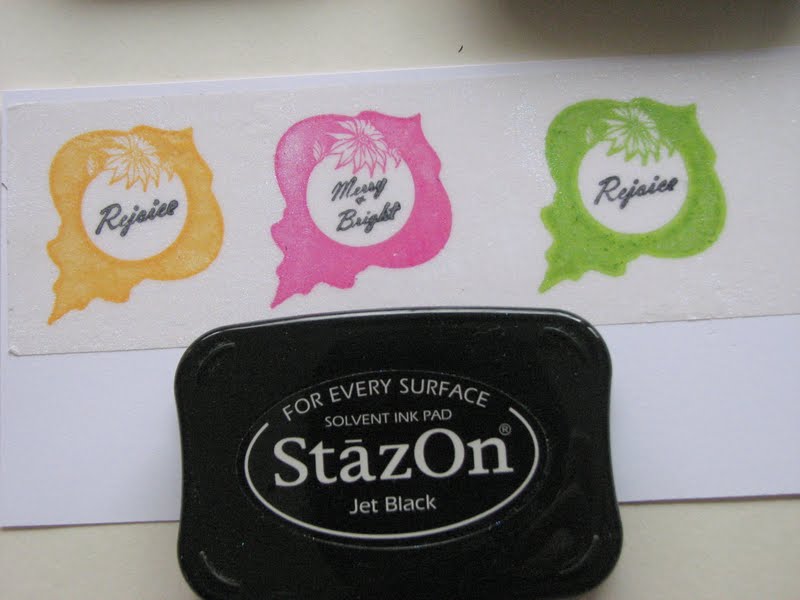
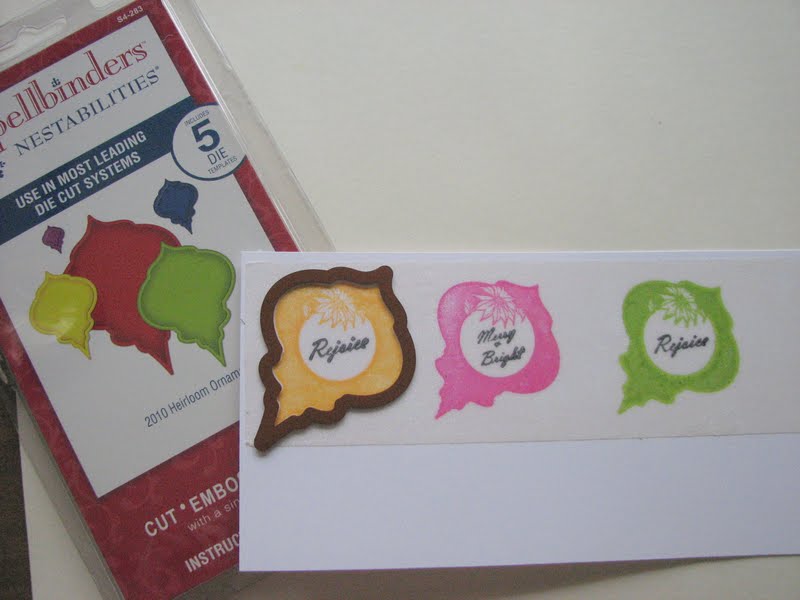
Ink up your image (I found that bold images work best with this technique) with the Staz-On color of your choice and stamp on top of the glittered piece. On this card I am using the Poinsettia Ornament image and some of the sayings from Set 418: Nesties Ornaments.


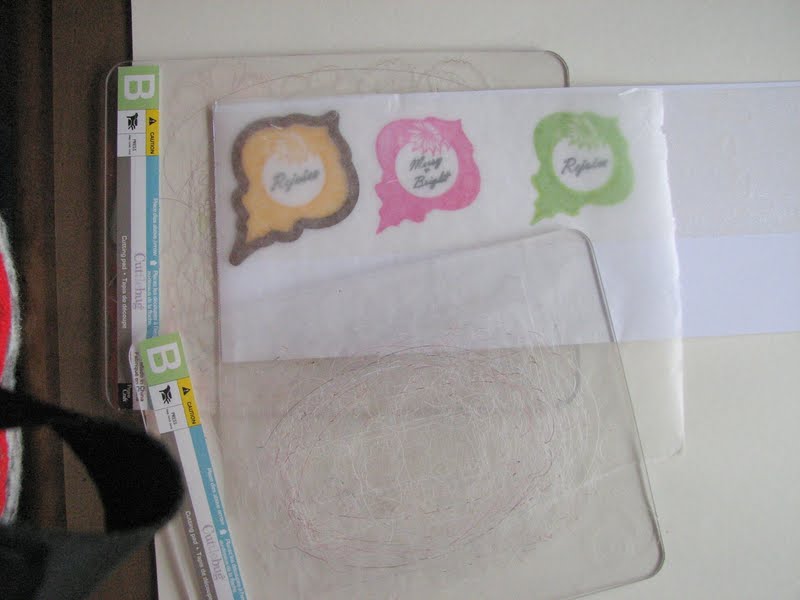
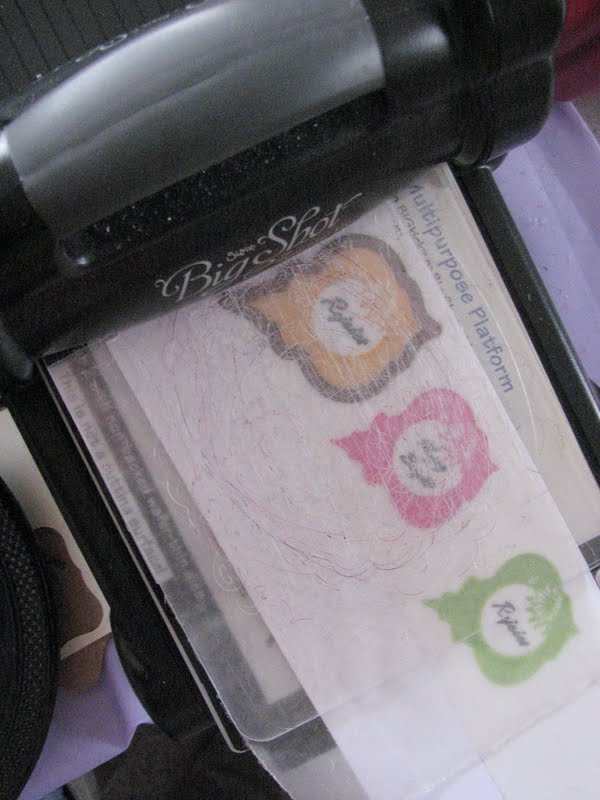
Sparkle N Sprinkle also carries the Spellbinders 2010 Heirloom Ornaments dies.  They can also be bought together as a combo.  This is what I used to cut and emboss my ornaments with.  One thing I did find - if your plates are cut up like mine, it helps to put a piece of wax paper between the stamped image and the top plate, it keeps the image nice and clean.


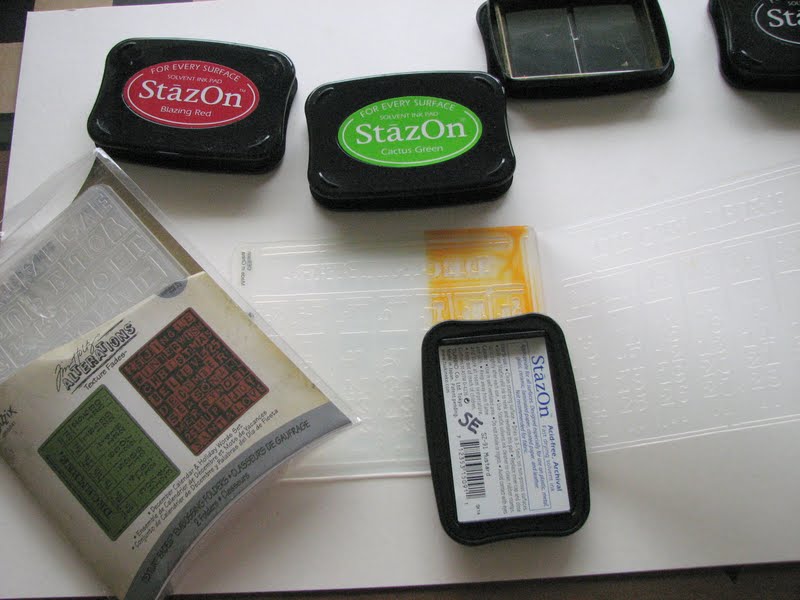
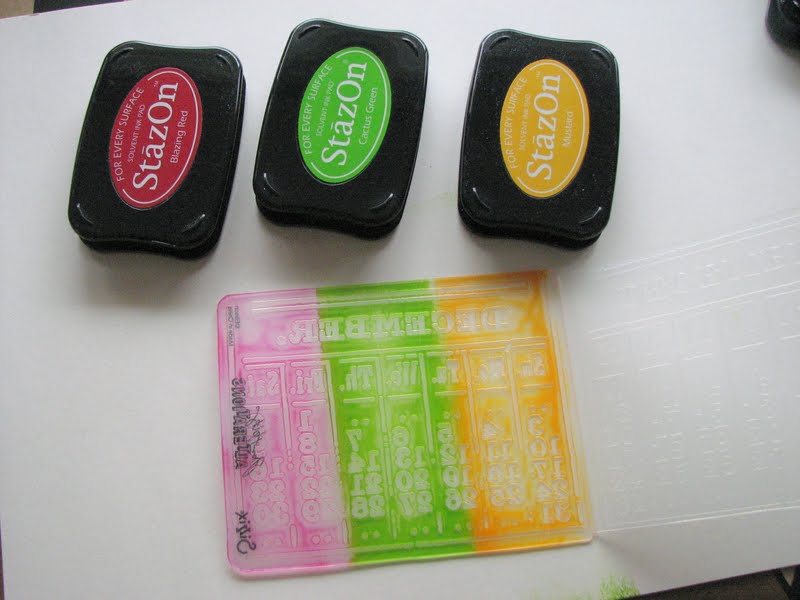
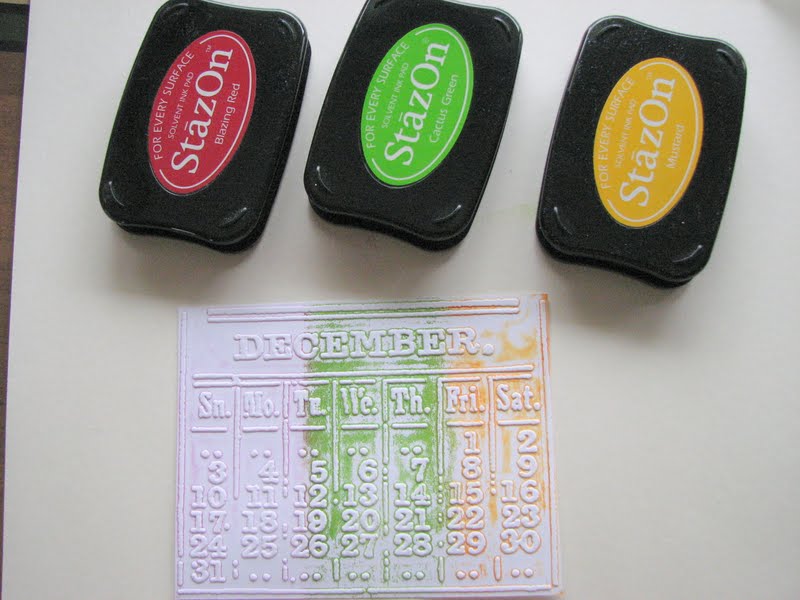
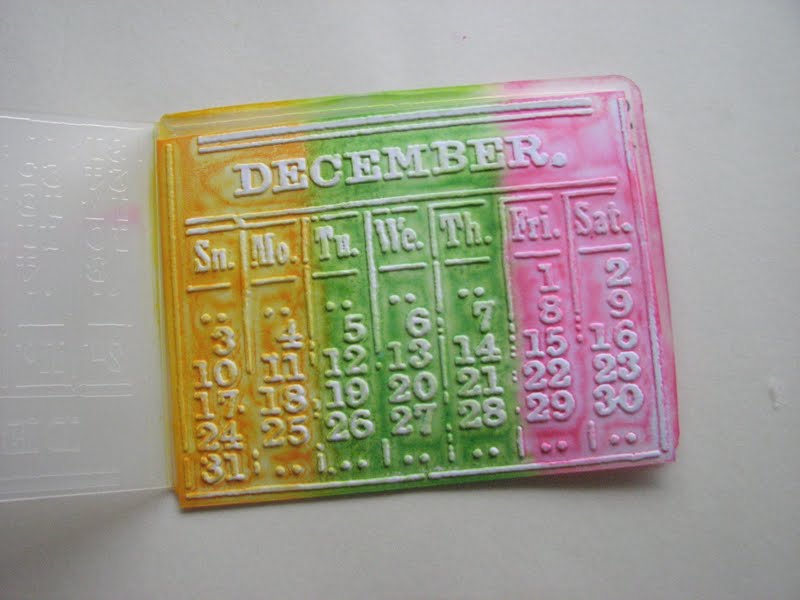
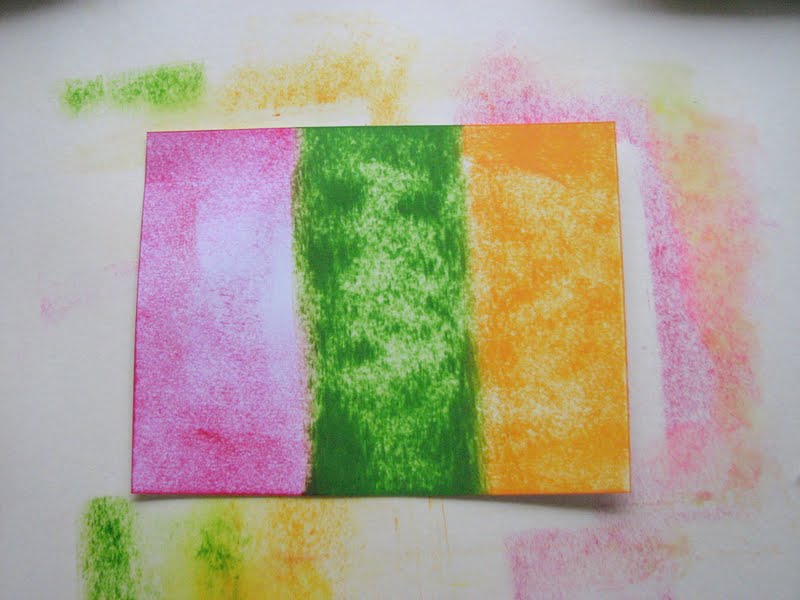
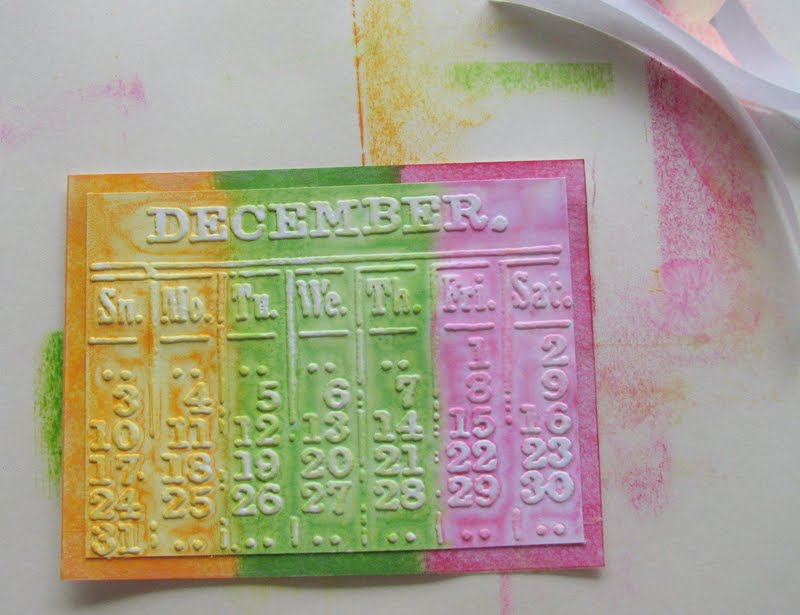
So I was thinking of how my ornaments were going to be staged?  I figured I needed to do some kind of background using the same three colors, but I couldn't emboss anything - as I'm without electricity?  I tried inking up the embossing folder with the three colors and running a piece of white cardstock through:


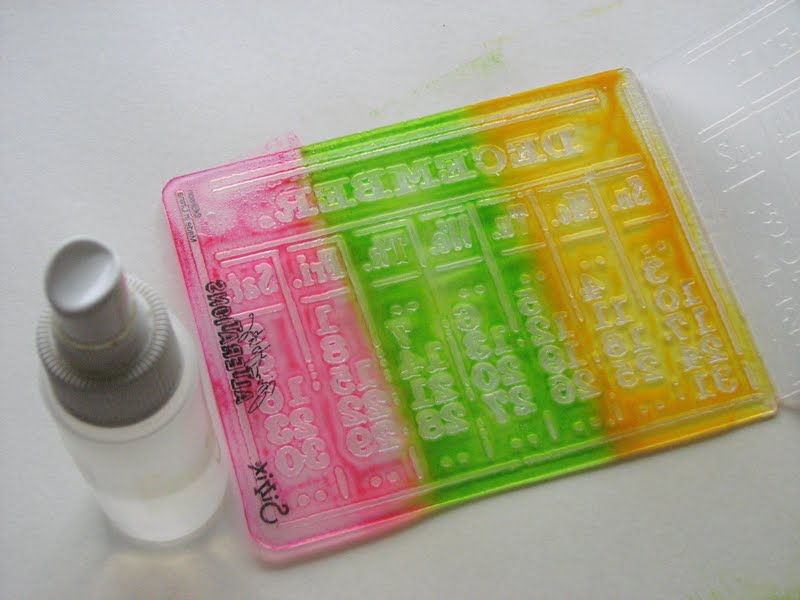
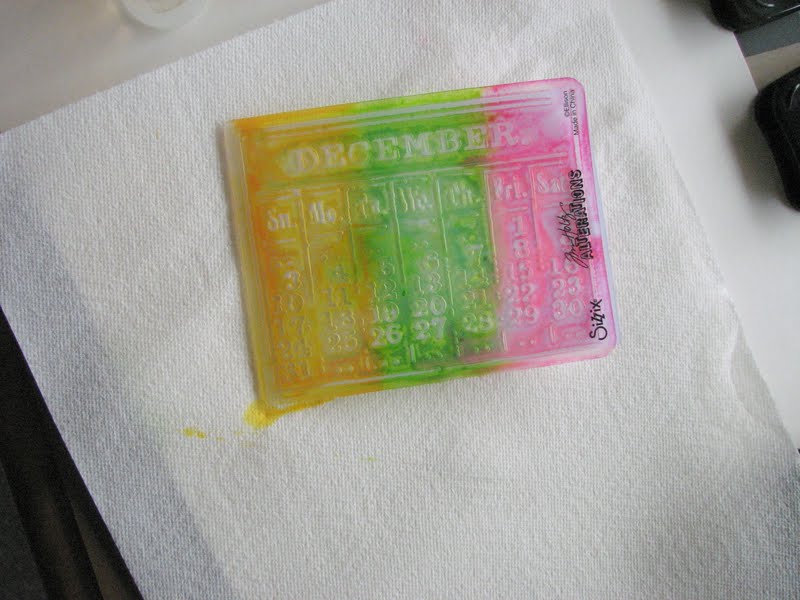
Well that looked pretty uninteresting!!  So, I went to clean the folder with Staz-On Cleaner and the colors got all wet and blended a little, so I thought rather than wiping all this color away, I'll try putting another piece of card through, I didn't have anything to lose (well - just a piece of cardstock!) I wrapped everything up in paper towel first, as I was scared that the wet ink might ooze out on to my plates, machine etc! 


Oooooh! So pretty!  That was a stage for my baubles!


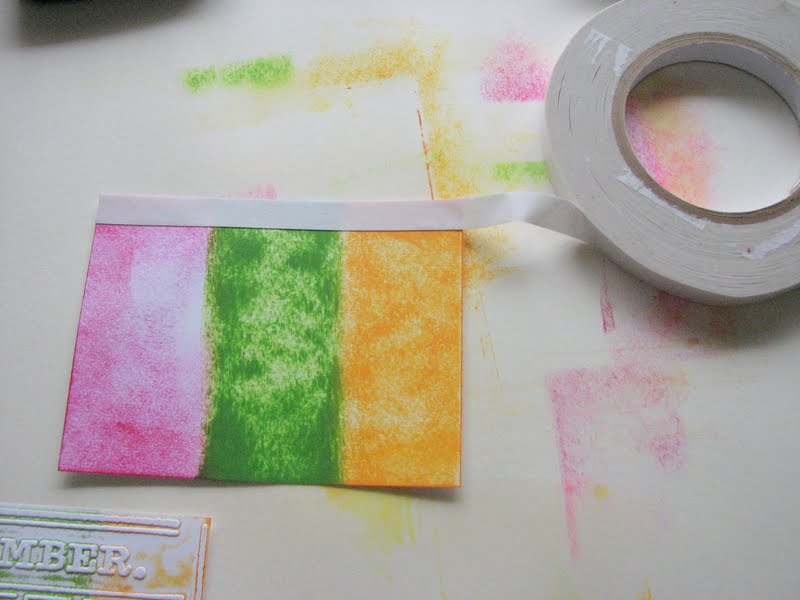
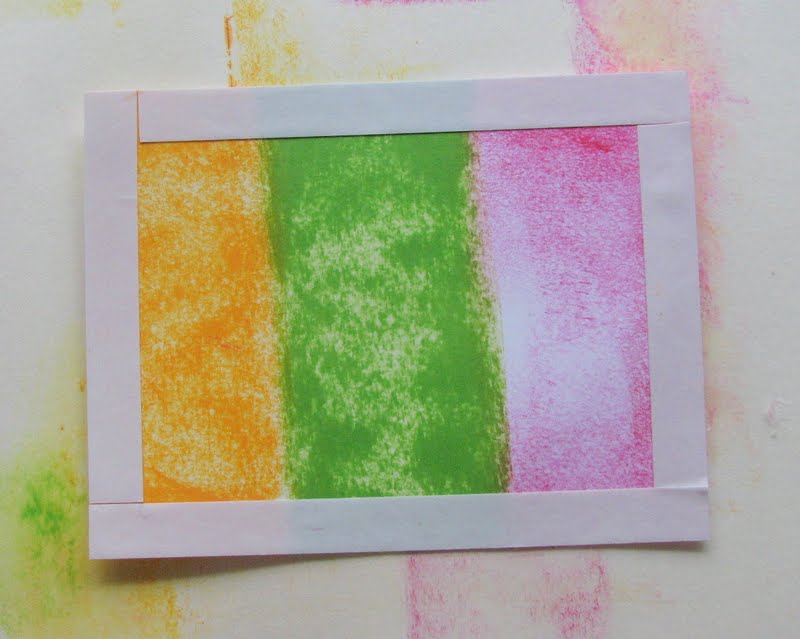
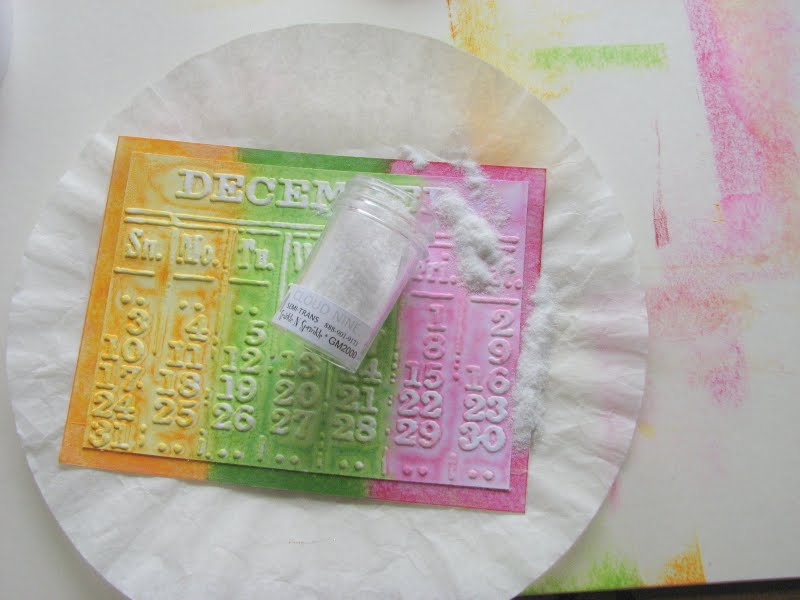
So after I got the piece of card dry (normally I would have used my heat gun - but I had to dry it by the fire place for a half hour!), I cut the lines off.  I inked up the edges of the card front with the same colors of ink and edged the piece with 1/2" Tear-ific Tape.


Once edged, remove the protective backing and center the calendar and apply Cloud Nine Velvet Glitter to the exposed edges.


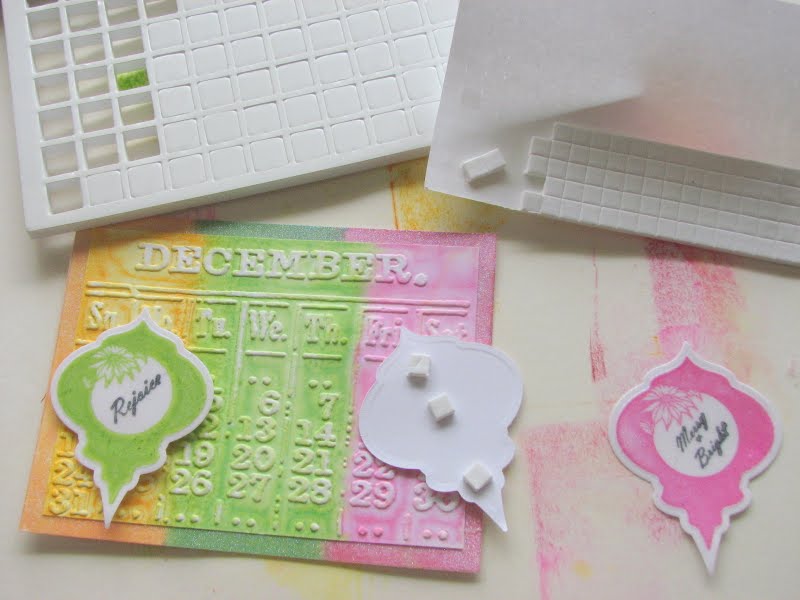
I then attached my baubles with dimensionals:


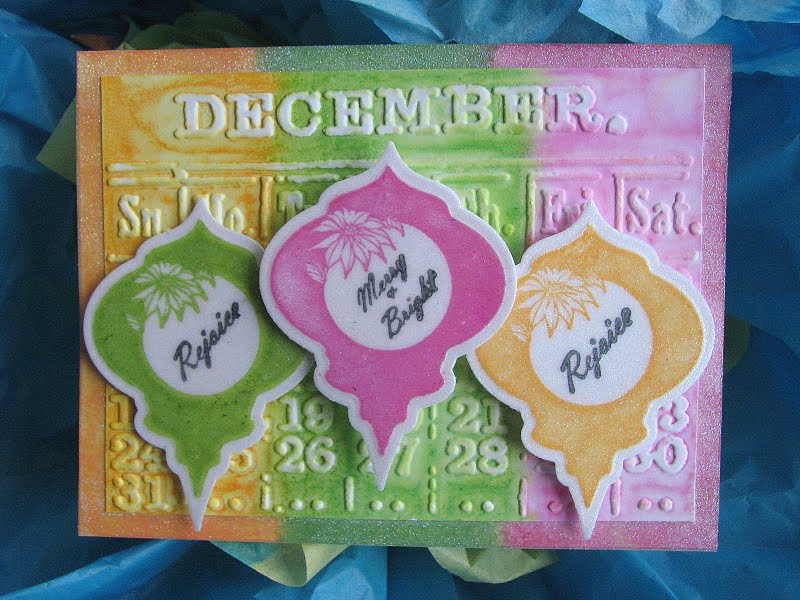
Here is my finished project!  You can find complete details in the Sparkle N Sprinkle Art Gallery.


Hope you've enjoyed what I've shared with you today, 'till next time - keep warm!