Showing posts with label Embossing Folder. Show all posts

Tuesday, April 18, 2023

Holly Greetings

 Hi there and welcome back to my blog! Today I have a card for the Holly and Ivy Challenge, which is always anything goes!


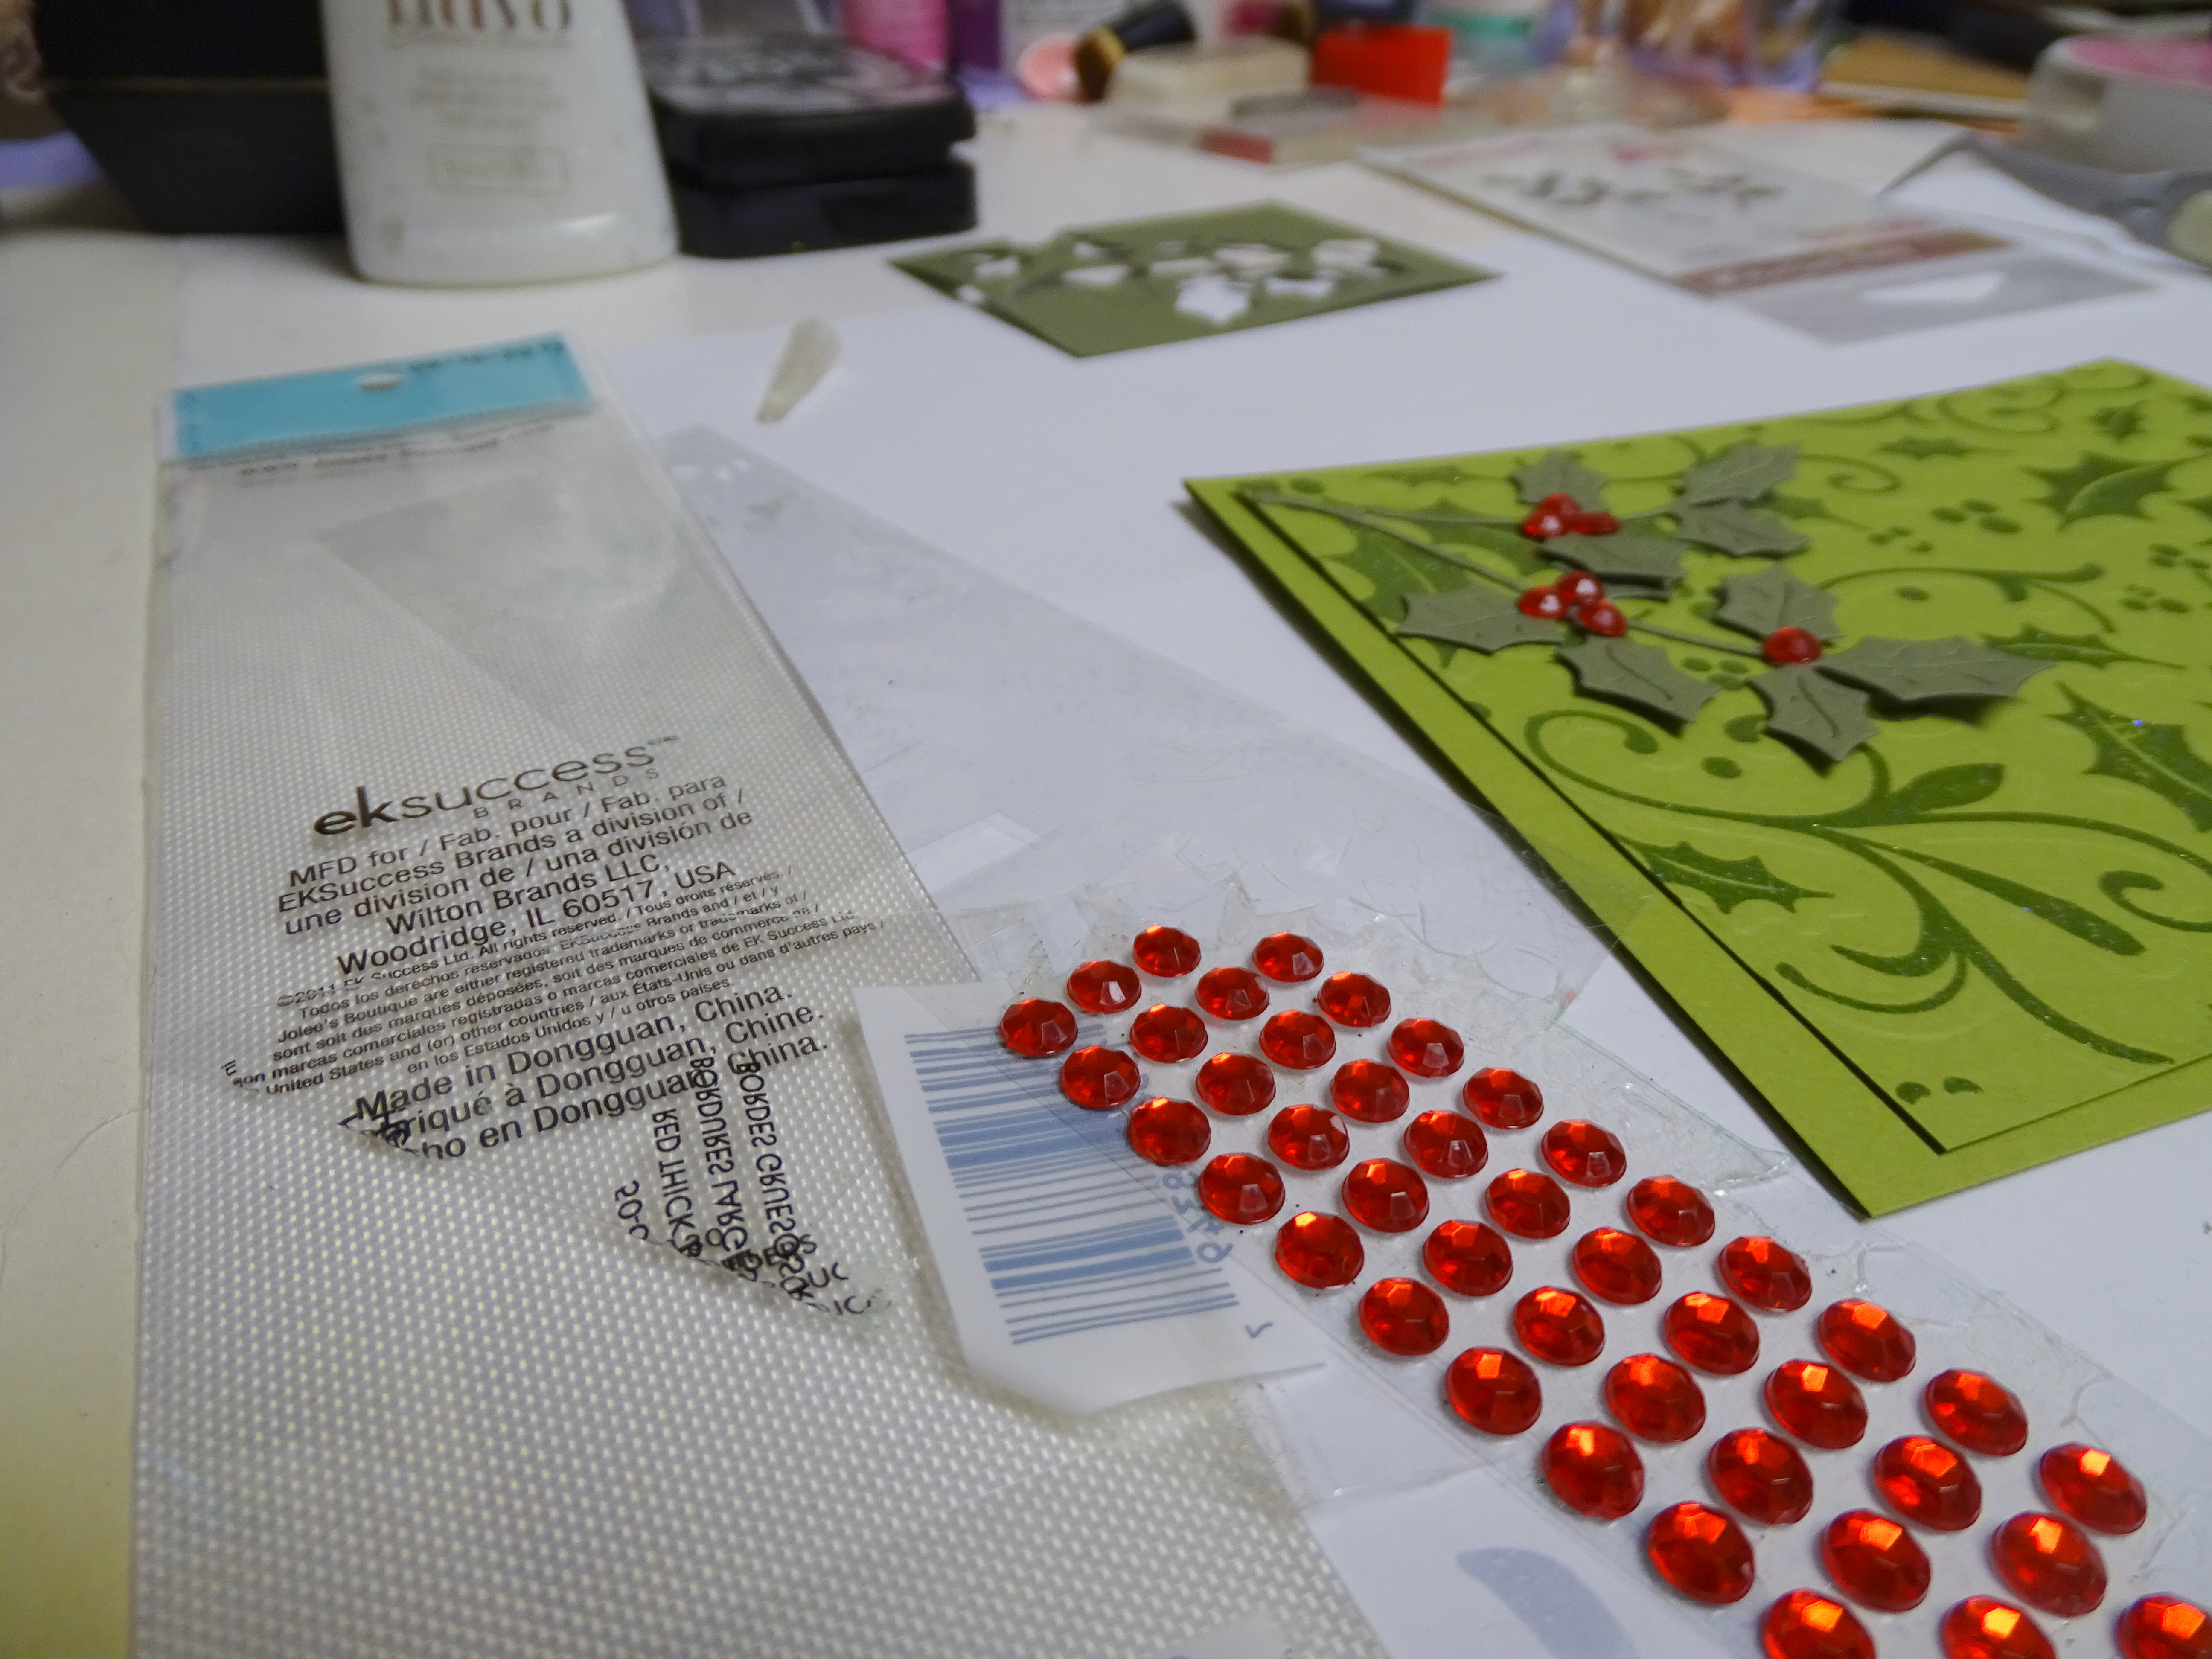
I found a Sizzix holly embossing folder and stamp set, which I don't ever remember using! Anyway, I dry embossed the embossing folder and then inked on top of the raised side with the stamp. I placed it in the Stamp Platform, just so if I needed to, I could restamp, but I didn't.


 I stamped with Versafine Shady Lane ink and heat embossed with Sparkle embossing powder.


It has a great look! I then layered on to the same color of card base. I found a scrap of another shade of green which I die cut the two little holly sprigs from. 


To compliment the red of the berries, I decided to do the sentiment in red, and then used the EK Success self adhesive gems as the holly berries.


A red ribbon was attached to the top to finish off my card for the day. 


Hope you've been inspired to join in along with the challenge this month. 

Till next time!

Shona


Tuesday, April 19, 2022

Snow Much Fun

 Hi there and thanks for stopping by! I was able to change my header today. I had had a quick trip to Scotland last week to celebrate my Dad's 90th birthday. My three brothers and some of their families, my hubby and daughter Gillian had a great weekend of celebration with Mum and Dad, whom we had not seen for almost 2 1/2 years. Needless to say we had a wonderful time, making more memories! I got back on Friday to very warm weather and had to go into my hives to check for swarming clues and try to reduce the chance of it happening. I took a few photos, this one is of the girls festooning between two frames. Aren't they so cute?

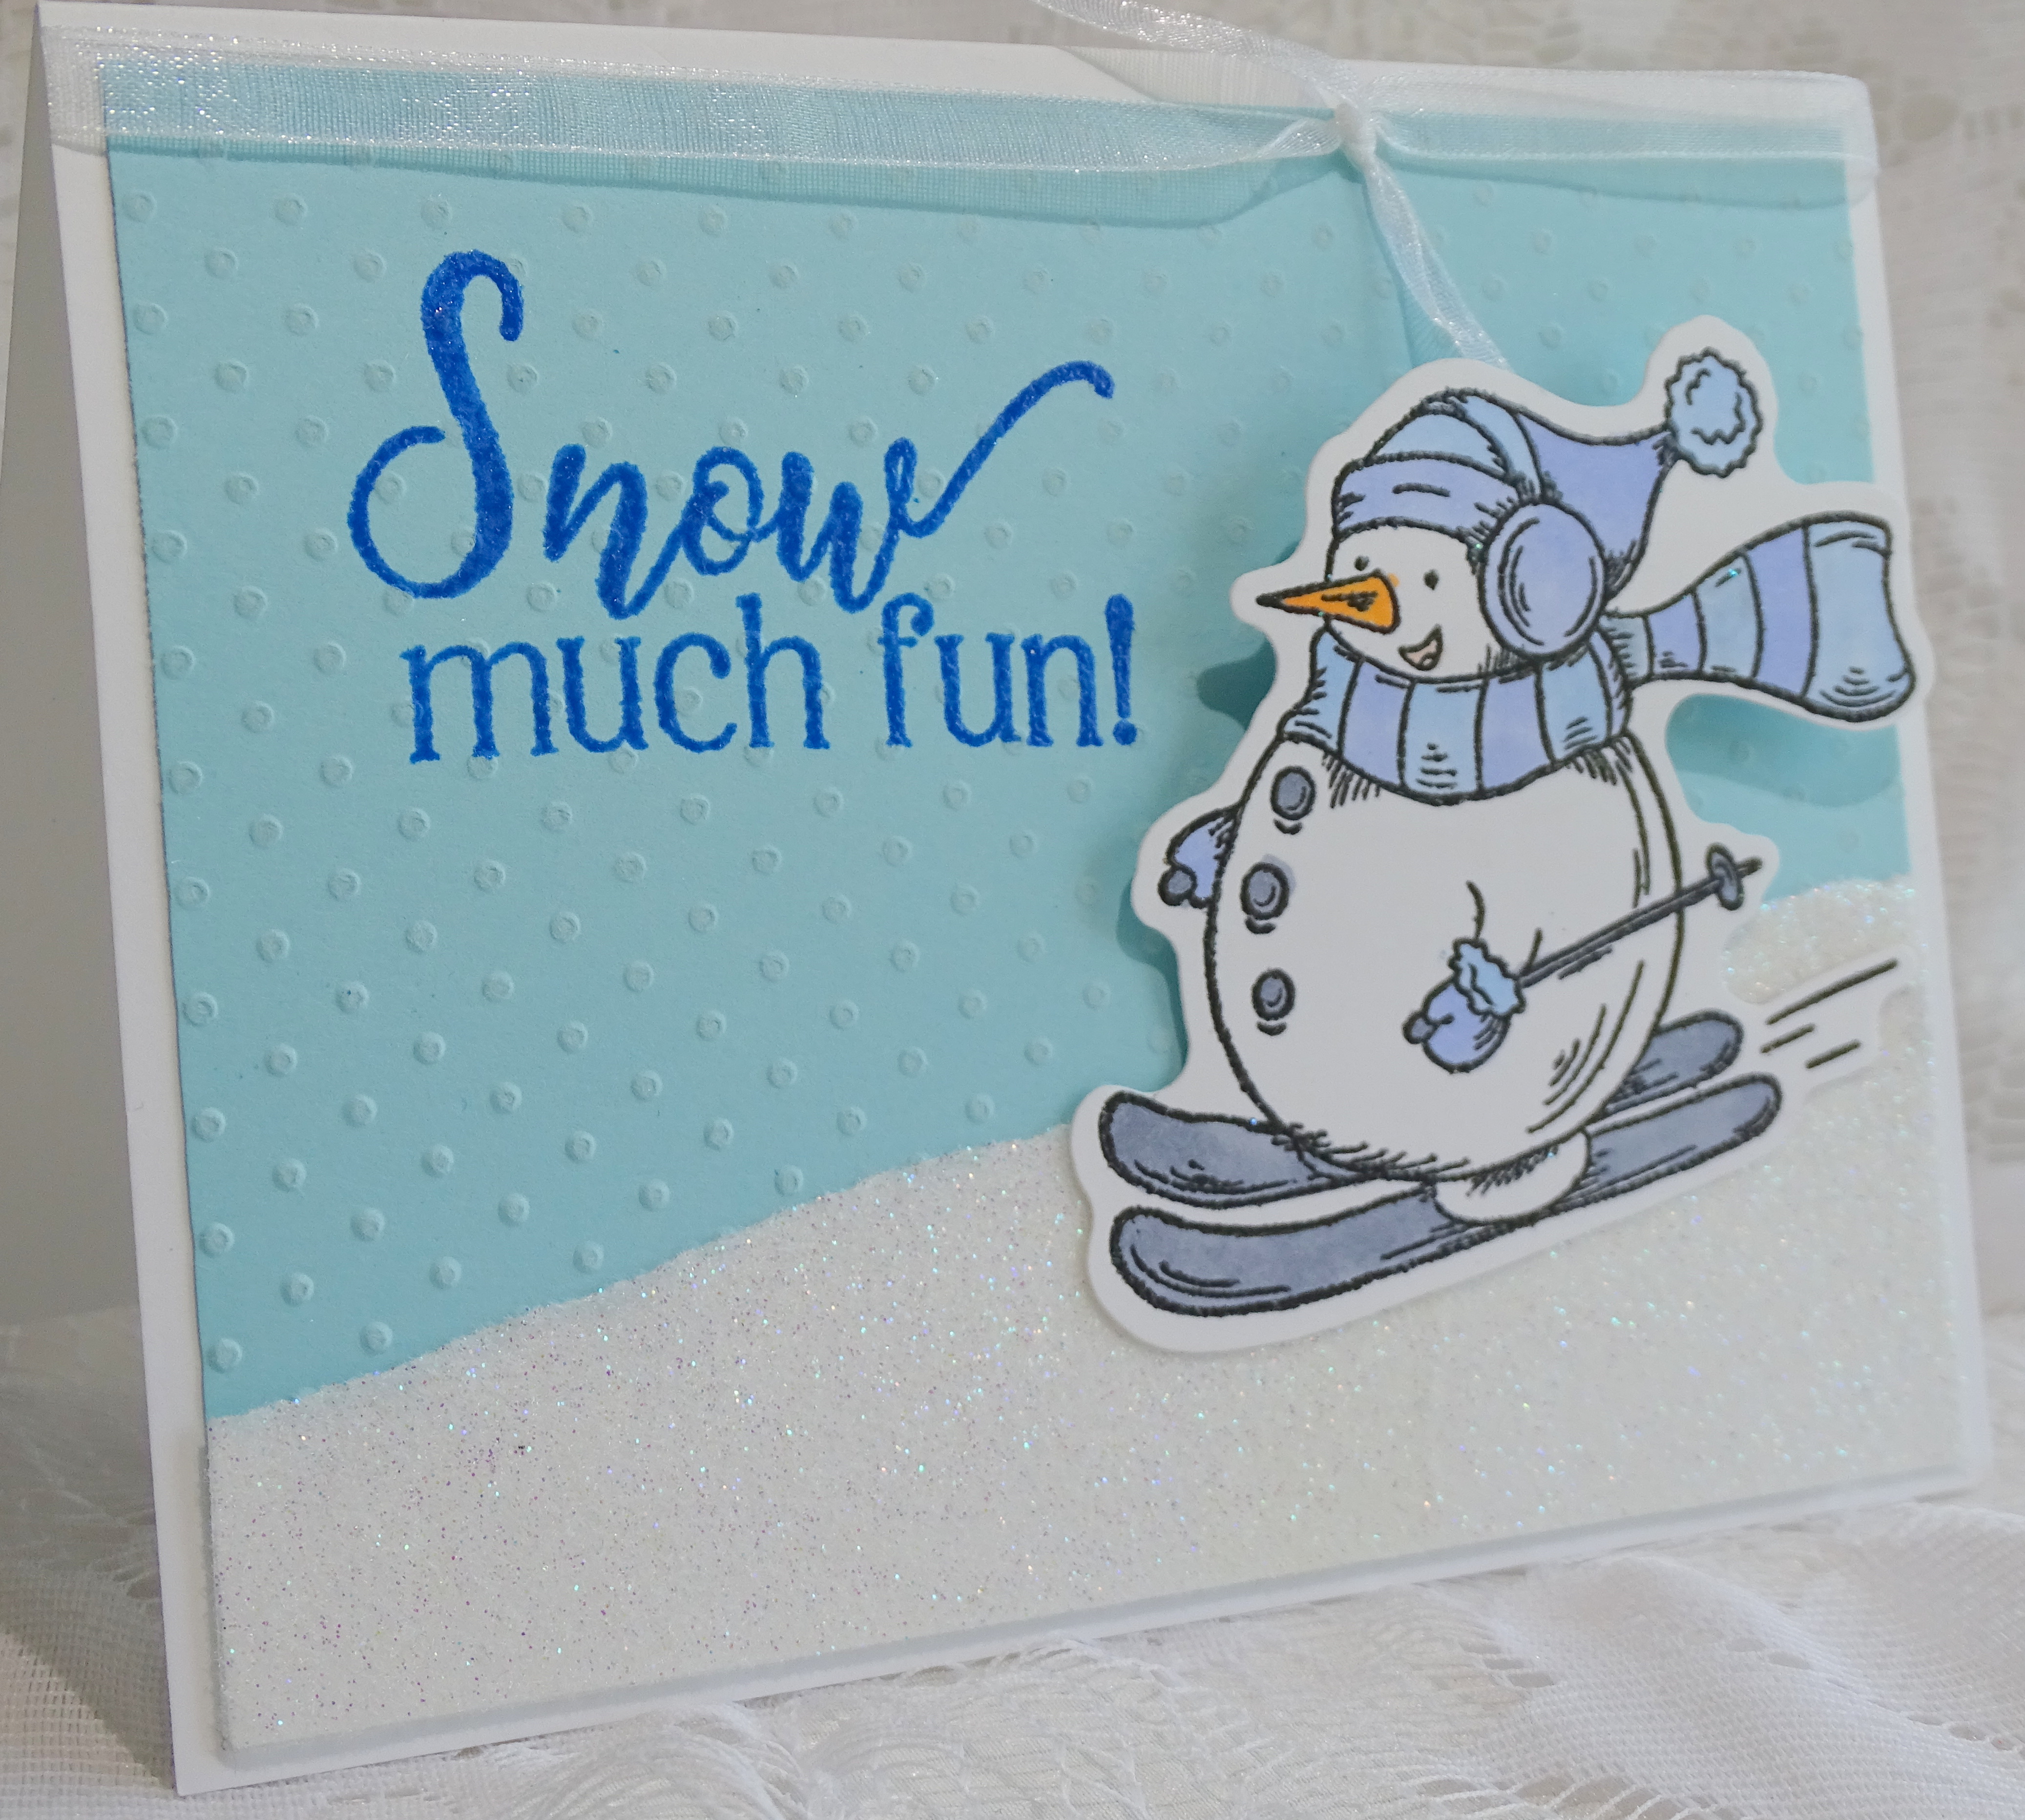
My card today is for the Holly and Ivy Christmas Challenge. Using the skiing snowman from a stamp and die set, that I recently purchased from Lifescraft, I have my little guy speeding down the snowy slope!


I began with stamping the snowman from the stamp set in Versamark Clair Nocturne ink. 


He was then heat embossed with Clear Detail.


I colored him with Copics and then die cut him.


I took a piece of light blue cardstock and using the Cuttlebug dotted embossing folder, I sanded the raised dots down to make them more white, like snowflakes. A piece of double-sided tape was layered to a scrap of white cardstock and was layered to the base of the blue background. I removed the protective layer from the tape and added Twinkling Clouds flocking to the sticky surface.


I placed the sentiment, from the same stamp set in my stamping platform and stamped directly on to the blue sky using Versafine Clair Paradise ink, I then added some Blue Ribbon glitter to add some sparkle.


The background was added to a white card base and then the little snowman was taped down to the snow and his body popped up with a foam pad for some dimension. White organdy ribbon was tied around the top of the card to finish.


I hope I have inspired you to pop on over to the Holly and Ivy Challenge? It's always an anything goes theme!

Till next time!

Shona


Wednesday, September 9, 2020

Warmest Snowman Wishes

 Hi there, and welcome to September!

Isn't it crazy how quickly the summer just passed by? We're enjoying a little cooler weather now - though today we are back up at 86 degrees - we'll soon be able to open the windows! The butterflies are slowing down, not that they were very profuse at all this year. However, I started tagging my Monarchs that I have reared this summer and they will be heading to Mexico shortly. I've had many more Black Swallowtails this year, but if I didn't catch them as eggs, I'm afraid they got parasitized as caterpillars. The last four of the chrysalises bore Parasitoid Wasps instead of beautiful butterflies 😢.

My header for September is the last hatched one that dodged the bullet! Mother Nature can be so cruel. It also makes me feel better about bringing in the Monarchs as soon as I see the egg being laid.

So anyway, on to my card for the Christmas Craft Creations design team, where this month we were to asked to create a shaped card.


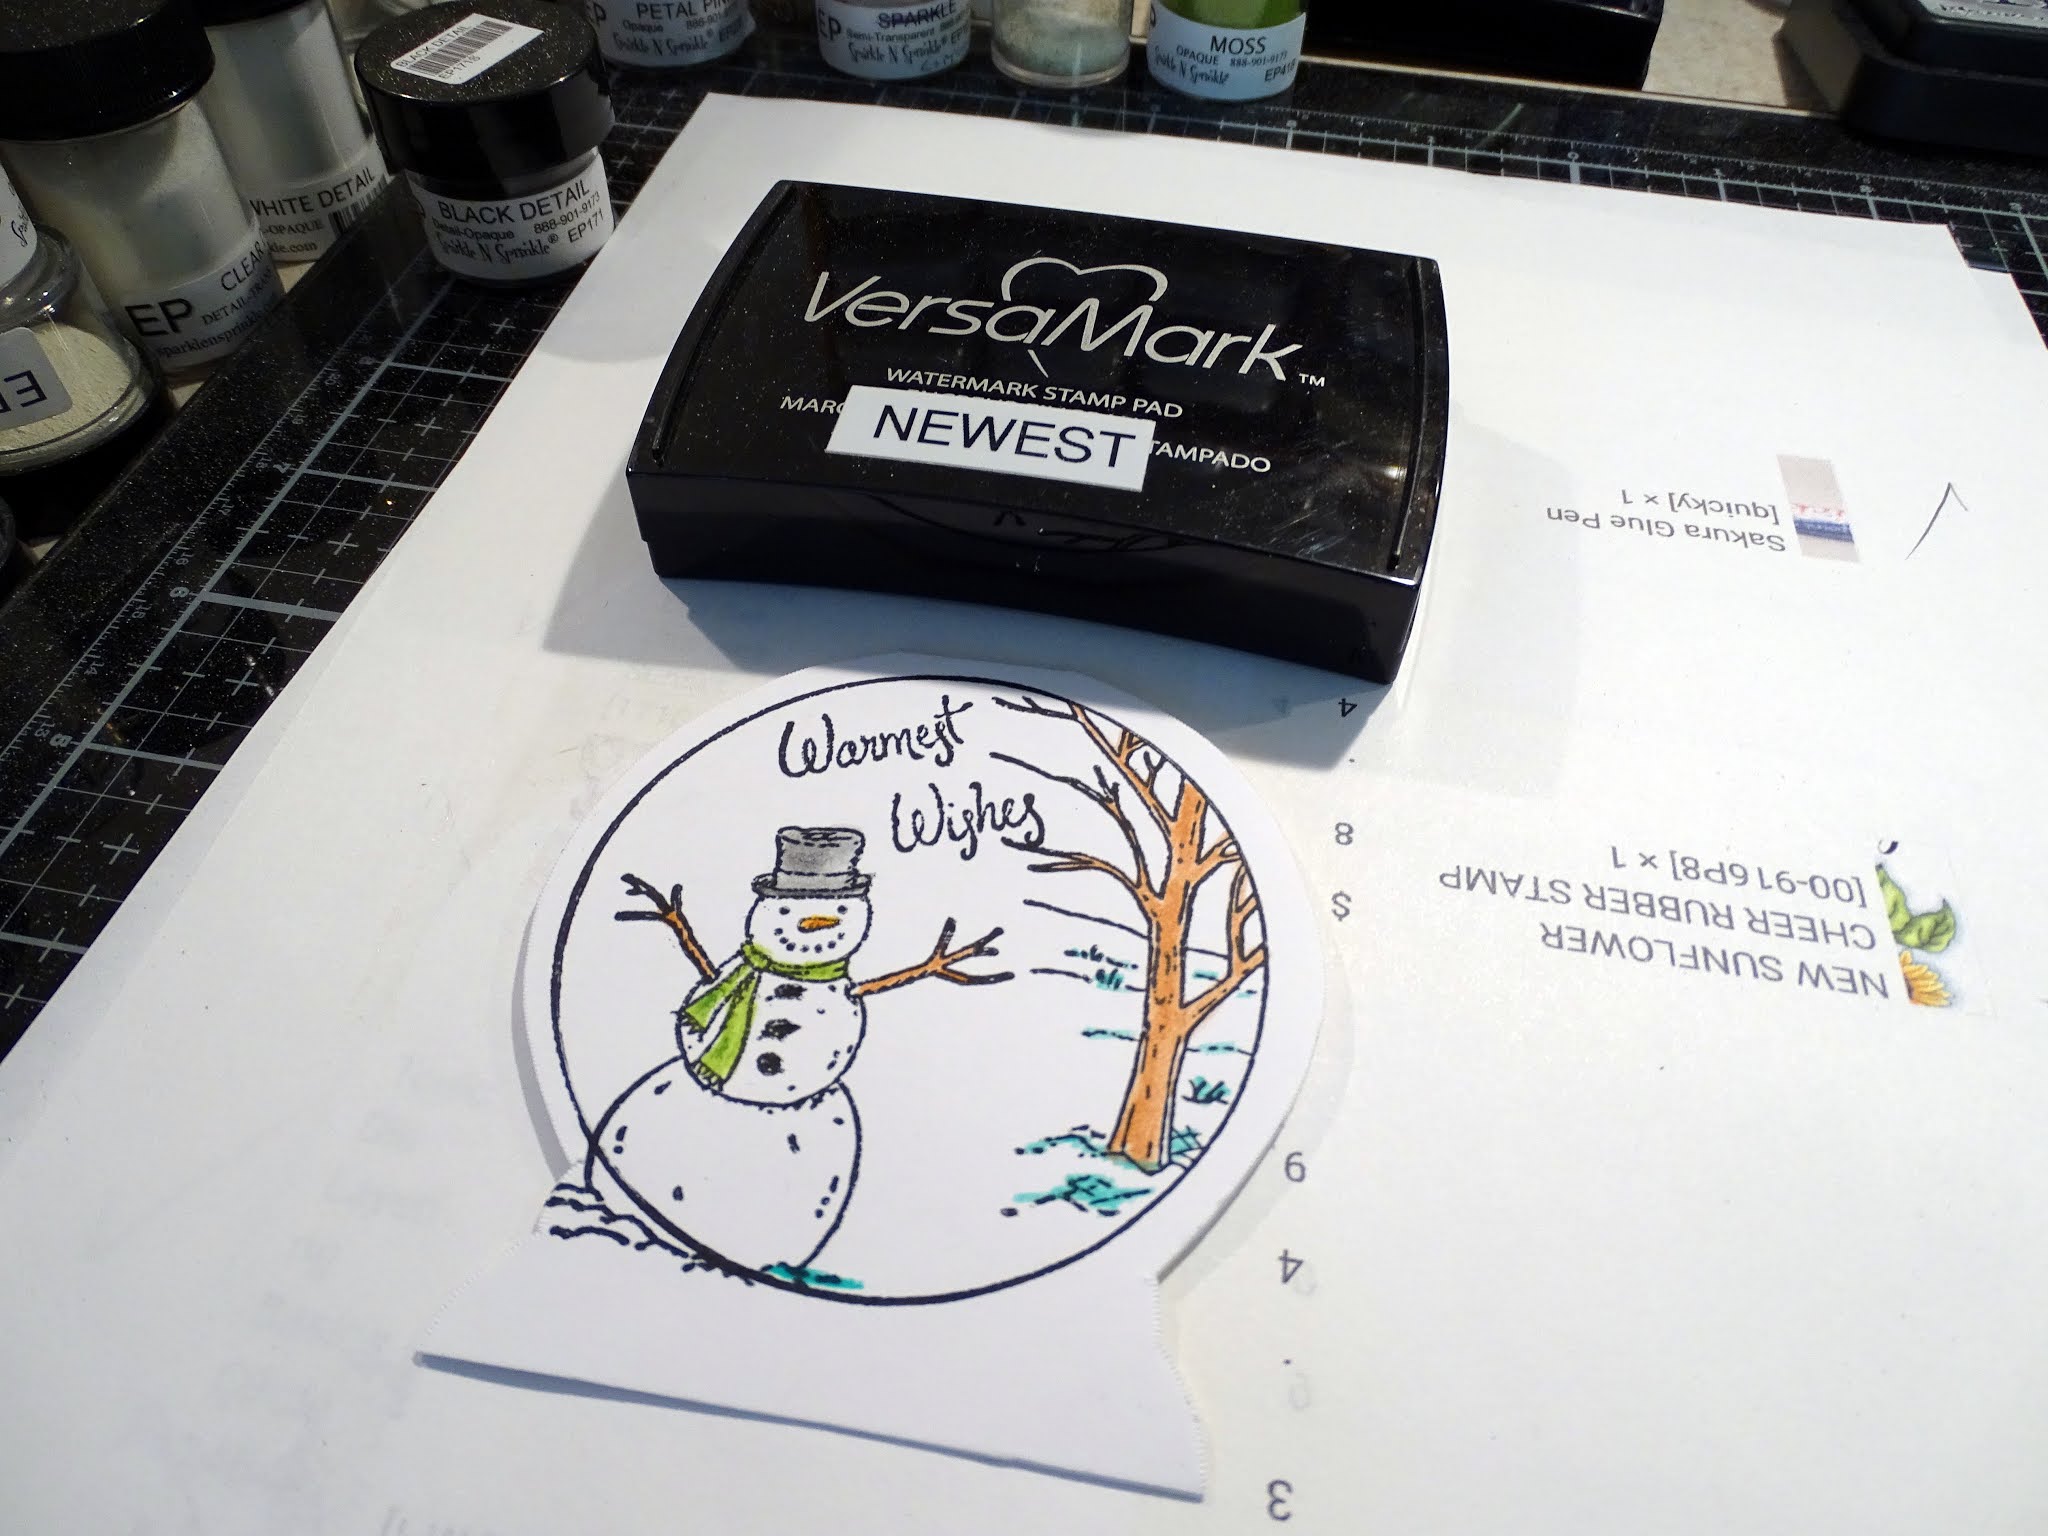
As you can see, I went with a snowglobe shape. I had received the stamp set as a freebie with a magazine and it came with an embossing folder. 


After fussy cutting the snowglobe I then traced it on to a piece of folded cardstock for the backing of the card and die cut the middle.


Next I colored the base of the snowglobe using a sponge with Memento inks - Desert Sand and Peanut Brittle.


The scene was then stamped on to the top of the folded piece of cardstock, using the stamp platform. 


The scene was colored in with Stampin' Up pencils. After which I heat embossed the image with Sparkle embossing powder.


The snowglobe frame was also embossed with Sparkle embossing powder before being stuck down over the image.


Some Nuvo Glitter Accents Fresh Snowfall was added to the tree branches and the ground for a more snowy effect. and that finished up my card for today.


Here is a list of the products used in my card today:

Beautiful moments: Embossing Folder & Stamp Collection

 (freebie from magazine)

Versafine Clair Nocturne ink

Stampin’ Up watercolor pencils

Memento ink: Peanut Brittle, Desert Sand

Nuvo Glitter Accents: Fresh Snowfall

Tonic Circle Layering Basics die set


Hope you've enjoyed stopping by today. Check out the work of the other designers over on the Challenge blog for more inspiration and to join in with your "shaped card"!


Till next time, stay safe!


Shona

Wednesday, May 8, 2019

Decorate Your Holidays

Hi there,

Welcome to my first May post! My May header is not from my backyard, but from a visit to the Cream Ridge Tulip Farm, New Jersey. I am here today to share my May Christmas card for the Christmas at Sweet Stampin' Design Team. Please stop over to see what the rest of the Design Team has created and join in the challenge where there is an optional twist of snowflakes for May. 

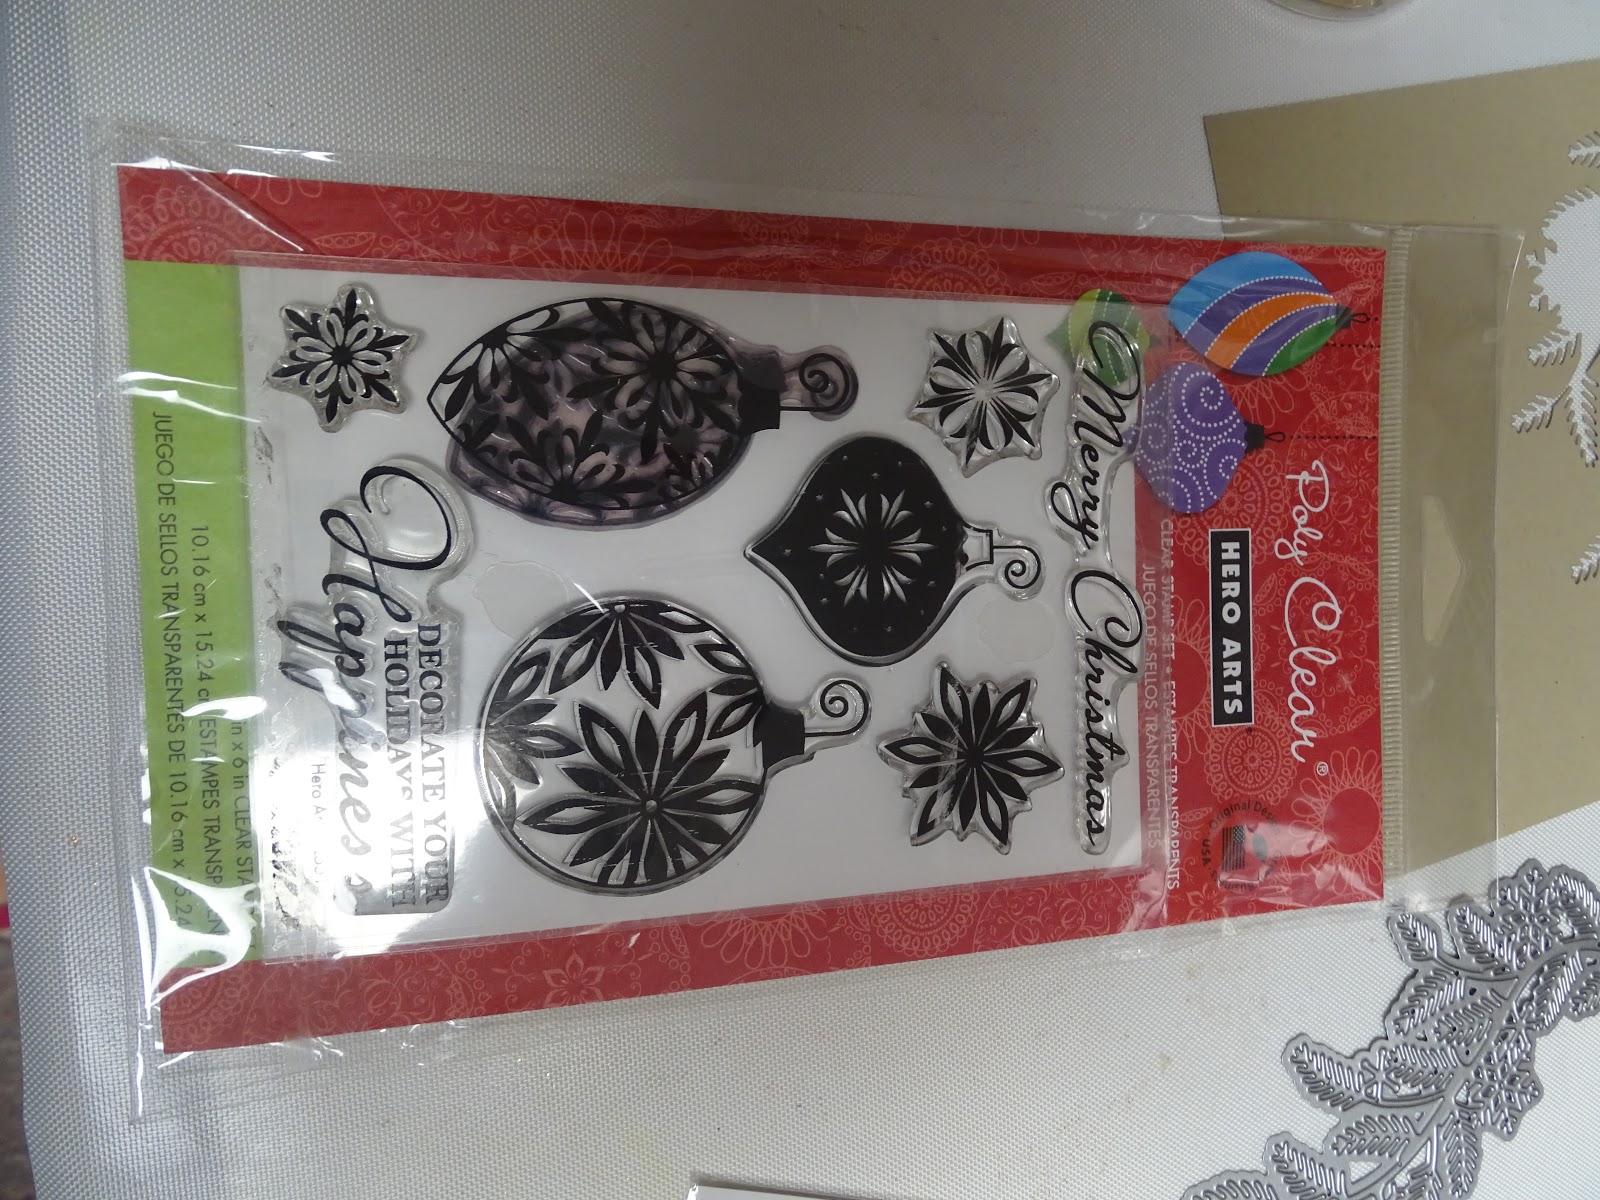
I have lots of snowflake paraphernalia, so ended up using Hero Arts baubles (with snowflakes) stamps, a Darice snowflake embossing folder, a Tutti Design Arched Fir branch (with snowflakes) and a Martha Stewart snowflake punch!


I began by die cutting the branch from Kraft cardstock, sponging with Versamark and heat embossing with Sparkle.


Next I stamped the baubles using Versafine Clair Golden Meadow, using my Stamp Platform, and then heat embossed them with Gold Detail. These were then fussy cut.


I embossed the white cardstock with the Darice embossing folder and then stamped the sentiment at the bottom of the cardstock with Versafine Claire Golden Meadow and heat embossed with the Gold Detail. The edges of the cardstock were then applied with Versamark and heat embossed with Gold Detail.


The Martha Stewart punched border was covered in Versafine Claire and heat set with Gold Detail and was wrapped around the back of the gold-edged panel.


The panel was attached to a white 5" x 7" card base and then I attached the fir branch with bits of 1/8" Tear-ific Tape. The baubles were attached with mounting tape.

That finished my card for today. Hope you've enjoyed my project.


Below is a list of the products I used:

Hero Arts Decorate Your Holidays
Versamark
Versafine Clair Golden Meadow
Gold Detail (EP168)
Sparkle (EP107)
⅛” Tear-ific Tape
Tutti Designs Arched Fir Branch
Martha Stewart Snowflake Punch
Darice Snowflake Background embossing folder
Mounting Foam

I'd like to play along in the following challenges:
The Holly and the Ivy Challenge #49: Anything Goes
World Wide Open Design Team Challenge #4: Anything Goes
Christmas Cards All Year Round: May - Ornaments


Thanks for stopping by today, I'd love to hear what you think of my card.

Till next time,


Shona


Monday, August 14, 2017

SPARKLE N SPRINKLE AUGUST REVEAL


Welcome to the August
Sparkle N Sprinkle New Reveal Blog Hop! 


I'm first up this month for the hop. This time round we had four new sets to play with and I chose to use this fun little guy, Elf Sitter #859 for my reveal card. 


We are now revealing our new stamp sets on the 15th of each month.  On the first of the month, a new video kit club will be revealed.

NEW STORE - NEW BLOG - NEW PRODUCT LINES! 

We are continuing to add new product lines, so be on the look out for them.  


We have four new rubber stamp sets, a new digi-only stamp set, a new digital paper pack, plus one huge digi bonus bundle being revealed this month. 

The sets are:

Elf Sitter 859
Digital Version: DIGI859BG

Dream Catcher Maiden 865
Digital Version: DIGI865LS

Basket of Hope 866
Digital Version: DIGI866J

Autumn Berry Wreath 867
Digital Version: DIGI867


DIGI3131M Christmas Spirit Fairy (digi only)

DIGI4007LS Saguaro Desert Landscape Paper Pack

DIGI867-815-3128B Four Seasons Digi Bonus Bundle (combines Autumn Berry Wreath with lots of additional colored images, sentiments, and digi papers) 


You are definitely going to want both the digi version as well as the rubber version because when you purchase the digital versions, there are lots of extras that aren't available otherwise.  These extras can include additional images, additional sentiments, digi papers (in some cases), and a cut file.


The new sets are 20% off until the 20th of the month.  Head on over to the SNS store once you've finished the Blog Hop and start shopping.

One GRAND PRIZE WINNER will be announced on the 17th of the month.  One of the Designers is our Mystery Host and the winner will be selected from comments left on her blog.  You must leave a comment on each of the Designers' blogs in order to be selected as the winner, as you never know who the Mystery Host will be.  This is checked for compliance.

The GRAND PRIZE WINNER will be announced on the SNS Facebook page and on the SNS Blog and will receive all the rubber stamp sets revealed this month.

The Blog Hop order is:
(Tip: if you have difficulty with a particular link, try clicking on the Designer's blog title to be directed to their Home page.)

Shona
Diane
Donna
Chris
Jess
Anne
Belinda
Eret


We hope you enjoy the New Reveal Blog Hop as much as we enjoy creating new projects for it.  Be sure to visit the SNS Blog for even more inspiration.  Something new is posted most every day.


Did you know that SNS has a You-Tube Channel?  If not, then you are in for a real treat.  Subscribe today to get all the latest tips and techniques!


The Sparkle N Sprinkle Creative Challenge group is on Facebook.  

This is a closed group (just trying to keep out spammers), but we want anyone who wants to participate to join.  Click on the link and join in on the fun today! 

The Creative Challenges run from the 1st - 25th of each month.  A SNS image (either rubber or digi) is required.  If you don't have any yet - no worries - there are some freebies located on the Home page of the SNS website.  Just scroll down the page a bit to see them. 

The Creative Challenge Winner and Top Three will be posted on the last day of each month.  The winner will receive a $15 Gift Certificate to go shopping at the SNS store. 

Please review all the Challenge Rules before submitting your photo 😀.  We can't wait to see what all you create using SNS images.


~~~~~~~~~~~~~~~~~~~~~~~~~~~~~~~~~~~~~~~~

So back to my Elf on a Shelf card! I began by making the red card base for the easel card. I then stamped the image from the Elf Sitter Set 859 in Memento Tuxedo Black ink as I was going to color him in with Copics. I wanted to give the impression that he was sitting on the mantle on the side of the brick fireplace so I ran a piece of kraft cardstock through my embossing machine with the Darice Brick Pattern embossing folder.


Fired Brick Distress ink was then applied to the embossed cardstock. This was attached to the front panel of the easel card.


My little elf was then colored in with Copics and fussy cut with the awesome Tonic 5" mini scissors. 


After he was cut out, I applied Nuvo Honey Gold glitter drops to the bells on his outfit and Nuvo Grey Mist Jewel Drops to his eyes. He was set aside to dry while I worked on the shelf.


To make the shelf I used the Sizzix Woodgrain embossing folder. I put a small piece of mustard cardstock into the embossing folder and ran it through my machine. I then applied Distress Tea Dye Ink to the raised pattern.


A strip of the "wood" was adhered to the top of the brick for the elf to sit on.


A piece of cream cardstock was run through the same woodgrain embossing folder and a little of the Tea Dye ink was applied also to that. This was then layered to red cardstock. The sentiment was stamped on to green cardstock in Versamark and was heat embossed with Red Apple. This was die cut with a Spellbinders Grommet Tag. It was popped up on the base with mounting tape, a little bow was tied from red and white baker's twine and this was wrapped around the back of the red layer which was then layered to white and then to the card base as shown here.


The little elf was perched on the shelf with Tear-ific Tape and Mounting Squares.


Nuvo Crystal Drops Buttermilk for the base and Autumn Red for the brick front were added sporadically to the card to finish it off.

Here are the supplies used for the card. You can link over to the SNS website to purchase these items.


Memento Tuxedo Black, Versamark
Tonic 5” Mini Scissors

Next stop on the SNS blog hop is our talented Diane. Thanks for stopping by today. Remember to leave comments on each of the Designers' blogs in order to be in the running for the four sets! Good luck! Enjoy the hop.

I'd like to join in the following challenges:
Winter Wonderland Challenge Blog: Use twine, ribbon or lace
Classic Design Team Open Challenge Blog: Anything Goes

Till next time,

Shona

Thursday, April 20, 2017

Christmas Holly Blessings

Hi there, 
Today I'd like to share with you a card made using the pretty Christmas Holly Blessings Set 841 from the April Reveal..
I began by stamping the image on white cardstock with Memento Olive Grove. I fussy cut around the vase and die cut the piece with Memory Box Cross Stitched Frame Borders, using the out of the box technique (placing the edge of the vase over the top of the frame so it doesn't get cut off).
 
Next I colored the vase with the Nuvo Fine and Medium Tip Glue Pens and left it till it got tacky, then I applied Nuvo Gilding Flakes: Radiant Gold to the vase for a lovely shiny appearance.
The image was colored with Copics: BG93, YG03, G99, R29 and then I began going over the berries with the Nuvo Red Berry Crystal Drops. It is best to apply the drops a little at a time, leaving space around them and letting them dry before going in and applying more, otherwise they will run in to one another and become one big blob.
At this point I made my background, which was a white piece of cardstock, run through a Cardmaker Magazine Holly Embossing Folder. This was then daubed with Spring Green Nuvo Embellishment Mousse.
The berries were also applied to the border in stages, like the image. Sentiment, from the set was stamped in Versamark and heat embossed with Gold Detail. This was cut out from one of the smaller dies from the MB die set and was sponged with Lady Bug Memento ink before the die was removed. Three little Red Berry drops were added to the sentiment and then both the image and sentiment were popped up with mounting tape onto the background , which had been previously layered to red cardstock with 1/4" Tear-ific Tape.
That finishes off my card for today. Hope you've enjoyed my share? 
I'd like to play in the following challenges with my card:
Christmas at Sweet Stamping: April - Anything Christmas
Holly and the Ivy Challenge: Anything Christmas
Make My Monday: Challenge #44: Embossing Heat or Dry
Here is a list of the products used in my project. Click on the product and it will take you directly to the SNS store, where they can be purchased.
Thanks for stopping by today,
Hugs,
Shona
Thursday, September 17, 2015

IT'S ANOTHER HOLE IN ONE!!

OK, so today I have a little cheating going on! I'm repeating a card that I did many moons ago - actually almost three years ago! I was really pleased with the card last time I made it, however, the instructions were almost gone for this one so I had to change up the colors and such, but the main idea remained the same.


This card is for a very dear friend of my Dad. When Dad comes to visit the US,  John takes him golfing at least once a week. They've built up quite the relationship to the point that John traveled to Scotland last October for the Dunhill Golf Competition - and they had a blast! Not playing - just spectating - but had a blast just the same! They are always joking around with one another, so I thought this might be a good fit for this golf fan!


The crazy golfer from the Golf McDuff Set 255 was stamped with StazOn and I used water color pencils and a water brush to color him in. The "wallpaper" is white cardstock - colored with Memento Cantaloupe and then run through the Cuttlebug Striped embossing folder,distressed with  Memento Olive Grove.


The crack in the window was done on Embossable Acetate with a splat of Staz-On ink and then I used a pin to pull the cracks out! A hole was punched in the middle. Pretty realistic, right! The window frame is Spellbinders Window Die Template, colored with Peanut Brittle, with the acetate piece behind. The golfer is then positioned behind to give maximum shock effect!!


The sentiment is from the same set and was stamped in Versamark and heat embossed in one of my favorite Tuscany Colors - Sienna! After die cutting and embossing with the Spellbinders Ribbon Banners, I daubed a little Memento Cantaloupe on the cardstock before removing the die. The card front was layered to a piece of orange and then to the white cardbase which had been edged with Peanut Brittle to match the window frame.


Here's the inside (a little changed!)


HAPPY BIRTHDAY JOHN!

Hugs,

Shona