Showing posts with label Stampin' Up. Show all posts

Tuesday, March 8, 2022

Wishing you a Merry Christmas

 Hi there and welcome back and to another new month! Can you believe it is March already? I certainly can't!

My header for March is one of my bees down on the moss in the stream. These little ladies work tirelessly from morning till night as soon as it's warm enough for them. They got good two days lately and I got in to see how they were doing and even saw eggs, so feeling excited that they got through the winter!

My card today is for the Holly and Ivy Challenge, which is always an anything goes theme. I hope I will inspire you to play along!
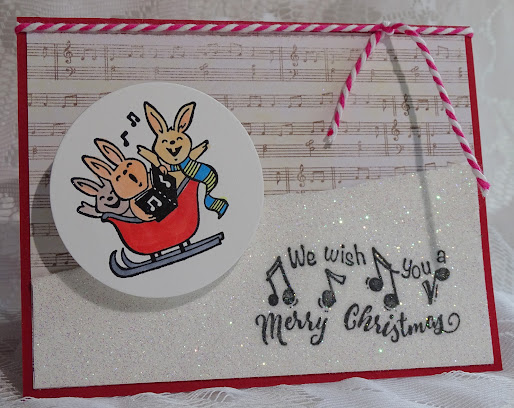

These happy little "chappies", from the Stampin Up set Warm and Toasty are singing in the sled! They are on a wobble - so it's a more interactive card!
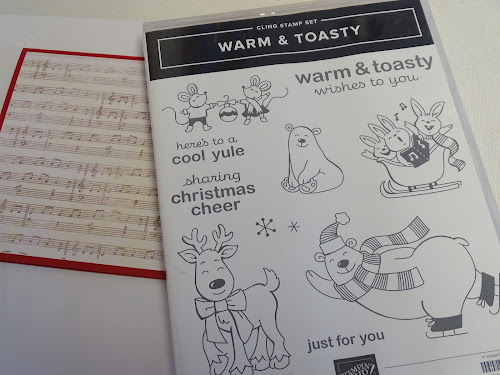
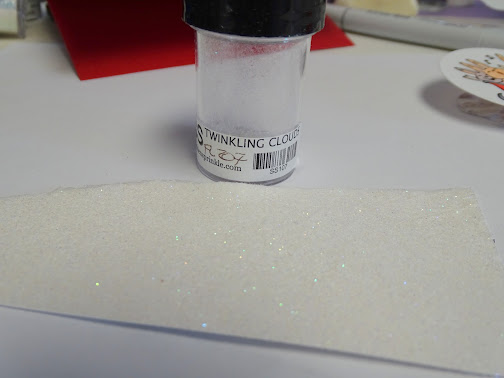
I started with a piece of music designer paper on top of the red cardstock base. A piece of double sided tape was applied to white cardstock and then after removing the protective backing, Twinkling Clouds flocking was then applied.


Our little friends were stamped in Versafine Clair Nocturne ink and were heat embossed with Clear Detail. They were colored with Copics and then die cut with the Tonic circle die. 
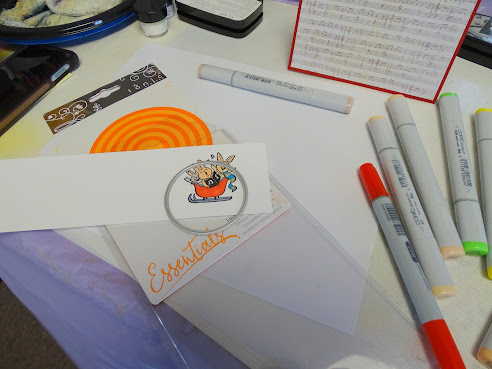

Our little group got tucked under the snowdrift with the wobble, to give the effect of them sledding! The 
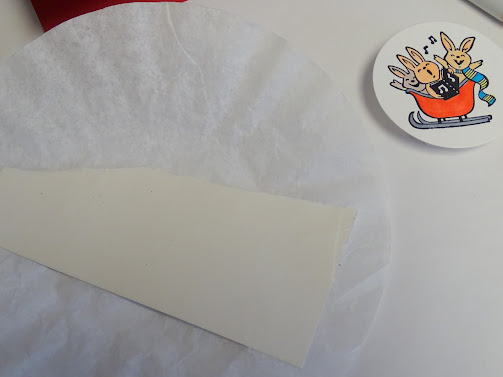

The sentiment from an old Sparkle 'n Sprinkle set was added - I thought the music notes added the right tone!!! I stamped the sentiment directly on top of the flocking with the Versafine Clair Nocturne ink.


A red and white  bakers twine finished off my card today. I hope you will join in with the challenge this month and get ahead of your Christmas cards for this year!

Thanks again for stopping by!

Shona


Tuesday, February 8, 2022

HAI February Warm and Toasty

 Hi there and welcome back to my blog. My header for February is a female cardinal who was outside my living room window, hiding from the snow!

Today my card is for the Holly and Ivy Christmas Challenge, which is always an anything goes theme! I hope you will take a look at what my teammates have prepared too!


I started by placing a 3 3/4" x 5" piece of double-sided tape on a piece of 4" x 5 1/4" light blue cardstock.


Next I applied a strip of double-sided adhesive to a strip of white cardstock and die cut several snowflakes from the Recollections set.


Fascination glitter was applied to the snowflake after the backing was removed.


The sentiment from the Stampin' Up Warm and Toasty set was stamped in Versafine Clair Nocturne ink and then heat embossed with Clear Detail powder.


The protective backing was removed from the blue cardstock and the glittered snowflakes and the sentiment were placed on the sticky surface.


Sparkling Snow glitter was then burnished in to the rest of the sticky adhesive.


The polar bear from the Stampin' Up Warm and Toasty set was stamped in Versafine Clair Nocturne, heat embossed with Clear Detail and then colored with Copic markers. He was then fussy cut and after the layers were added to a white card base, he was popped up on foam pads for a bit of dimension. Hopefully giving the idea of him skating on a frozen pond.


Here you can see all the sparkle from the different glitters and the embossing powder. I hope this gives you some inspiration to come and join along with our challenge?

I'd like to join in the following challenges, please:

Till next time!

Stay warm and toasty!

Shona


Monday, June 21, 2021

HAI Ho, Ho, Ho Santa

 Hi everyone and welcome to the 2nd June Challenge for the Holly and the Ivy! As always, this is an anything goes theme - so we hope you will join in the fun and get your Christmas card stash moving!

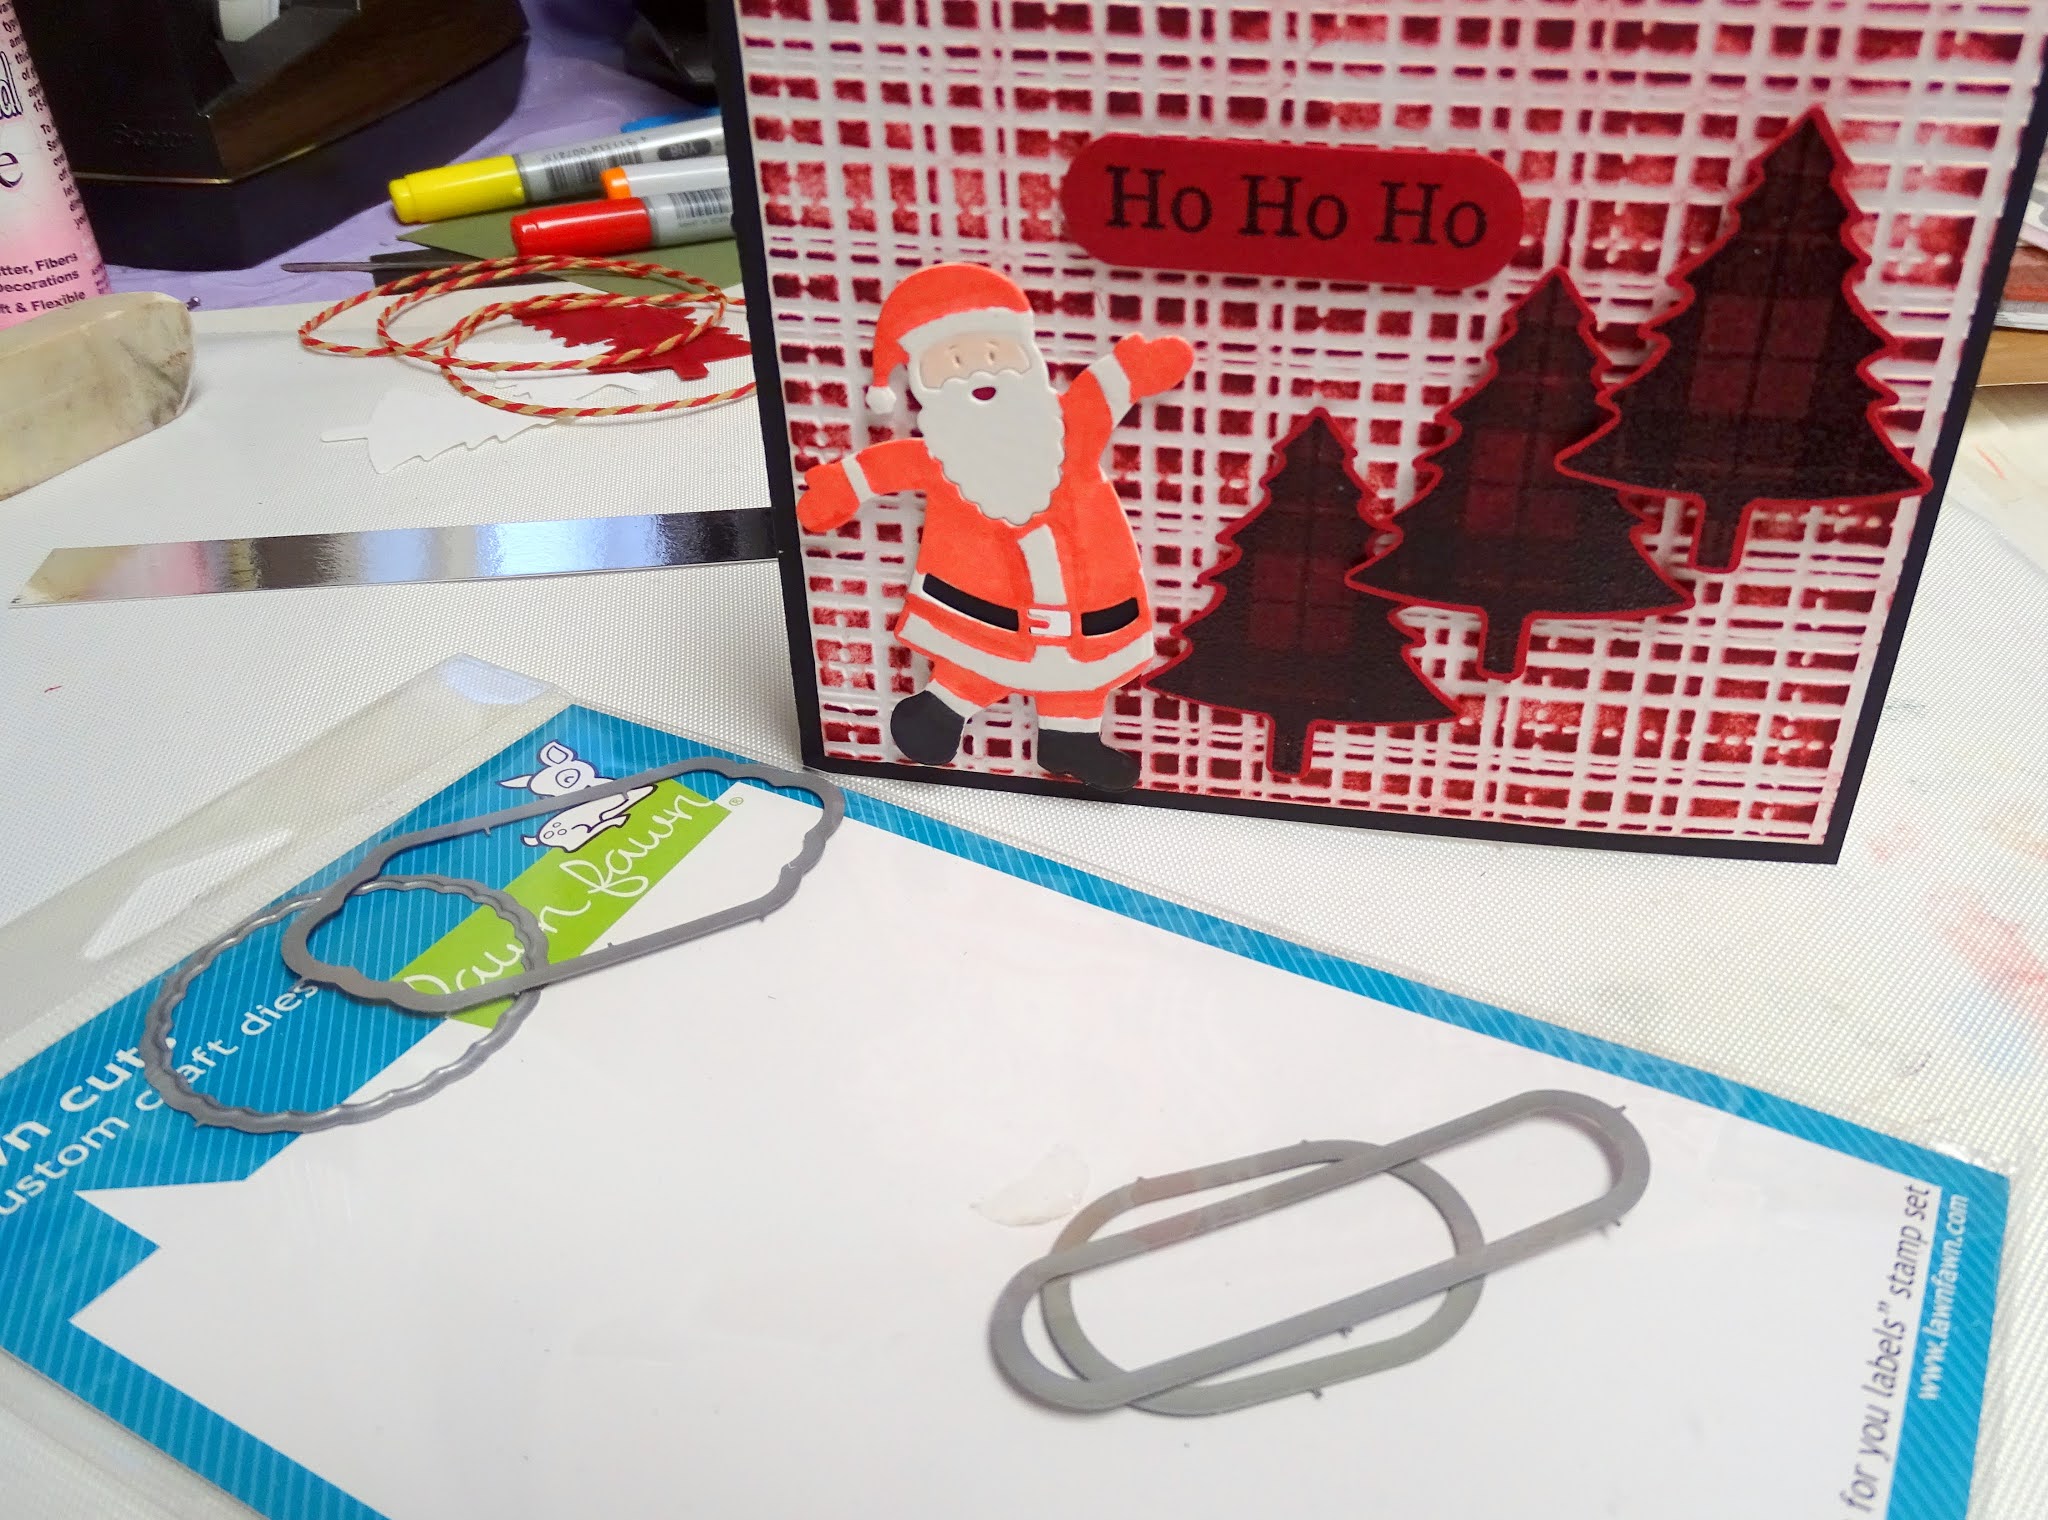
I've had a fun Birthday weekend/Father's Day celebration. All the kids came over and Daddy and I didn't have to cook once! I took time out this afternoon to make this happy little card! Santa's out in the woods picking out his own Christmas Tree!


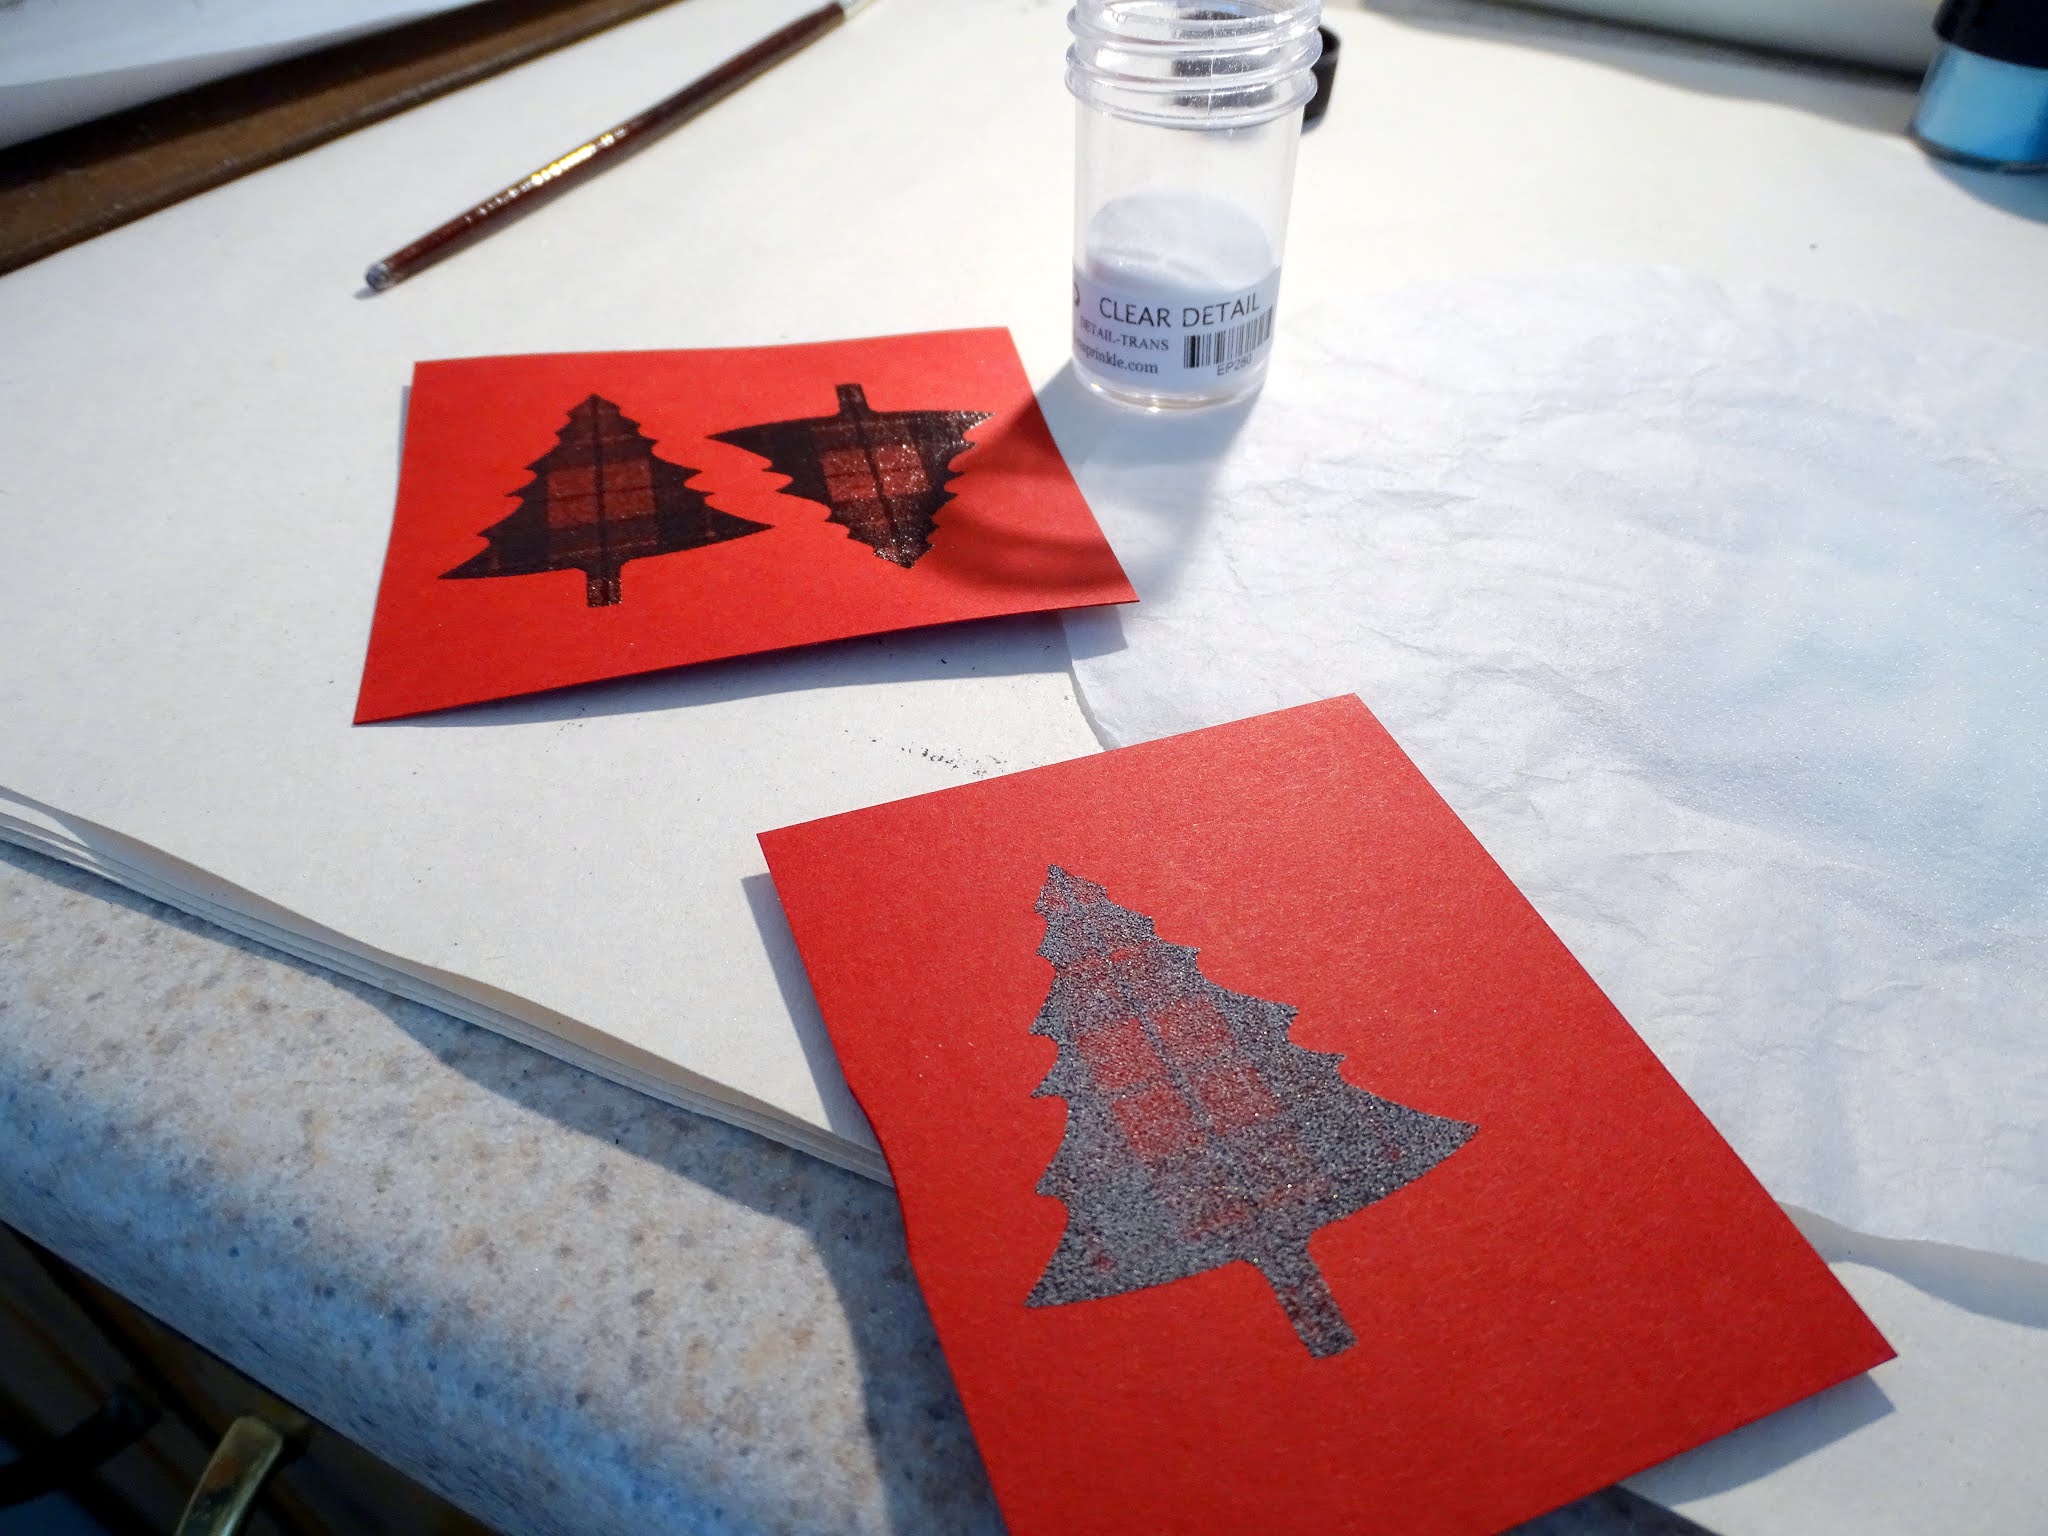
I started stamping the trees from the SU Perfectly Plaid set in Versafine Clair Nocturne and heat embossed with Clear Detail. 


These were then punched out with the SU matching punch.


I was thinking a plaid background to go with the trees and so found this Sizzix embossing folder and ran a piece of white through the embossing machine. I then took the SU real red ink pad and ran it over the embossed piece to achieve my background.


I found an already made Santa in the Tonic Santa Claus Trio die set, he had already been colored with Copics. I just put little snippets of cardstock behind the spaces, black belt, silver buckle and red for his lips.


The sentiment from the same SU stamp set was stamped in Versafine Clair Nocturne and then heat embossed with Clear Detail. This was then cut out with the long Lawn Fawn die, though I cut it smaller by putting in back in the die, moving the sentiment over and running it back through the machine. 


All the pieces were attached with tape and mounting tape to finish of my project. Below you will find the complete list of the products used today. 

Stampin’ Up Perfectly Plaid

Christmas Tree Punch

Tonic Santa Claus Trio

Lawn Fawn (Just for You Labels ) dies

Sizzix Plaid and Snowflakes embossing folders

Copics

Versafine Clair Nocturne

Stampin’ Up Real Red ink

Mounting Tape


I hope I've inspired you to pop over and take a look at my  Design Teammates' work and then to join in the Holly and Ivy Christmas challenge! 

Thanks for stopping by today!

Shona


Wednesday, April 8, 2020

Oh Christmas Tree!

Hi there, Spring has definitely arrived here as per my header for April! One of the pretty daffodils in my yard right now.


Welcome to my first card for the Christmas Craft Creations Design Team. This used to be the old Christmas at Sweet Stampin'. We will be doing the same thing, creating all types of Christmas projects, with a different monthly theme/twist. We hope you will play along in our new challenge. For April, we would like you to "Use a Stamp"!

I chose to use some plaid on my project today, so I combined two sets, the Stamping Up Perfectly Plaid and Concord & 9th Plaid Background.


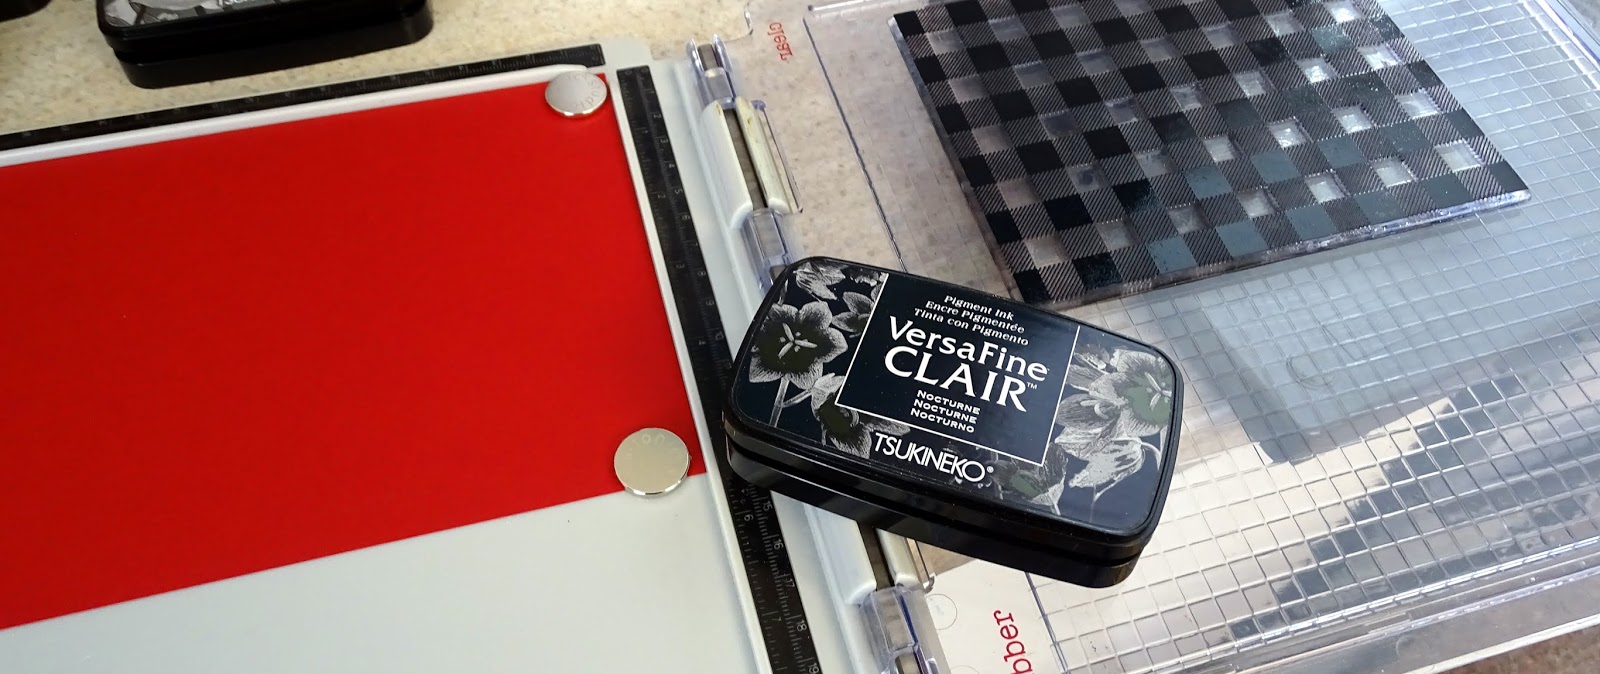
I began with stamping the plaid background on red cardstock with Versafine Clair Nocturne ink, using my stamp platform so that I would get a nice crisp impression.


I then stamped the plaid tree with Versafine Clair Nocturne ink, which was then heat embossed with Sparkle.


Two more trees were stamped with Versafine Clair Morning Mist. The three trees were then cut using the matching tree punch from Stampin' Up.


The Tonic Oh Christmas Tree Sentiment die was used for the frame. 


I then die cut a piece of light green cardstock using the two outline dies used in making the frame.


The red frame was glued to the green frame with Scraperfect Best Glue Ever.


The plaid background was laid in the center of the darker green layer. The light green frame was then positioned on top. The two plain trees were taped in place and then the sparkly tree was mounted on foam. The red frame was then mounted also with foam tape.


After the front panel was layered to a red card base, I finished off my card today with a green organdy bow.

Below is a list of the products that I used today:


Concord & 9th Plaid Background 

Stampin’ Up Perfectly Plaid

Tonic Oh Christmas Tree Sentiment Die Set

Stampin’ Up Christmas Tree punch

Versafine Clair Nocturne
Versafine Clair Morning Mist
Sparkle embossing powder
Scraperfect Best Glue Ever
Mounting Tape
Green Organdy Ribbon

I hope you will take a look at what the rest of my teamies have done for the Christmas Craft Creations debut! Lots of creative ideas!! We hope that you will play along with us in the April Challenge - all you have to do is use a stamp!

Stay well!
Shona