OK - I am so done with this "white nonsense", along with so many other folks in the North East. I'm dog-sitting for my bowling buddy for a couple of weeks, while she visits her Mom in South Africa. The poor little dog can't even find grass to pee on! ...and to make it worse I forgot to put her jacket on for this photo shoot! The photo's blurred because she was shaking.

The grass is a foot under her! I should have made a spot for her and left a tarp over it when it was snowing - but I didn't think that far ahead!! Oh well, we'll just muddle through, right? It could be worse - I could be living in Boston!
Well at least it gives me an excuse to just stamp. My share today is for a dear neighbor - Chet. He is the neighborhood fix-it angel! I was still in my stencil and embossing paste mode when I made this. So I had a masculine background to use.
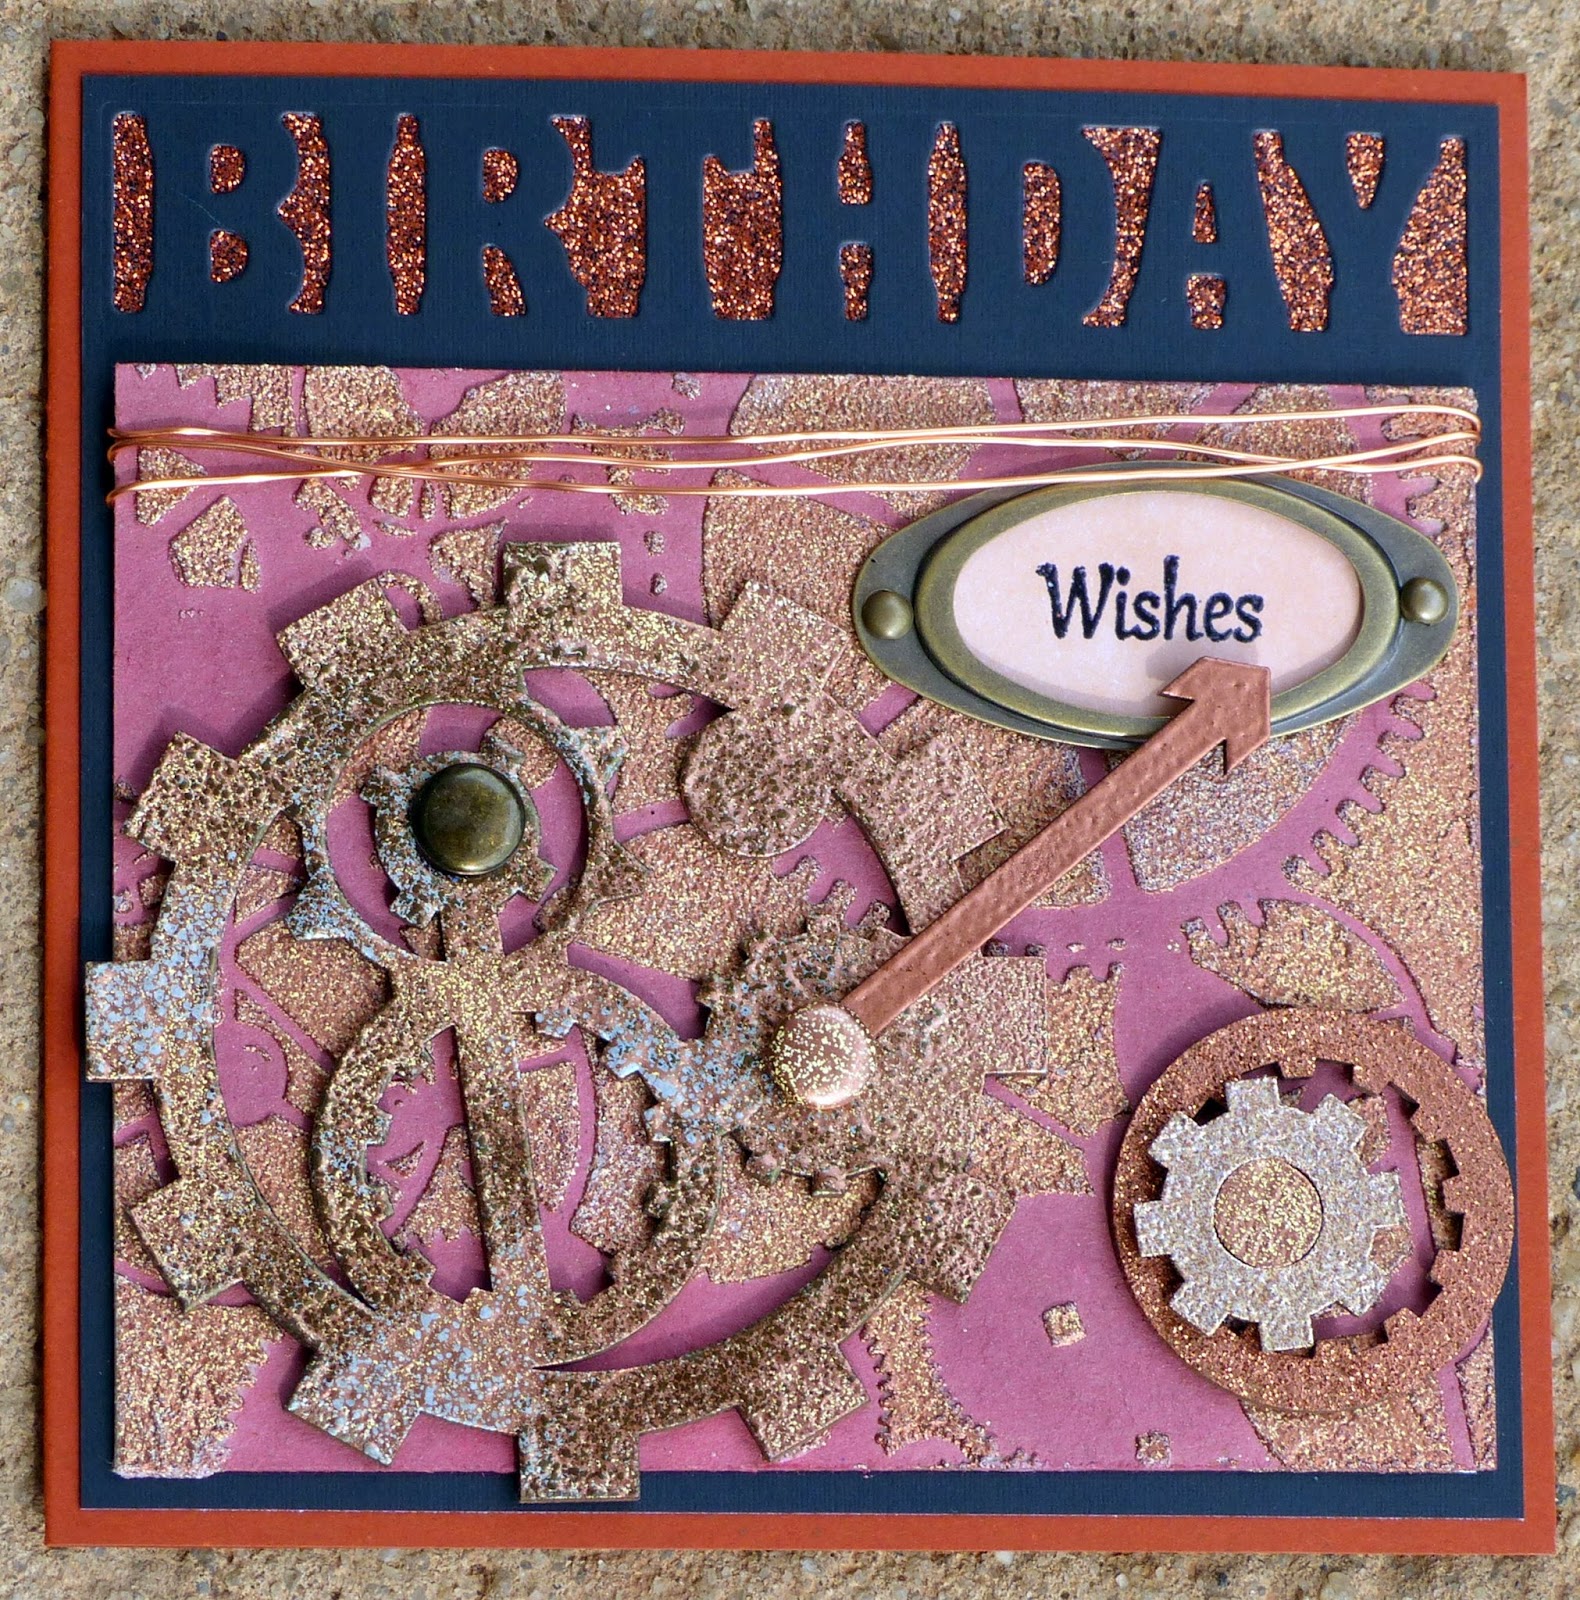
I had made the background using the TCW Mini Gears stencil, white embossing paste and Sparkle N Sprinkle Pebbled Copper embossing powder. The background is chipboard which had first been sponged with Memento Rhubarb Stalk. The cogs and arrow are all from Blue Fern (Widget works and Industrial Gears). The brads were heat embossed with the Pebbled Copper and Blackened Bronze.
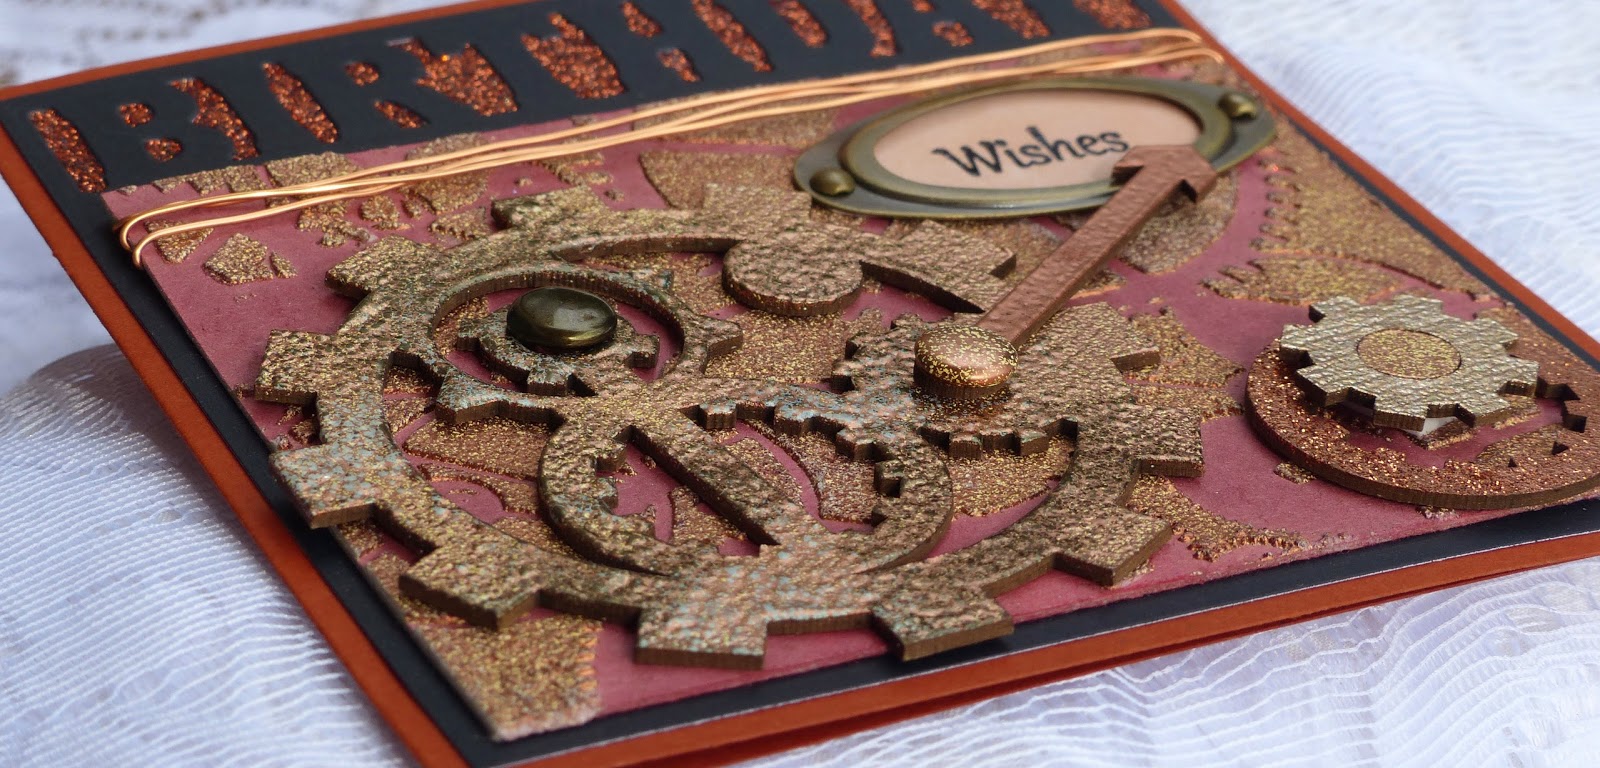
The big cog was covered with Pebbled Copper and then I added a little Versamark ink and heat embossed again with a little Magic Speckle. This is an awesome embossing powder. - it gives a mosaic effect, and with the metallic colors it becomes, well let's just say, "well worn".
The other chipboard pieces were embossed with various metallic powders: Copper, Copper Dreams and Antiquities.

The Birthday Cut Out is from Die-Versions - yes I know I've been using it a lot - hoping they come out with a "Happy"! I cut it from a 5" x 5" piece of black cardstock. I applied a strip of 3/4" Tear-ific Tape behind the sentiment and then applied Embers Glitter to the front.

The sentiment was stamped in Versamark and then heat embossed with Black Detail. A little Desert Sand was sponged over the sentiment before I encased it with the hardware, which was from an old batch of Stampin' Up Hardware.
Well you know you have to use ribbon or lace for a girl card, right? What do you do for a guy? I found some copper wire and wrapped it around the card front before adding it to the rust card base. Thought that it just finished off my card nicely. Happy Birthday Chet, dear friend!

Hope you've enjoyed my share with you today.
I'd like to enter this card in the following challenges:
Stamping Sensations - One for the Guys!
Scrapy Land - Use a die cut that Scrapy Land sells
Hopefully next time I post it will be more Spring-like!
Hugs,
Shona

