Hi there,
I'm back today to share a card, with one of my favorite coloring techniques - with glitter (and a little flocking)!
The following dies were used in my project today:
(any of the stacker frames would work)
I began with cutting the Honey comb die from black cardstock.
I took a 4 1/2" square piece of Super Adhesive sheet and layered it to a slightly bigger piece of yellow cardstock. I then die cut the Tutti Cross Stitch Nested die from the middle of the square. It did not cut through the yellow cardstock, only the protective sheet was cut.
The Honey comb die was then placed in the center of the circle.
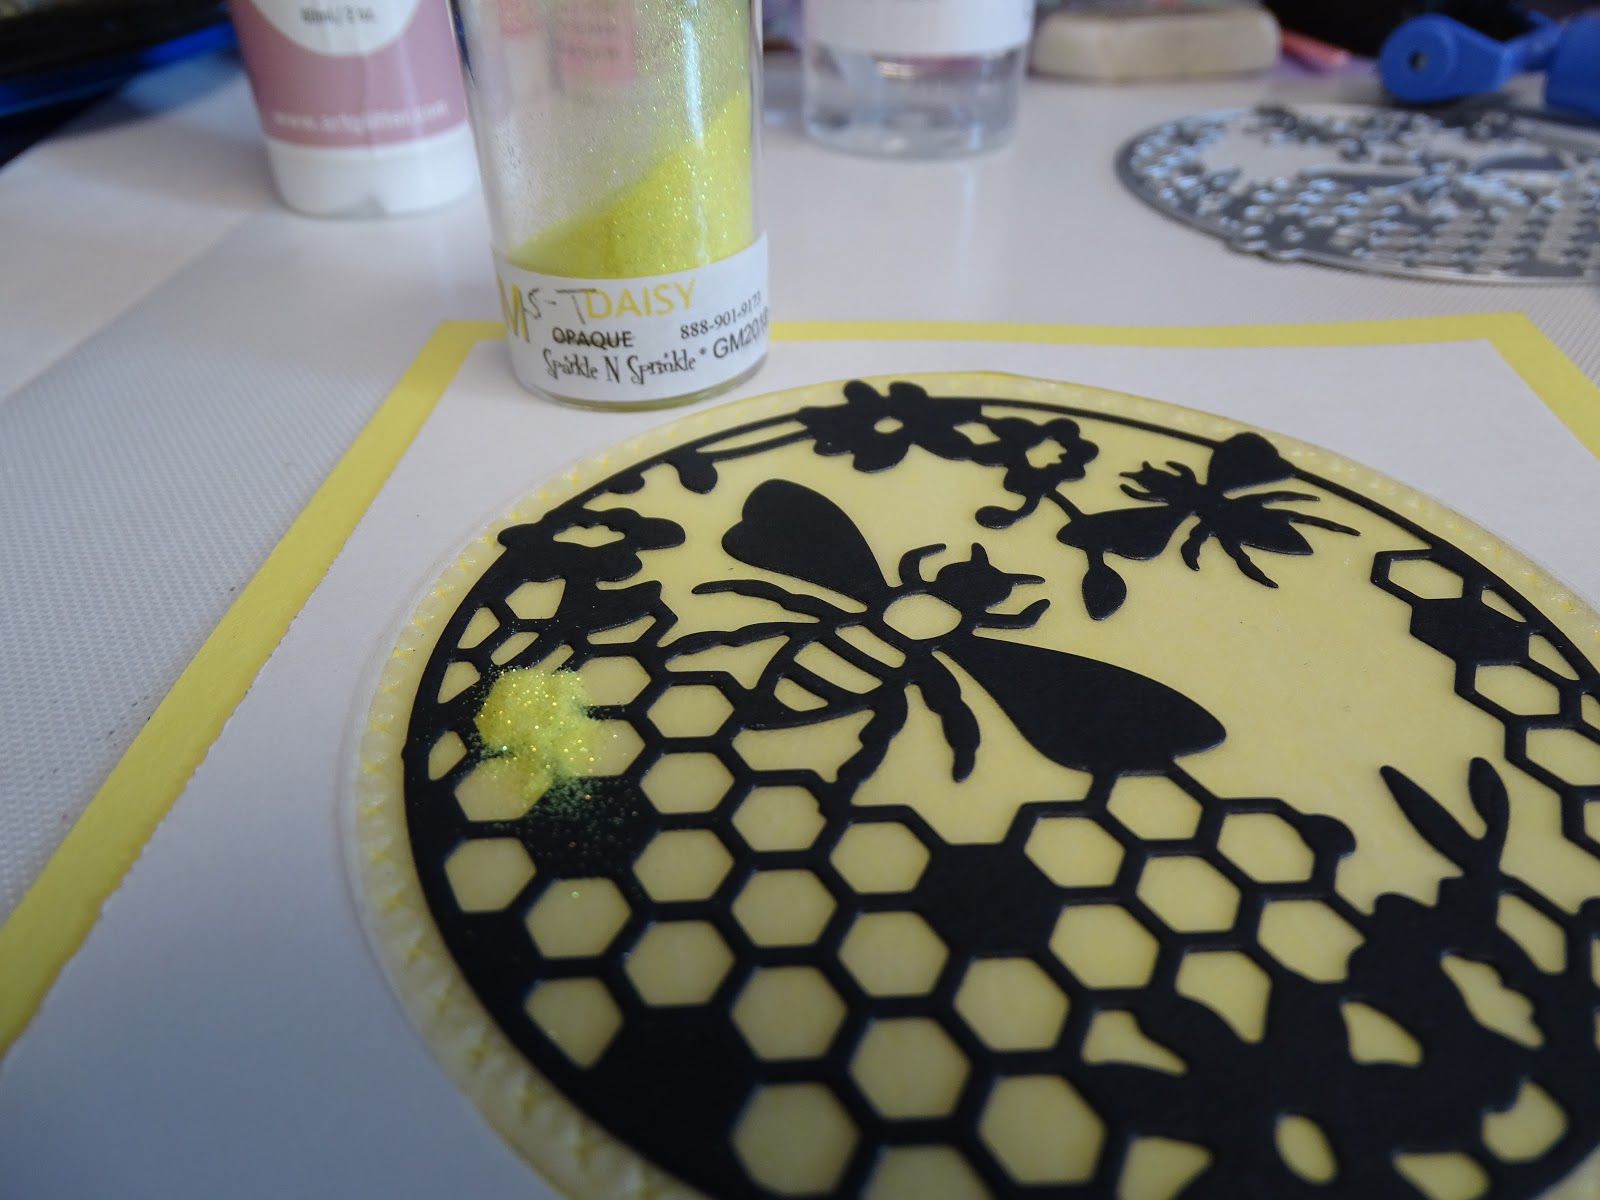
Let the coloring begin! First up is Daisy Glitter for the honey comb. I carefully just poured a little glitter at a time and burnishing it in to the comb sections with my finger.
Till the honey comb was filled! I accidentally filled in one of the flower centers with the Daisy glitter - that would be rectified later!
Then I did the flower centers (missing one) as you can see above! I just used an orange Copic marker over the top of the Daisy glitter, to make it like the rest.
Next in line was the bee, which got the "butterscotch" treatment.
With everything else colored, I was looking for a "quiet" background, so I chose to do Crystal Ice.
So then on to the perimeter! I pulled the protective layer off the rest of the square. There were little areas that were not sticky, so I went in with the Quickie Glue pen and then the background was applied with Canary flocking.
Next step was to make the black frame. I chose the Celtic option, however any one of the Cheery Lynne dies will work.
The focal front was then centered on top of the black frame. 3/4" Tear-ific Tape was added to the back of the entire piece.
Butterscotch glitter was then applied around the edges.
I had thought to do the create a buzz as the outside sentiment, then I decided to put that in the inside with just the Hap-Bee Birthday sentiment for the outside. The Lawn Fawn Just For You Dies were perfect for both of the sentiments from an old Sparkle N Sprinkle set. Both sentiments were stamped in Versafine Claire Nocturne and then heat embossed with Black Detail embossing powder. Then I also stamped the hive with Versafine Clair Morning Mist on the inside to finish off the card.
That finished off the card for today!
Here are the products that I used today:
Honey Bees Stamp Set 775 (Sparkle N Sprinkle)
Daisy Glitter (G2019)
Tangerine Glitter (GM2043)
YR04 Copic Marker
Butterscotch Glitter (GM2051)
Crystal Ice Glitter (G1058)
Canary Flocking (FL108)
Super Adhesive Sheets
¾” Tear-ific Tape
Quickie Glue Pen
Memento Dandelion Ink
Black Detail Embossing Powder (EP171)
I'd like to join in the following challenges:
Scrapy Land Challenge #130: Use a brand of die that SL sells
World Wide Open Design Team Challenge #1: Anything Goes
Classic Design Challenge #1: Anything Goes
Hope you've enjoyed my share today? Would love to hear what you think!
Some bitter sweet news on the personal front, on my return from my Scotland trip in
December, I found that I had lost both of my bee hives, due to the Varroa mite,
which as a new beekeeper this year, I had only done the sugar roll method
to ascertain the mite counts through the year. Although I could have extracted
some honey in August, I left all the honey that the bees had produced for them
to survive the winter months. However the stronger hive which had almost 10 full
frames of honey in the top box hadn't even reached that honey before they died.
So I took those frames off and extracted the honey. I was able to harvest 21.5 lbs
of liquid gold! It was certainly a learning year and I have already bought boards
for the hives that will help this year in maintaining a stricter mite control regime.
Here is a picture of the harvest!
Happy stamping until next time!
Shona