Showing posts with label Chipboard. Show all posts

Thursday, July 19, 2018

Welcome To Your New Home!

Welcome back!

Today I want to share a monochromatic "Welcome to your New Home" card. For my card today, I am using the new July Reveal Set: Vintage Country House Set 911.


I began with stamping the image in Hybrid Metro Grey, using the Stamp Platform.


I then went on to make the circular frame, cutting with the Tonic Circle Layering Basics Die Set, using the largest and the third largest dies, on the Tangerine. This was then sprayed with Nuvo Mica Mist Silver Smoke.


I cut out the image using the second to largest die, so that it would fit behind the "frame". It was then covered in Clear Mark Ink and heat embossed twice with Clear Detail and then Clear Mark was applied again and then Super Thick Clear was heat embossed from the bottom.


Once the embossing powder was "dry", I bent the piece a couple of times to  crack the finish and Hybrid Metro ink was burnished into the cracks, using my finger tool. A tissue was used to take off any grey that was on the surface and  then I heat embossed with another layer of Clear Detail. I cut a piece of black foam, the same size as the frame, to pop up the frame and the frame was assembled and attached over the image using Nuvo Deluxe Adhesive.


The chipboard key was applied with an old Versamark ink pad before being heat embossed twice with Silver Detail. (I keep an old pad just for chipboard, so that I don't ruin my newer embossing pads).  A little more embossing ink was applied and then I added a little Magic Speckle. This was then heated from the bottom to give the key the mottled look.


On to the card base - love the easiness of these easel cards - yet making them a little extra special. Take a A2 card and fold the front panel in half. Since I was doing the black and white monochromatic card, I used my favorite Marco's Paper, black on one side and white on the other. I cut a piece of white cardstock to 4" x 5 1/4" and then cut a piece of black to put at the base.  The inside sentiment was stamped on the white portion in Clear Mark and heat embossed with Black Detail, with the use of the Stamp Platform.


I stamped the Welcome sentiment in Clear Mark and heat embossed with White Detail on black cardstock and then die cut with the Spellbinders Back to Basic Tag.


This would become the stopper for the easel card. The key was attached with a little bit of thread before the sentiment tag was attached with mounting tape. The framed image was attached to the front of the card base to finish off my card.


Hope you've enjoyed my share today? Please leave a comment and let me know!

Below is a list of the products I used in my card today:

Old Versamark Pad (for Chipboard)
Spellbinders Back to Basics Tags
Key Chipboard

Also, have you checked out the Sparkle N Sprinkle Creative Challenge over on Facebook yet? If not, you really need to head over there and enter with anything that uses an SNS image, either rubber or digi - and just to make it easier you can pick up free digis over on the website! So, really there are no excuses! The July Challenge is currently underway and you have until the 25th of July to enter - winners will be announced the 3rd of August. Good Luck!

I'd like to enter my card in the following challenges this week:
Scrapy Land Challenge #94: Use a brand of die that Scrapy Land carries
World Wide Open Design Team Challenge #07: Anything Goes
Classic Design Team Challenge #27: Anything Goes
Morgan's Artworld Challenge Open Challenge # 7: Anything Goes
Happy Stamping!

Shona

Tuesday, September 30, 2014

SPARKLE N SPRINKLE'S OCTOBER 1ST REVEAL

Welcome to fall and the inspiration of  the Sparkle N Sprinkle's Design Team as we introduce our six new sets for October. As you may know, autumn is my favorite season and I just love flowers, so I "picked" the Beautiful Friendship Set 665 to work with in autumnal hues.


This month SIX new stamp sets are being introduced.   These sets are 20% off their regular price, until October 3rd.  All the new reveal sets are available on Cling Mounted Rubber and as a digital image. The Bubble Gum, set #664 is the stamp set featured in  This Month's Technique Video.

Here are the six new sets:


Welcome Autumn #650   (Digi version - DIGI650)
Party Penguins #654  (Digi version - DIGI654)
Witches Brew #660  (Digi version - DIGI660)
Bubble Gum #664  (Digi version - DIGI664)
Beautiful Friendship #665  (Digi version - DIGI665)
Ellie's Dance Lesson #667  (Digi version - DIGI667)


On Oct 3rd,  one Grand Prize Winner will be selected from the comments left on the designers' blogs listed below.  The Grand Prize Winner will receive their choice of:

1) all SIX of the new rubber stamp sets
or 
2) all the new digital stamps and digital stamp sets. 

The new SNS Creative Challenges also begins today, with lots of prizes and recognition badges. 

The winner of the blog hop will be announced on Oct 3 on Facebook, the SNS blog, and on our blogs:


(Tip: if you have a problem with a particular link, try clicking on the person's blog title to send you to their Home page.)

Don't forget to leave a comment with each Designer to be eligible for the Grand Prize.  We love reading your comments and hope we have inspired you as well.  If you absolutely can not leave a comment for some reason, please email icinganne@yahoo.com with your comment and the name of the blog or Designer you are commenting about.

So let's see what I did for my project this month. In September I worked with Margaret at the Somerset Scrapbook Convention. Here's a quick look at a bunch of awesome ladies about to find out a really quick and easy way to add sparkle to any project:


On the Scrapbook page project, we had used Sparkle embossing powder just to bling up a little bird's nest.  I had totally forgotten what a big sparkly impact you can get just by covering your image or piece of paper with this awesome embossing powder! So I decided to highlight this simple technique in my project this month:


Isn't that just lovely with the added sparkle, not only to the image, but the plain white cardstock? Here are four examples of some hand-made glitter paper:


Just by applying Versamark and heat embossing with the Sparkle embossing powder, you can transform a matte finish to a sparkly glittered masterpiece, which can be punched, used for backgrounds or as I did in my card - even add sparkle to a colored image!

I stamped the bigger image in Versamark off the bottom left of the card front and then heat embossed with Sienna embossing powder. I thought rather than using black it would be more inkeeping with my autumnal feel. Plus, these Tuscany embossing powders are detailed powders, so they work really well on detailed images with fine lines, as well as sentiments. There are 12 colors to choose from too, so there will be one to go with each of your projects. You don't have to stick to black anymore! On my project I used the Sienna embossing powder for the sentiment too. Look at the fine detail it produces:


Next I colored in the big image with Copics. I repeated the process with the little rose image on a scrap piece of white cardstock. Then I used the "Out of the Box" Technique to die cut and emboss the circle. I then took my Versamark Pad and applied it to the entire piece - the white frame with the colored image in the corner. The entire piece was then heat embossed with Sparkle.

For my background I used a technique called Alcohol Marker Marbling, which I found on Splitcoast Stampers a couple of weeks ago. Using four of the same Copics that I used to color the roses, I scribbled on a Ziplock bag, spritzed on some Alcohol Blending Solution, and smooshed glossy white cardstock onto the bag. It resulted in a background that matched my project perfectly! 

Next on to my Chipboard word. I learned something new about chipboard pieces at the Convention. I had noticed that when I tried to emboss these chipboard pieces, they would often leave an outline of their shape on my Versamark pad. Apparently the chipboard shapes are cut by a laser machine and in essence are being burnt while they are being produced. The black outline is actually soot, and if you take a paper towel around the edges of your chipboard piece, the soot will come off on the paper towel and not your Versamark pad. I keep an older pad specifically for my chipboard pieces. The other option is to use a dauber applicator for your embossing ink.


 The Chipboard piece was covered with Versamark and then heat embossed with some Sienna Star. This powder is the same as the Sienna, but with glitter added. I then reapplied a little Versamark and heat embossed some Magic Speckle to give it the mosaic look.

To finish the card, I placed the stamped, marbled background piece in the window of the frame. I then edged a piece of yellow cardstock with 1/4 Tear-ific Tape and layered the card front to the sticky edged card base, applying Sunset glitter to the exposed sticky edges. The "Friends" chipboard piece was stuck down using Dimensional Glue and the little rose image was attached with Dimensional Foam.


For a little extra bling I added a little strip of the jewelled ribbon, a strip taken from the Diamond Mesh, to the top of the card, which completed my project for today. I hope I've given you some ideas to go and play with. Full instructions for this card, can be found in the SNS gallery.

Remember to leave a comment here and on the other Designers' blogs to be eligible for the Grand prize of all six of these new sets!

Here's a little sneak preview of my next post, which will feature the paper-piecing technique! It uses one of the other new reveal sets - Party Penguins - too cute!


Hope you'll pop back next week to check out this project! Till then, hugs and get your Sparkle On (the cardstock)!

Shona

Friday, January 31, 2014

SPARKLE N SPRINKLE'S FEBRUARY 1ST REVEAL

Welcome to Sparkle N Sprinkle's February 1st Reveal.  This month we are introducing three new sets. One of these sets is Spunky and Rocco, they're having a good laugh with each other - a great little friendship set!  With the awful frigid weather we've all been experiencing lately, I was thinking "warm and fuzzy", so chose to highlight this cute set for the reveal.  I struggled for a while with how I would stage these two fun critters, then last week, walking around Michaels, I happened upon a wooden shaped heart. The cogs started rolling and although it turned out much different than what I had first envisioned - the general idea remained! 


Here are the three sets being revealed this month:


Spunky and Rocco #526

Spunky and Bug #523

All you have to do in order to have a chance at winning one of these sets (along with a glitter and embossing powder of your choice) is to comment on each of the design members' blogs. Three winners will be selected by Random.org during the Designers Mystery party. We don't know who the three Mystery Designers are, so you should comment on them all to increase your chances of winning! Here is a list of the designers:
Cristina Ojeda
April Williams
Anne Temple
Anita Scroggins
Donna Ellis
Shona Erlenborn (you are here)
Eret Pank
Mayra Duran-Hernandez
Marie Berquist
Jazzy Jill (for the technique video)

Each of the three stamp sets are available at 20% off.
Promotion valid through February 3. 
You may also phone the SNS Shoppe to place your orders.

So there you have it, all the details on how to win one of these fun sets and some glitter and embossing powder to go with it. Now back to Valentine Decorations!

To start, I made my fuzzy characters!  I took a piece of white card and covered it with Snow White flocking. Using the Coloring with Copics technique, I colored Rocco and Spunky. I love this technique, because it means you can have flocking in whatever color you need! 


See how fuzzy they are?  I did stamp their faces twice and popped them up for a little more dimension. Copics used were: E33, E35, E37, C5, W5, R21 and R17.

For the background, I took the wooden heart and covered it with Versamark and then heat embossed with Cappuccino Star (one of the Tuscany collection embossing powders). It looked natural, but with a nice sparkly finish.

If you are a follower of my blog, you'll know that I've recently been using a few of the new chipboard words, that SNS is now carrying. My project today uses three of the words from the Words of Love set. "Love" and "Laugh" were heat embossed with Tuscan Star, as was the little silver heart brad. "Friends" was embossed with Pebbled Copper. I applied some Mega Tack Glue to the back of the words and set them aside to dry.

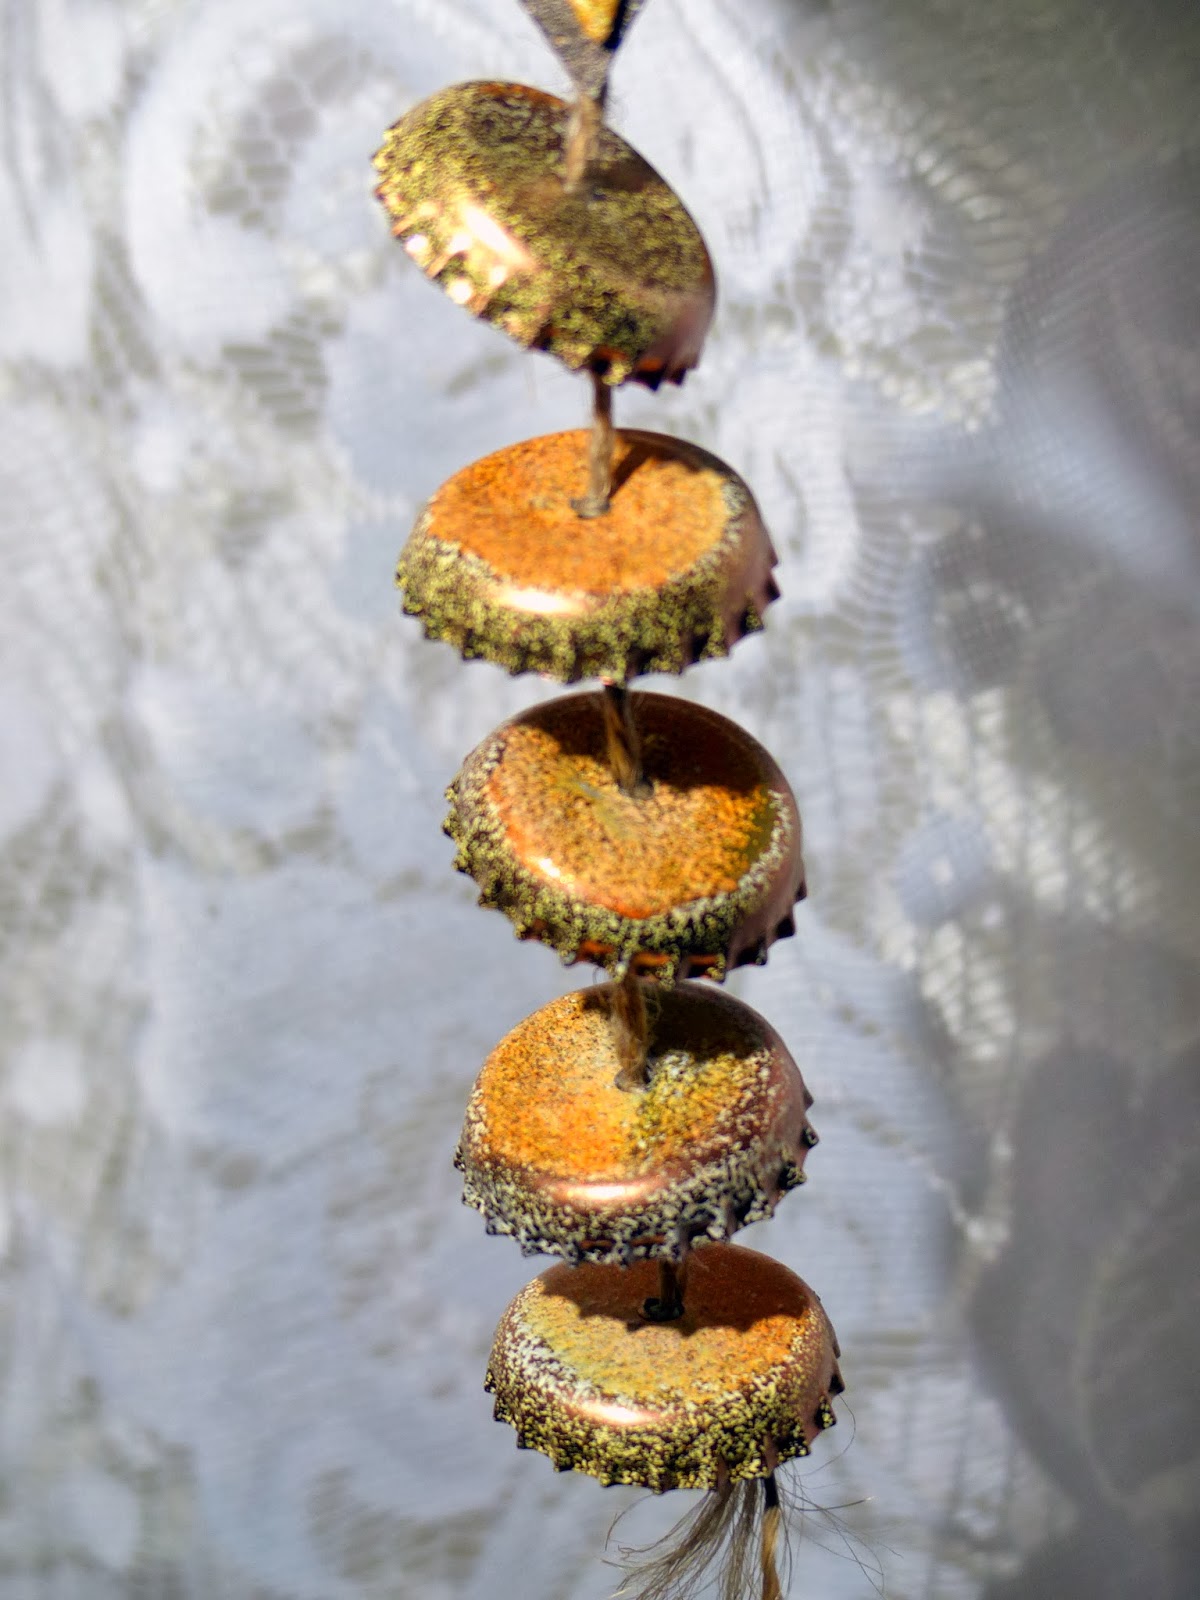
I don't know why, but I felt that my decoration needed a tail! So I heat embossed the five bottle caps with the same rustic powders that I had used on the heart and words. I punched a whole in the middle of each of them and threaded the jute string through them tying a knot at inch intervals, so they wouldn't slide down the tail.


Love the colors it created on the caps, when the powders melted in to one another!

I traced the shape of the heart onto black cardstock and cut it out. The tail was attached to the back of the heart as was the heart brad, before attaching the backing to the heart (I used the Mega Tacky Glue again for this). 


A hole was punched for the knotted string handle to go through. I attached the glued words and Spunky and Rocco were added with dimensionals. My project was complete!


I think I covered everything, but if you need more details you can check them out in my SNS Art Gallery, right here.

Hope you've enjoyed my part of the reveal today. After you leave me a comment, go check out the other designers to see what they have in store for you from these three fun sets, and for more chances to win!  Good luck!

Till next time!

Hugs,

Shona

Sunday, January 12, 2014

SING ON YOUR 18TH BIRTHDAY!

Today, I want to share with you the card that I made for our daughter's 18th birthday last week.


Sparkle N Sprinkle has recently started to carry some Chipboard items, which are great for embellishing with our embossing powders. This particular one, I picked up at a convention at the Want to Scrap booth. 

I also used another fun product that we're now carrying - Dreamweaver stencils. The background was made by using the "Petite Fern" sponged with Memento inks. On top of this background I laid the Peacock stencil and applied Versamark through the stencil. Take up the stencil and then heat emboss with Black Detail. 


"Sing" was covered with Versamark and then heat embossed with Dragon Fruit, Poolside and Spring Willow, repeating the colors of the fern background.

I ran a piece of ribbon down the left side, which reminded me of both the base of a treble clef and the "eyes" in the peacock's tail!  


The label was made by die cutting and embossing Spellbinders Labels Eleven from a piece of white card covered with Tear-ific Tape.  Remove the backing and stick down the outline sticker and then apply Black Suede Velvet Glitter to the remaining exposed tape.

Once I got started, I was on a roll with the stencils, here's a sneak preview of the next card I'll be sharing, using embossing paste with the same Peacock Stencil:


See you next time with my Fancy Feathers Peacock!

Hugs,

Shona 

Wednesday, November 20, 2013

NOEL SNOWPEOPLE

Hi there, so glad you've stopped by for a little visit!  


Today, I'm sharing another card using the cute little snowpeople, from Sparkle N Sprinkle's "Snow One Like You" set. They were stamped in Memento black and colored with Copics on top of Cloud Nine Velvet Glitter. 

Sparkle N Sprinkle is now also carrying some awesome stencils and templates, and one of my favorites is the Leafless Tree. I placed the stencil temporarily on top of navy cardstock and applied embossing paste with a spatula. I removed the stencil and washed it, to remove the paste that was left on the stencil. When the paste was dry, I returned the stencil over the tree and this time applied Mega Tack glue with a foam brush and applied Lavender Iris glitter on the glue, once I had removed the stencil. I washed the stencil again, with mild soapy water.  You can see the dimension the paste gives in this photo:


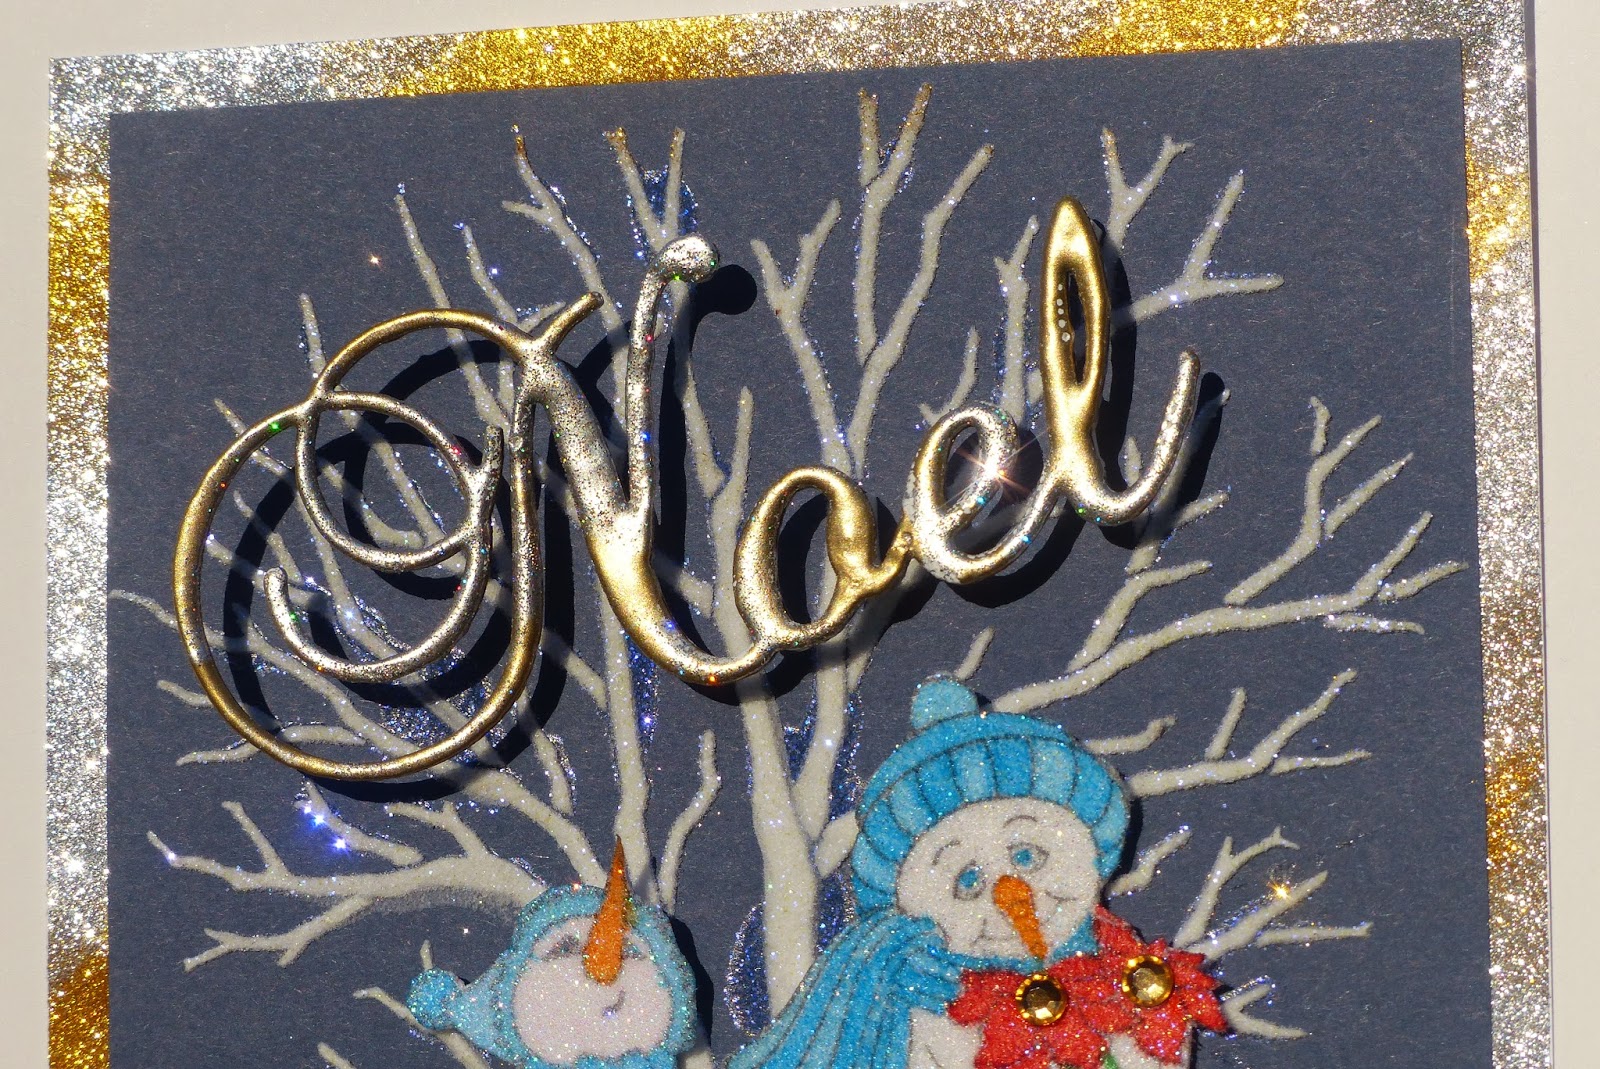
Other new products being offered at Sparkle N Sprinkle are chipboard shapes and words.  I decided to emboss the chipboard word, "Noel" with Gold Detail and Silver Lightning (see that little twinkling star on the "e"?):


I finished off the card by edging the card base with 1/2" Tear-ific Tape, centering the navy card front and then applying Goldenrod and Reflection Velvet Glitter.  The snow people and "Noel" were attached to the card front with dimensionals.  Click here for full directions, if needed.


Doesn't that little guy with the open arms make you want to just give him a hug? Have you started your Christmas cards yet? I plan to get started next week, I'm way behind where I usually am by this point. Hope to see you pop by again soon.   

Till then,

Shona