Showing posts with label Versafine Clair ink. Show all posts

Monday, May 24, 2021

Blue Peace Dove

Hi there and welcome back to my blog! Today I get to share some exciting news - I've joined the Holly and Ivy Christmas Design Team. This is a fortnightly challenge every 2nd Tuesday. I'm looking forward to being part of this team and hope to stack up some more Christmas cards to avoid that Christmas rush!! Maybe you would like to join in with us? We'd love to see your creations and this is an anything goes challenge, just has to be Christmas related!

For my first card for the team, I chose to use the Technique Junkies Christmas Dove image, I don't think I have ever used it before. I thought maybe blue and silver would be a good combination - of course, photographing mirror cardstock is a nightmare, so I hope you get the gist! It's very pretty in real life!


I inked the image up with the Versafine Clair Blue Bell ink and then before it had a chance to dry, I applied Sparkle embossing powder. This gave it a lovely sparkle.


Then it was on to the framing. I used the Spellbinders Grand Large Labels dies (the three smallest). I cut the silver frame using the two smallest dies.


 The outer blue was the inside part of the third smallest die. Then it was just assembling. The blue die cut was layered to a white card base. I cut down the image a little and added strips of mounting tape to the back of the silver cardstock. 


The framed image was then layered to the card front. I tied a little piece of silver ribbon around the left side. Was going to add a sentiment, but thought I'd leave well alone as it said it several times in the image!


Below is a list of the ingredients for my card today:

Technique Junkies Christmas Dove
Versafine Clair Blue Belle Ink
Sparkle embossing powder
Spellbinders Grand Large Labels dies (3 smallest)
Silver Mirror Cardstock
Silver Ribbon
Mounting Tape

Thanks so much for stopping by! I hope you enjoyed my card share? Please do check out my new teamies' cards over on the Holly and Ivy Challenge blog and we hope to see you join in the fun!

Till next time,

Shona


Wednesday, September 9, 2020

Warmest Snowman Wishes

 Hi there, and welcome to September!

Isn't it crazy how quickly the summer just passed by? We're enjoying a little cooler weather now - though today we are back up at 86 degrees - we'll soon be able to open the windows! The butterflies are slowing down, not that they were very profuse at all this year. However, I started tagging my Monarchs that I have reared this summer and they will be heading to Mexico shortly. I've had many more Black Swallowtails this year, but if I didn't catch them as eggs, I'm afraid they got parasitized as caterpillars. The last four of the chrysalises bore Parasitoid Wasps instead of beautiful butterflies 😢.

My header for September is the last hatched one that dodged the bullet! Mother Nature can be so cruel. It also makes me feel better about bringing in the Monarchs as soon as I see the egg being laid.

So anyway, on to my card for the Christmas Craft Creations design team, where this month we were to asked to create a shaped card.


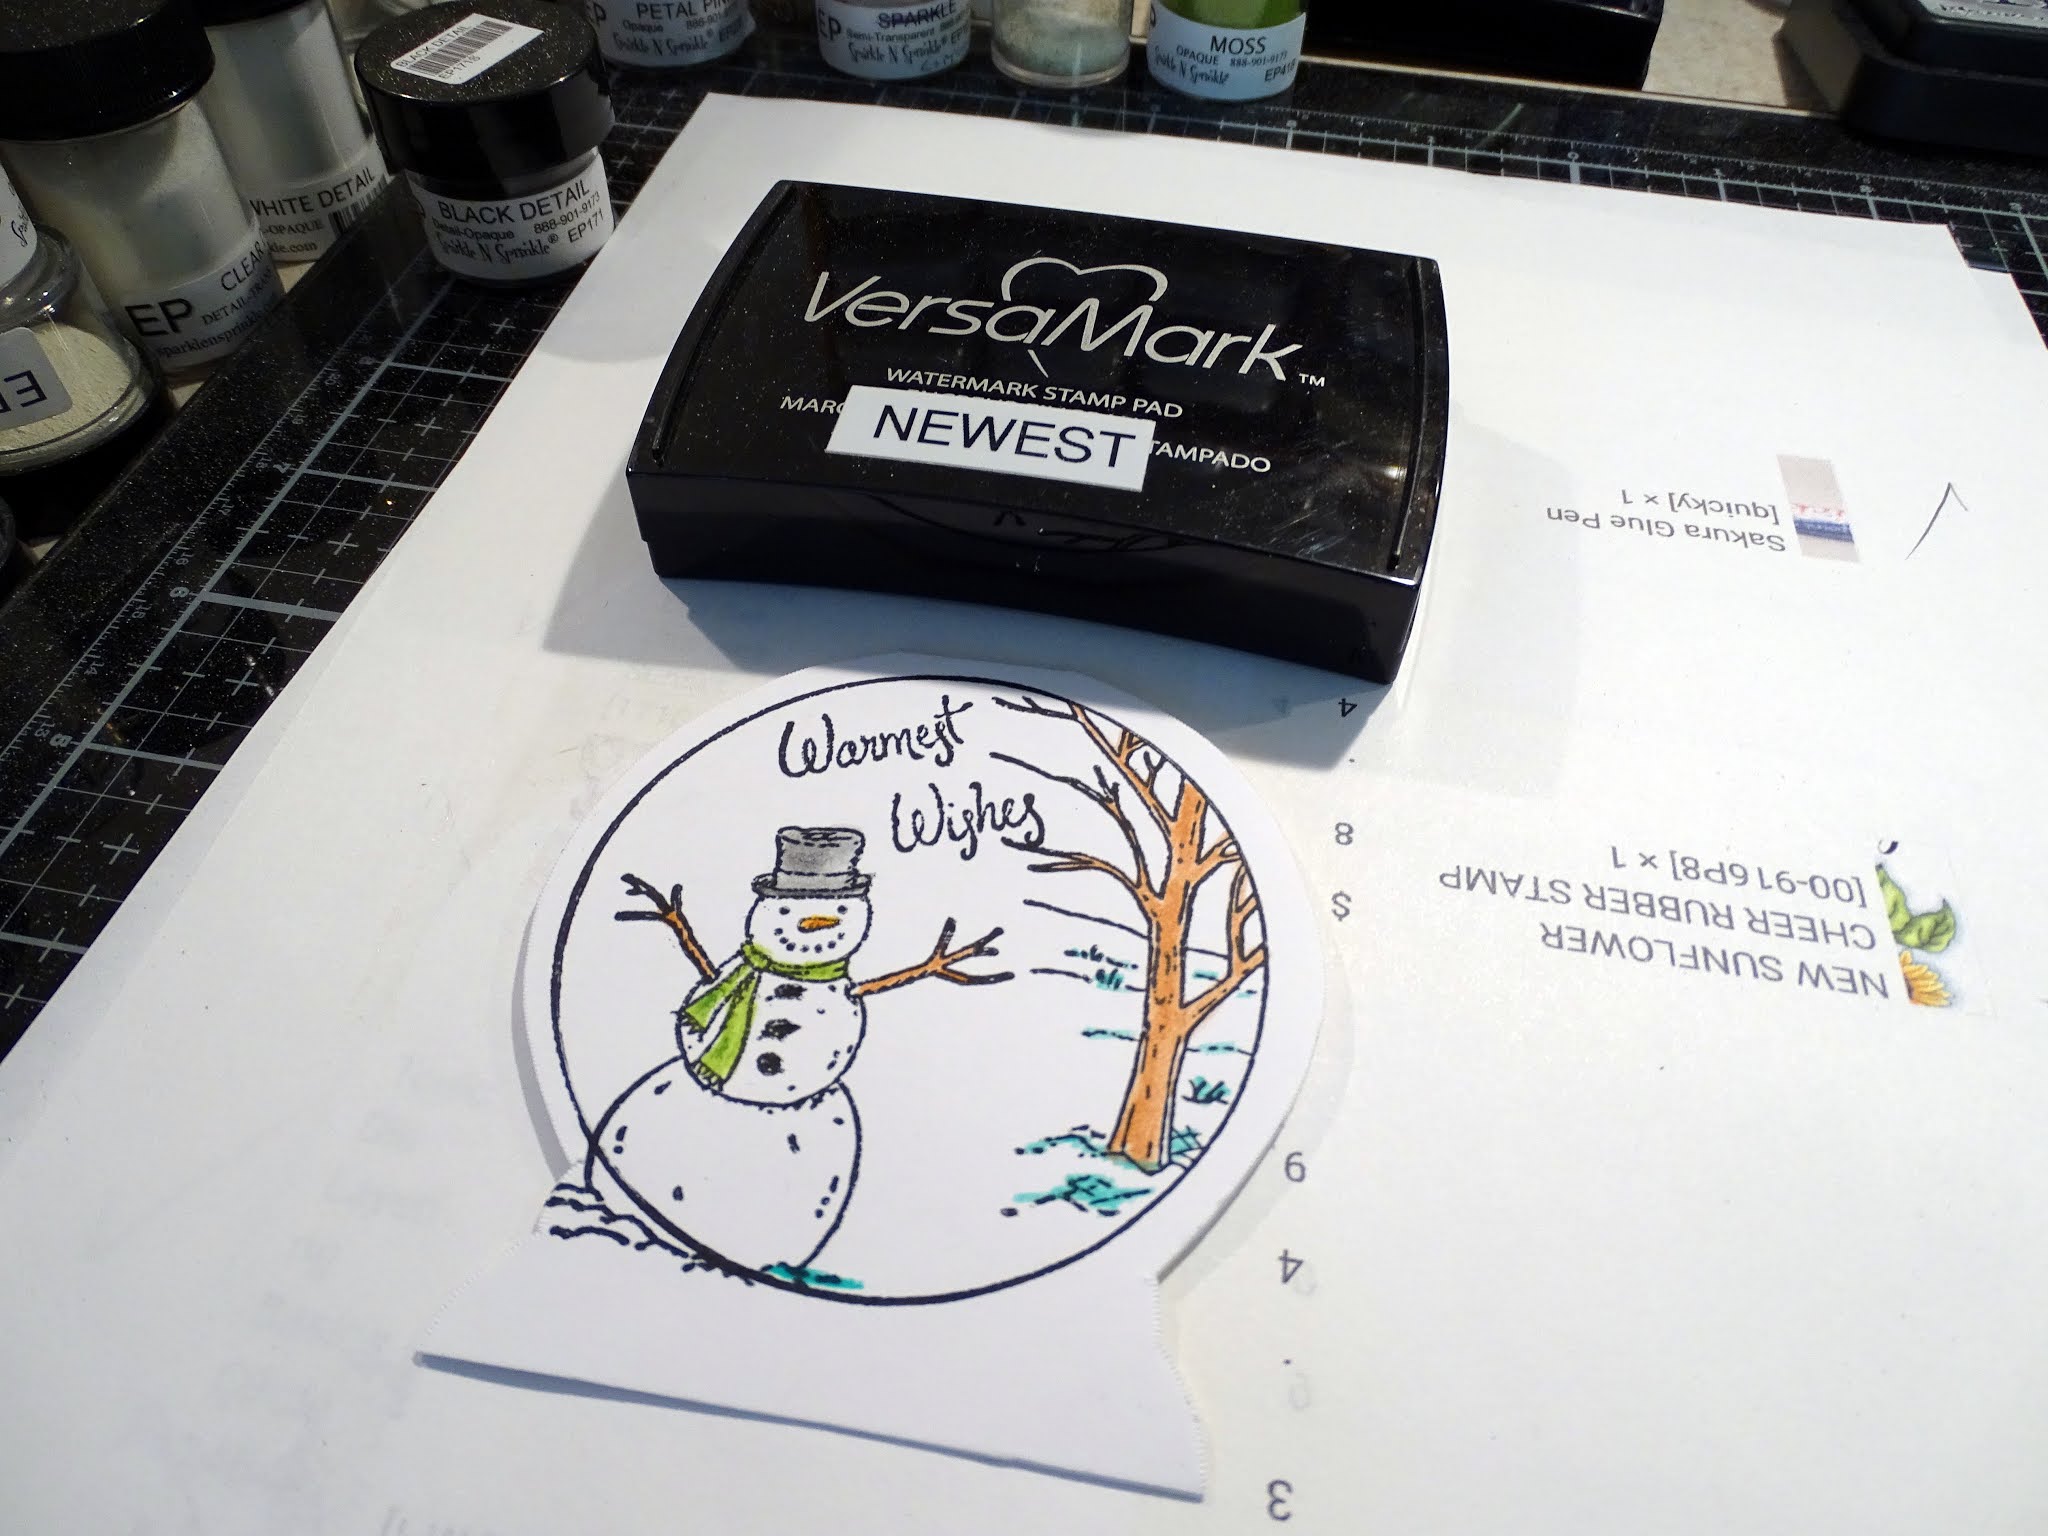
As you can see, I went with a snowglobe shape. I had received the stamp set as a freebie with a magazine and it came with an embossing folder. 


After fussy cutting the snowglobe I then traced it on to a piece of folded cardstock for the backing of the card and die cut the middle.


Next I colored the base of the snowglobe using a sponge with Memento inks - Desert Sand and Peanut Brittle.


The scene was then stamped on to the top of the folded piece of cardstock, using the stamp platform. 


The scene was colored in with Stampin' Up pencils. After which I heat embossed the image with Sparkle embossing powder.


The snowglobe frame was also embossed with Sparkle embossing powder before being stuck down over the image.


Some Nuvo Glitter Accents Fresh Snowfall was added to the tree branches and the ground for a more snowy effect. and that finished up my card for today.


Here is a list of the products used in my card today:

Beautiful moments: Embossing Folder & Stamp Collection

 (freebie from magazine)

Versafine Clair Nocturne ink

Stampin’ Up watercolor pencils

Memento ink: Peanut Brittle, Desert Sand

Nuvo Glitter Accents: Fresh Snowfall

Tonic Circle Layering Basics die set


Hope you've enjoyed stopping by today. Check out the work of the other designers over on the Challenge blog for more inspiration and to join in with your "shaped card"!


Till next time, stay safe!


Shona

Friday, December 6, 2019

Reindeer Snow Globe Shaker

Hi there, 


Well, here we are again - December! That was the quickest year ever, wasn't it? My December header is a little herd of deer in our front yard, enjoying all those extra acorns that Mother Nature provided for them this year! My first card for December is for the Dies R Us Design Team and also includes a deer - a snow globe shaker card, using the Memory Box Evergreen Reindeer and the Tutti Cross Stitched Nesting Circles.


Here are the dies I used:


Tutti Designs - Cross Stitch Nesting Circles

I ran both dies through the big shot at the same time. 


In an effort to make it look like a snow globe, I used the Spellbinders Mega Ovals Large to cut a base - cutting it out first and then die cutting another piece out of the "top" - from a piece of wood-grained self-adhesive cardstock.


I then stuck acetate to the back of the "globe" with double stick tape.


A piece of digi paper was attached to the front of a white card base for the background. Happy Holidays from an old Sparkle N' Sprinkle Set was stamped in Versafine Clair Monarch under the globe and heat set with Clear embossing powder.


Mounting tape was then attached to the back of the globe panel.


A few spoons of Stampendous Shaved Ice was then added on top of the background paper.


The top panel was then placed on to the card base to finish off my card.


Below you will find the products that I have used in my project today: 


Christmas Sayings Set 223 (SNS)
Spellbinders Mega Ovals Large
Clear Detail embossing powder
Stampendous Shaved Ice
Mounting Foam

Don't forget to come join in the fun at the Dies R Us Challenge Blog. There's a new challenge theme offered on the 1st and 15th of each month and one lucky randomly drawn winner will receive a gift voucher prize to the Dies R Us Store. For your convenience, all the important Dies R Us links are provided below.
https://blogger.googleusercontent.com/img/b/R29vZ2xl/AVvXsEighVxYJgFzUbJcKmgwwTAKf2gnEI1PpQg7k3sVTOytC957HBjLxz5QC86xDfNiQFxp6piLaHJ0i9WGDP4N5_LmjYWRQzbBJBRUtwONipoIxRwWEWzr1gaRYgty89197x1pKLlfuRZCd97B/s1600/-logo+collage.jpg
click below for:


I hope you've enjoyed my share today?

Till next time,


Wednesday, October 9, 2019

When they saw the star!

Hi there,

I'm here today with my October card for Christmas at Sweet Stampin'.  This month we had the optional twist of using stars in our Christmas project. I had recently picked up the Recollections Christmas Noel embossing folders and clear stamp set, so decided to dry and wet emboss the star embossing folder for my background. 


I began with running the blue cardstock through my Big Shot with the Recollections star embossing folder. I then took a rubber brayer and Versamark ink and ran it across the raised pattern and then applied Detail Silver embossing powder.


I then stamped the image from the Sparkle N Sprinkle set 720: Three wise Men with Versafine Clair Twilight ink and heat embossed with Clear Detail embossing powder. 


I stamped the sentiment from the same set in the Twilight ink again and heat embossed with Clear Detail again. Then I tore around the sentiment to make it look like a sand dune and sponged a little of the Twilight ink around the edges.


The three wise men were taped to the star background, after I colored their gifts with a yellow Copic marker and the sand dune was popped up with mounting foam. The front panel was layered to a white card base and then the white organdy ribbon was tied around the left side of the card to finish it off.


Hope you've enjoyed my share? Below are all the products I used on my card:

Sparkle N Sprinkle 3 Wise Men Set 720
Recollections Christmas Noel Embossing Folders & Clear Stamps
Versamark Ink
Silver Detail  (EP257)
Clear Detail (EP280)
Versafine Clair Twilight Ink
Brayer
Copic Marker Y17
White Organdy Ribbon
Mounting Tape

I hope you will take a look over on the Christmas at Sweet Stampin' Challenge.
We'd love to see what you come up with, with the optional twist of "Stars"!

Till next time!

Shona